
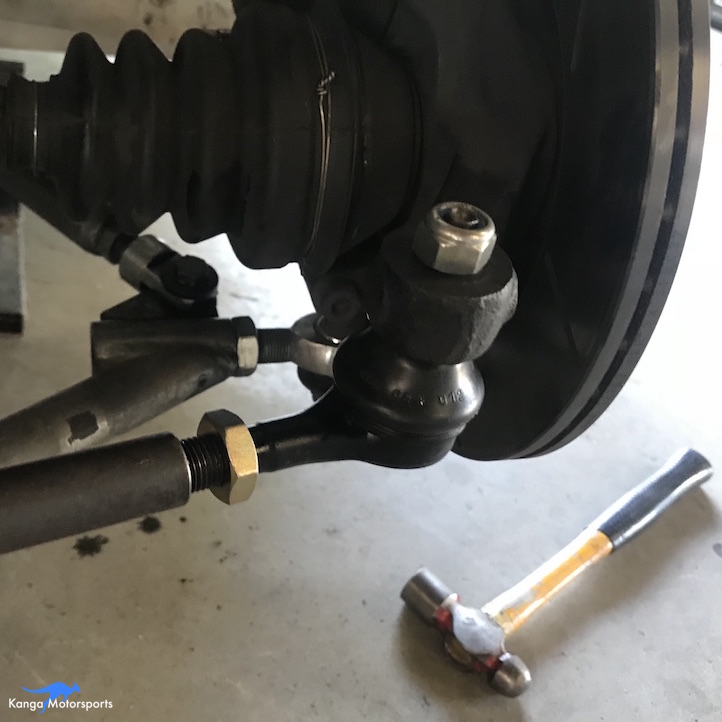
A quick and simple modification to the alternator adjuster can make it easier to tighten the alternator belt.
Tools and Equipment Needed:
Angle grinder and grinding disc
7/16th wrench
Anti-Seize
Bench vise
Safety Goggles
Particle Filter Respirator Mask
Gloves
Alternator Adjuster Modification:
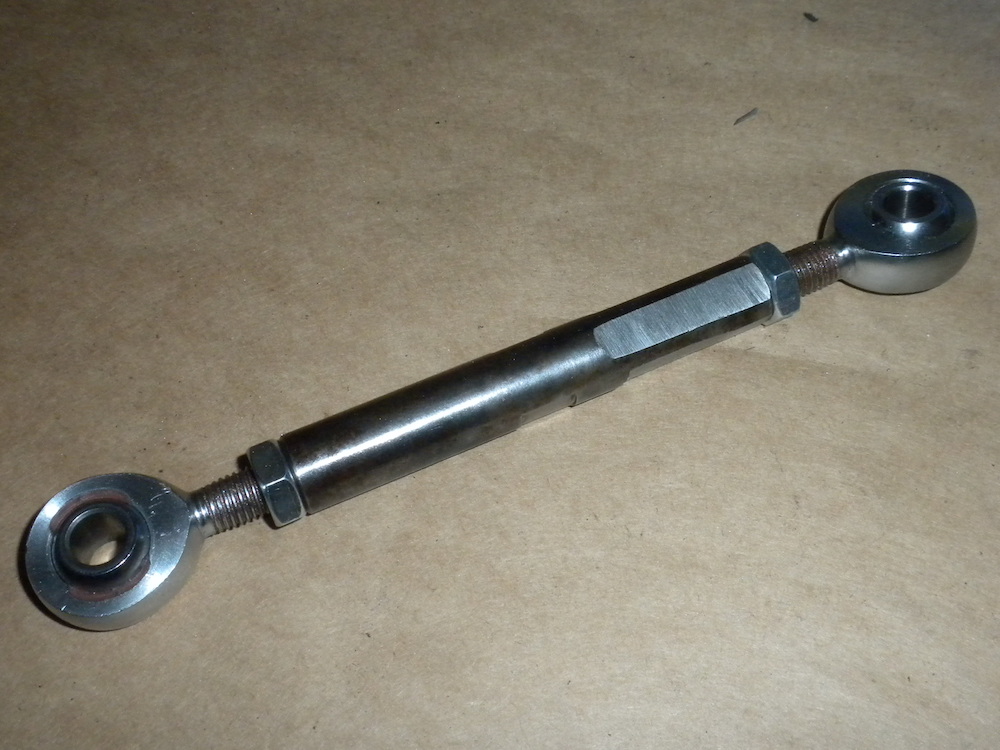
Remove the rod ends from the adjuster.
Place the left hand thread size in the bench vise with the right hand side sticking out straight towards you.
Line up the small adjuster groove facing upright.
Grinding will produce a lot of fine metallic particles and dust, make sure you have proper safety equipment; safety goggles, gloves and a particle filter respirator mask.
Using the grinder you want to put a flat surface on the end at 90 degrees to the current groove approximately an inch long. I found it easiest to keep the grinder flat and straight by holding it vertical.
You want to remove a little material at a time from each side of adjuster. Use the 7/16th inch wrench to test fit and determine exactly how much material to remove from either side.
Once you are happy with the fit, rotate the adjuster link 90 degrees and repeat the grinding and test fitting process.
You should now have two large flat adjusting surfaces like the picture above. Install the adjuster back onto the car and you will see how much easier it is now to adjust the alternator belt tension.
Other Maintenance Articles


When replacing or refilling the Spec Racer Ford coolant system you need to make sure the all the air is bled out of the system before heading out on track.