
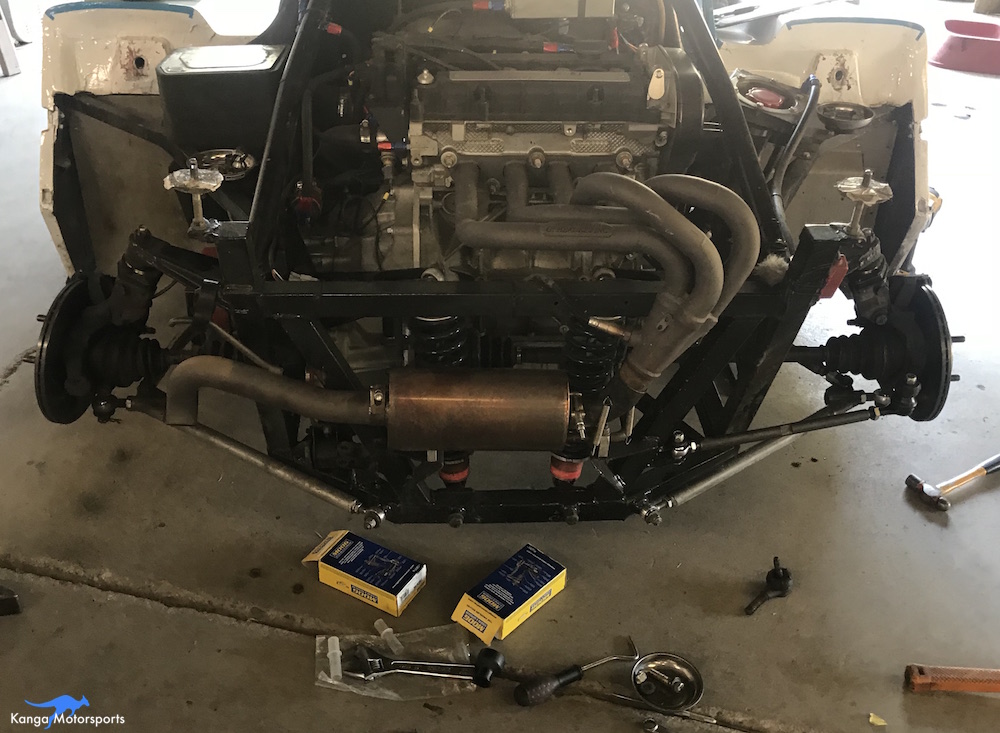
Another element of suspension maintenance on the Spec Race Ford is replacing the tie rods. This can help steering feel and might be needed if there is a shunt. Start by jacking up the car and removing the wheel(s).
Tools and Equipment
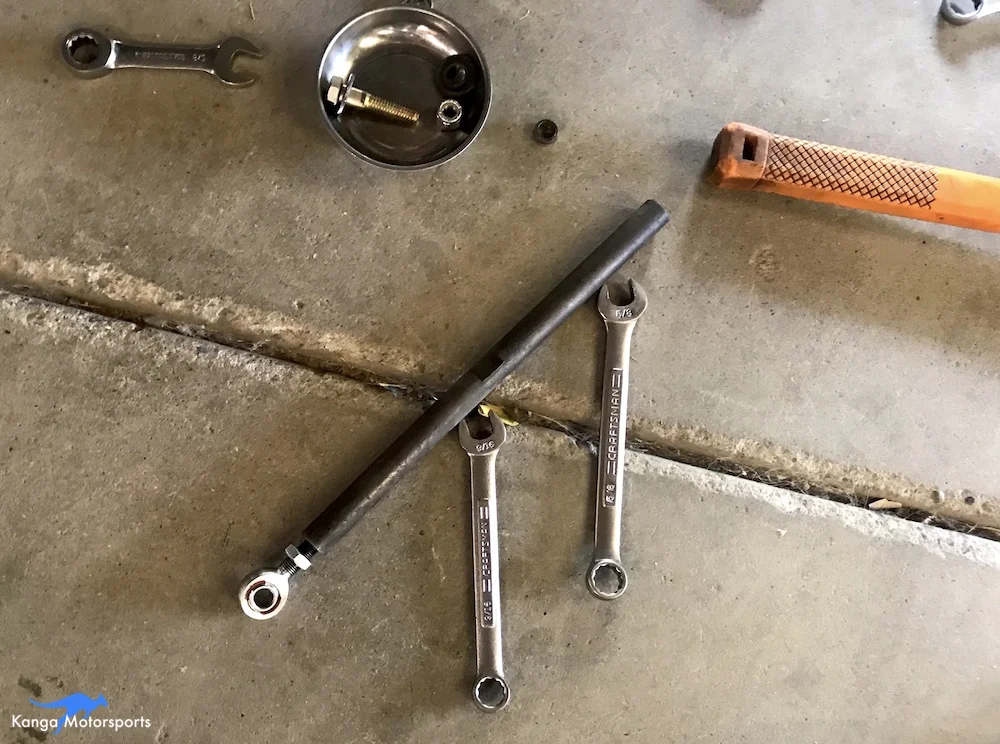
Wrenches: 5/8”, 9/16”, 11/16”, 15mm
Adjustable wrench
Tie Rod End - Moog ES2287RL / Enterprise PN 261141
Anti-seize
Inner LH 7/16 Rod End (Optional)
Tapered Drift (Optional)
Penetrant Fluid (Optional)
Magnetic Parts Tray (Optional)
Replacing a Tie Rod
First thing to replacing the tie rod is removing the old one. If you are going to be redoing the suspension setup or also replacing the inner rod end you can just remove the entire linkage. Otherwise keep the rod end side bottled in place and just undo the tie rod end.
Before you remove anything the first thing you are going to want to do is unlock the jam nuts using your wrenches. Much easier to do now on the car when nothing is moving around. The jam nut size for the tie rod seems to vary from unit to unit so it is handy to have an adjustable wrench available.
Next up is unbolting the tie rod from the upright. Measure the distance from the linkage to the upright pivot so you can get your set up in ball park when reassembling.
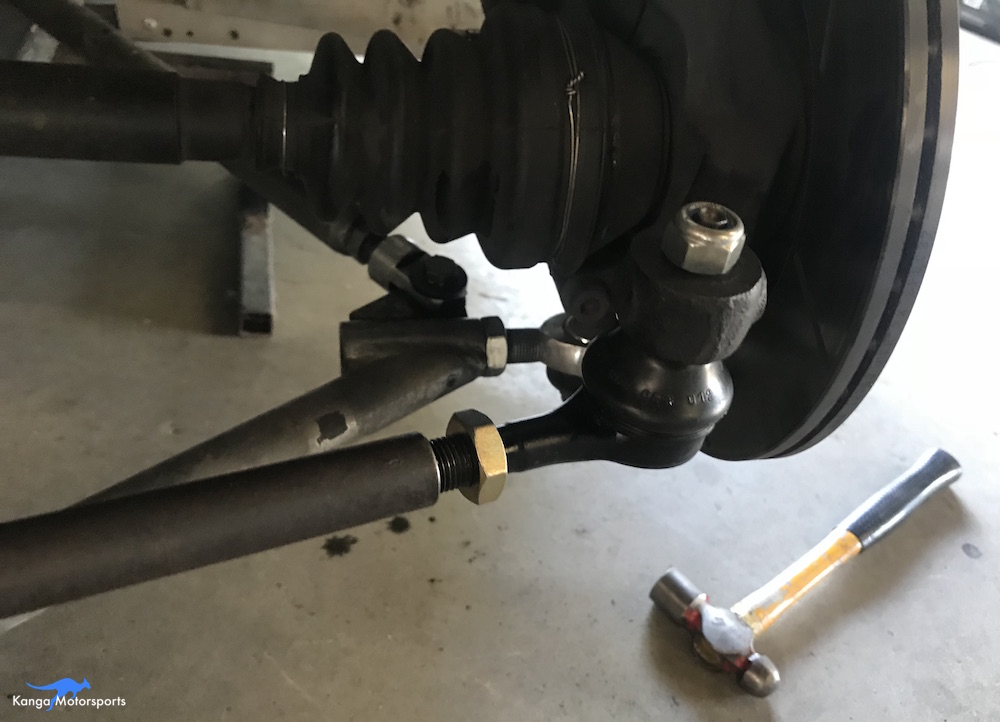
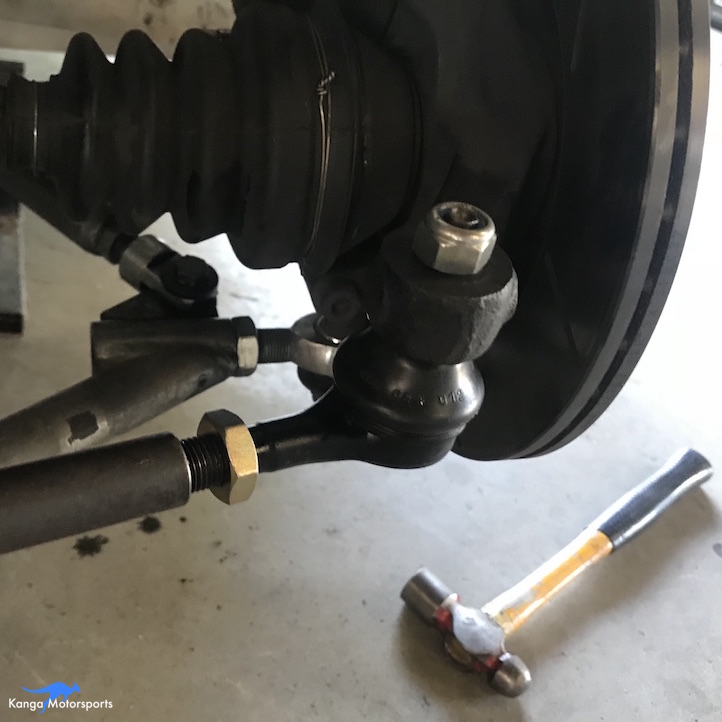
If you are extremely lucky the tie rod will just fall out of the upright. But that never happens, instead loosen the nut on top, should be a 15mm but this also varies between units. Do not remove the nut completely. Next you are going to bang the side of upright adjacent to the tie rod with a hammer, hopefully this shakes the tie rod loose and it can be easily removed. Unfortunately, it is more likely that this does not work, position the top nut to protect the threads on the tie rod end, you want to save it incase the new one isn’t correct. Then use the hammer to bang down on the nut and tie rod to release it. If that doesn’t work spray some penetrant fluid in it and walk away come back when you are less frustrated.
If you are replacing the inner rod end as well count the number of shims used top and bottom of the rod end ball. You need to reassemble the same way to limit the amount of bump steer. Also measure the distance from the linkage to rod end center, to get the toe in the ball park when reassembling. Undo the bolt holding the rod end in place and capture all the little shims. We like to put them on the bolt and thread the nut in place to prevent them from disappearing later, a magnetic parts tray is also handy.
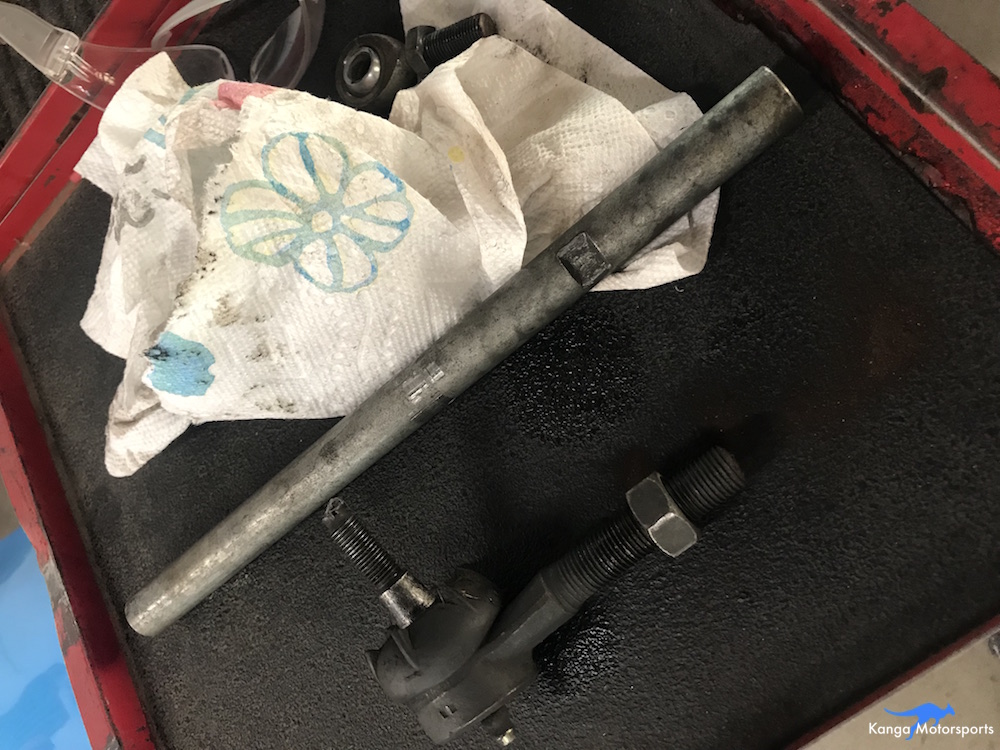
With the entire linkage removed you can now undo the old rod end and worn out tie rod. You might have to work the threads back and forth if they are stuck due to debris.
Install a new rod end and jam nut. Place anti-seize on the threads before installing. Measure and position the new tie rod in the same location as the old unit.

Next open up your new tie rod box, it should have the tie rod, dust boot, top nut and a jam nut. If any of these parts are missing you can sometimes substitute from the old tie rod for the nuts if they are still in working condition. For some strange reason we have purchased several tie rod ends and sometimes they come with different sized top and jam nuts. We like to make them all the same size around the car as it makes it easier to service trackside then having to go back and forth to the toolbox, or just live with it and use an adjustable wrench.
Put anti-seize on the new tie rod ends and install the jam nuts. Thread the tie rod into the linkage measured to the position of the old unit.

Install the rod end side first using the correct number of shims top and bottom. It can be tricky to get them all aligned to get the bolt to slide through. We use a tapered drift, wiggling back and forth to align and center the shims and rod end. Then pop the bolt back in and tighten the nut in place.
Next insert the tie rod into the upright and tighten the top nut in place.
To set the correct linkage length you will need to put the wheels back on the car and get it on the ground. You can either do a full setup or quick toe check. Once the toe is set, lock it down by retightening the the jam nuts.
More Maintenance Tips


When replacing or refilling the Spec Racer Ford coolant system you need to make sure the all the air is bled out of the system before heading out on track.