
The engine and transmissions mounts can crack and deteriorate over time so they need to be replaced. Depending on which mount needs to be replaced it can be easy or hard. Most likely you will need to loosen or undo some of the other motor mounts in order to have enough play to slide the mounts into place.
Tools and Parts Needed:
The type and size of the sockets will depend on the mount that needs to be removed and whether you have to remove any of the suspension arms for access. Here are some of the tools you will need:
Lower Transmission Mount with bushing - Enterprise PN: 1139101
17mm, 5/8 and 3/4 inch Wrenches / Spanners (ratcheting wrenches can be handy)
17mm, 5/8 and 3/4 inch Sockets and Ratchet
19mm socket/wrench/breaker bar
Quick jack, jack and jack stands
Impact
Hammer
Dead blow or rubber mallet
Large screw driver
Pry bar
Replacing the Engine Mount
This instruction covers the replacement of the lower transmission mount but the process is similar for most of the engine mounts just requiring the removal of other components for access.
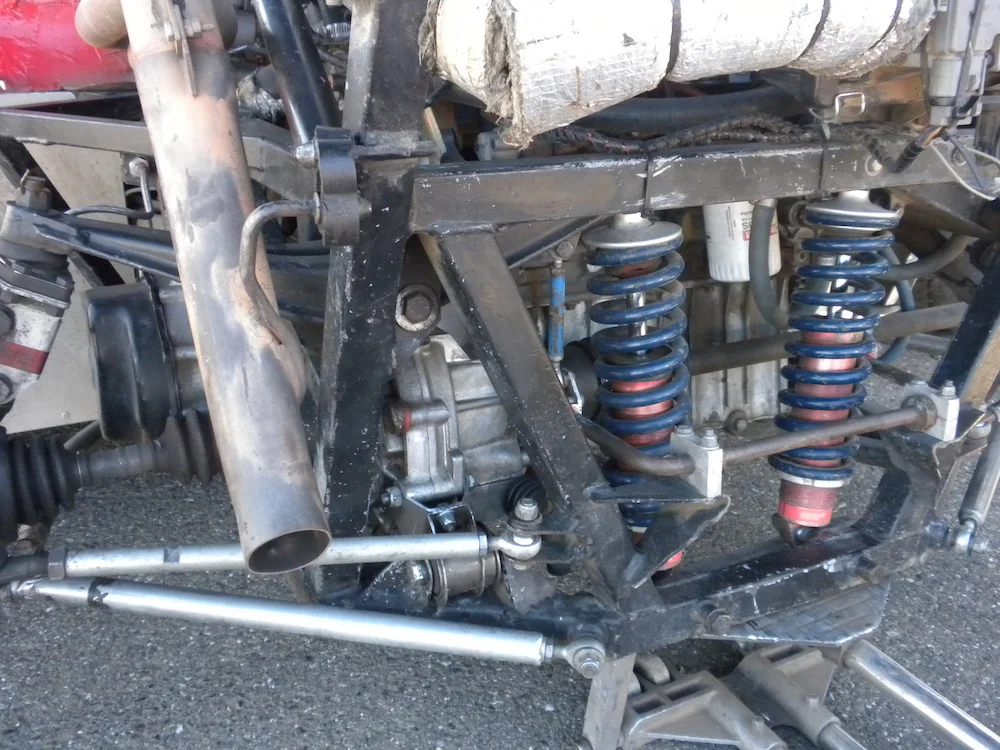
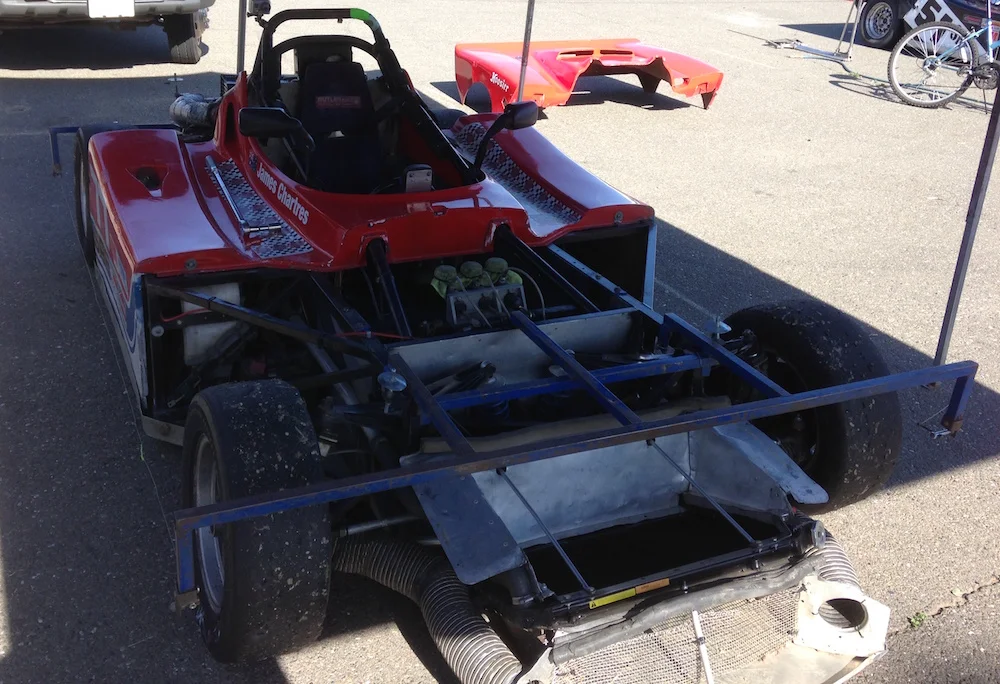
First thing to do is remove the rear tail section. Then jack up the car and put the car on jack stands. You will probably only need the low profile jack stands. As always make sure the car is sitting solidly on the jack stands as you will likely be shifting the motor with a pry bar to maneuver the mount into place.
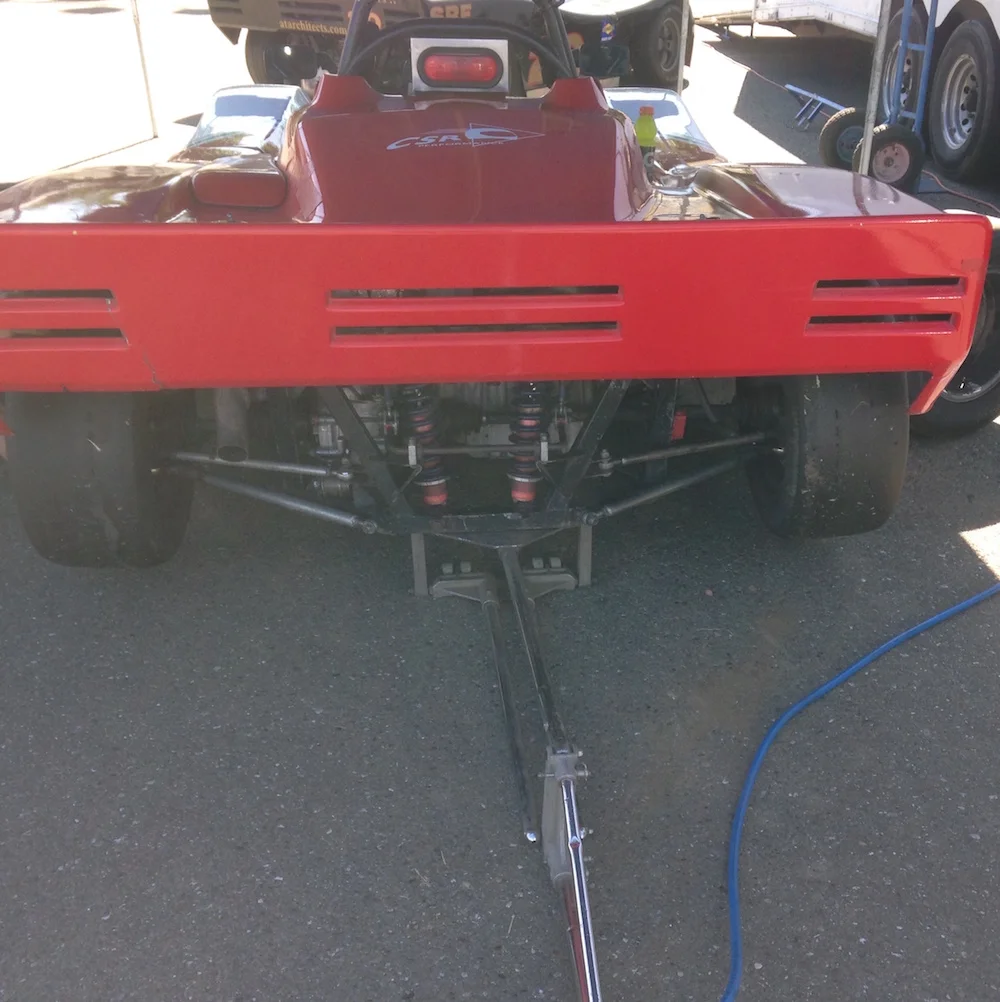
Depending on which motor mount you are replacing it will likely be easier if you remove the rear wheels to have better access. Use a 19mm socket with a breaker bar or impact to break the lug nuts free. Undo the lug nuts and you can now remove the wheels and place them out of the way.
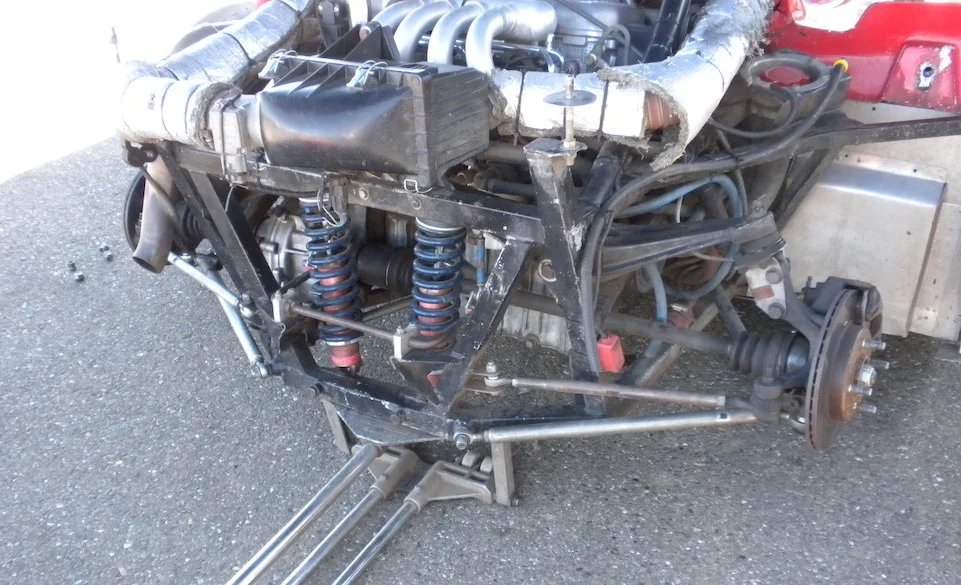
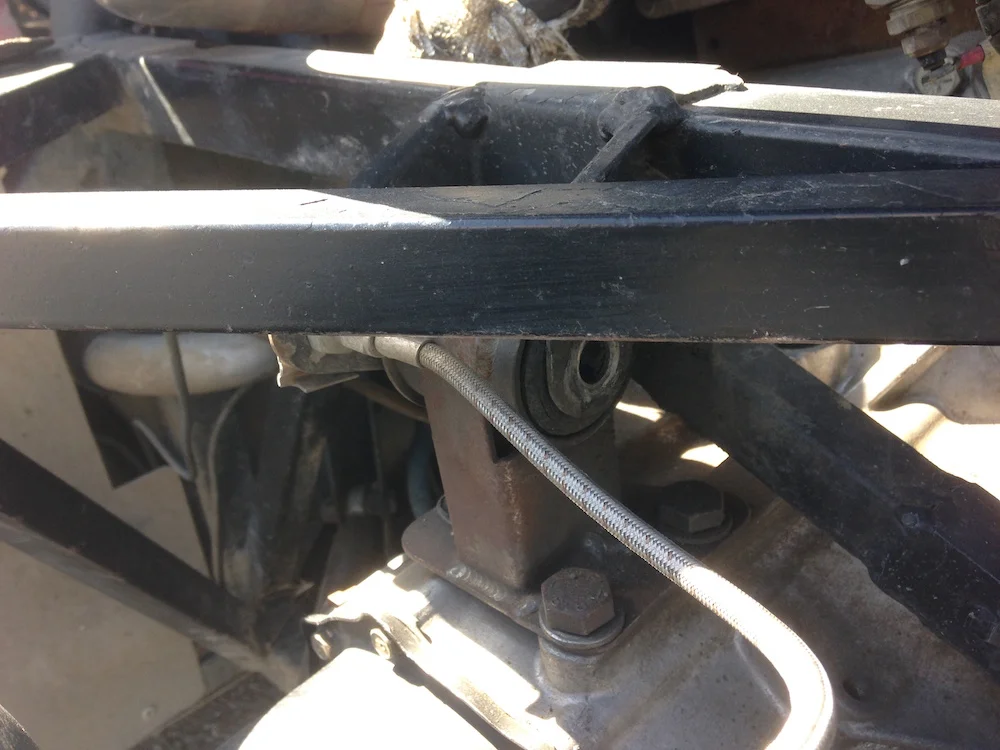
With the wheels and tail out of the way, inspect not only the broken motor mount but all the other motor mounts. Check to make sure the other mounts have not started to fatigue or fail from the movement of the motor and transmission.
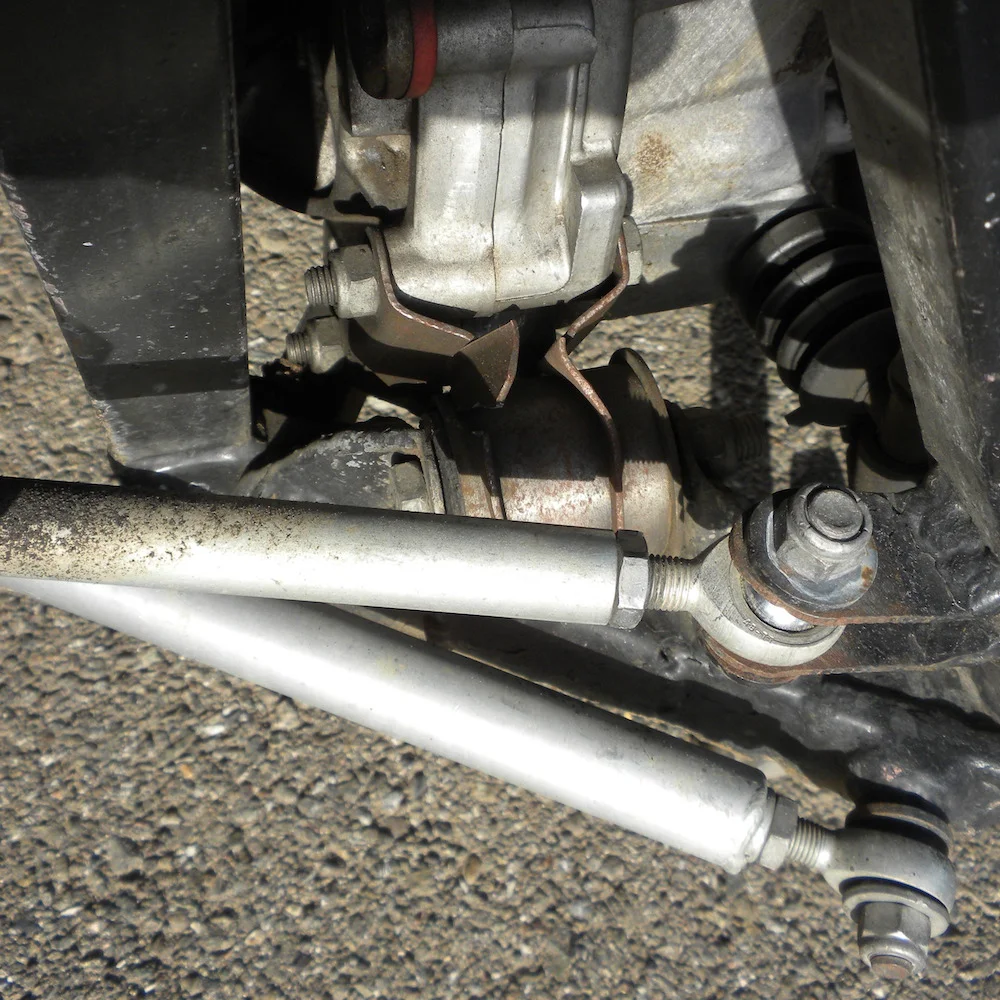
Here is the left hand side mount that is still in decent shape. But the transmission mount is toast.
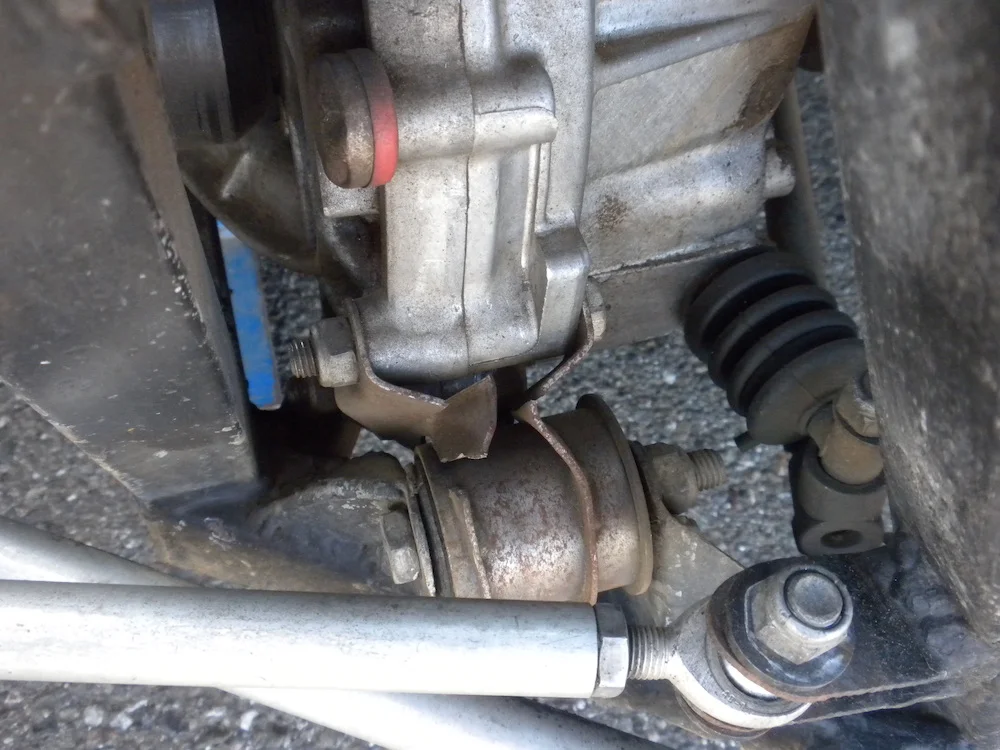
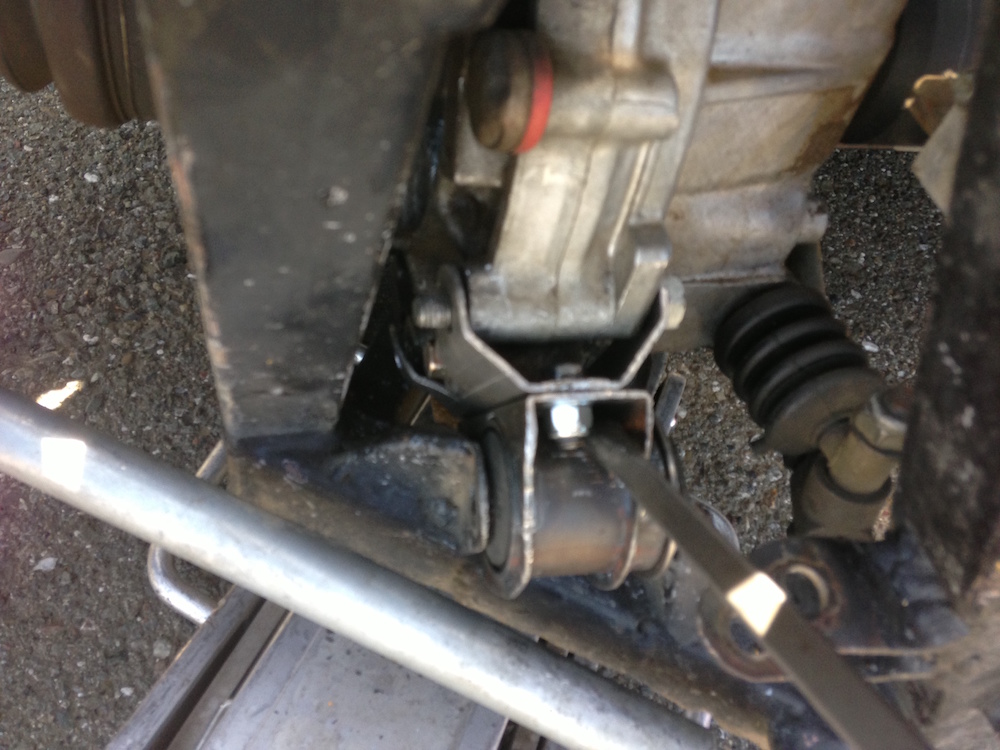
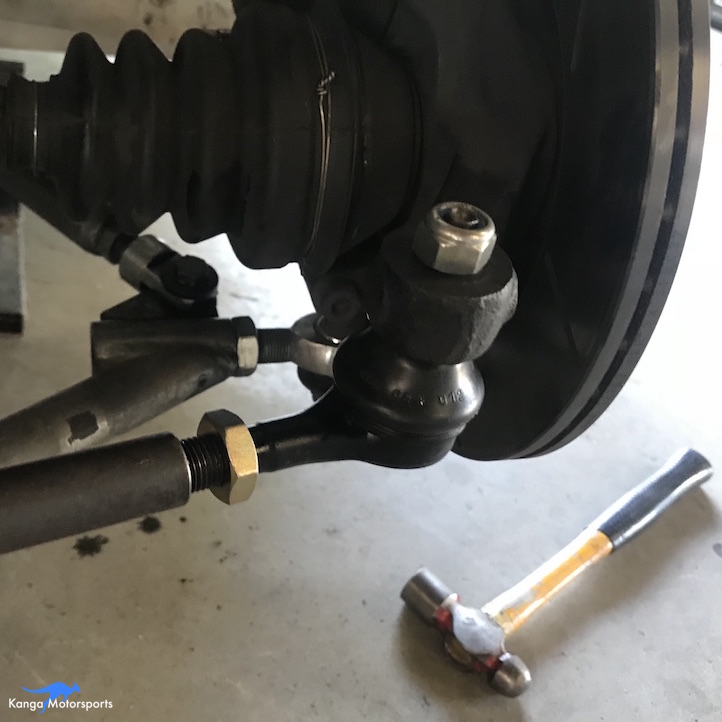
In order to gain access to the transmission mount we needed to undo the rear toe link and move it out of the way. The toe link will have small spacers or washers placed to locate the rod end correctly to prevent bump steer. The important thing is to place the correct numbers and size spacers back in the same location when you reassemble. Use a 5/8 inch wrench and socket with ratchet to remove the retaining bolt and then you can swing the tie rod arm out of the way.
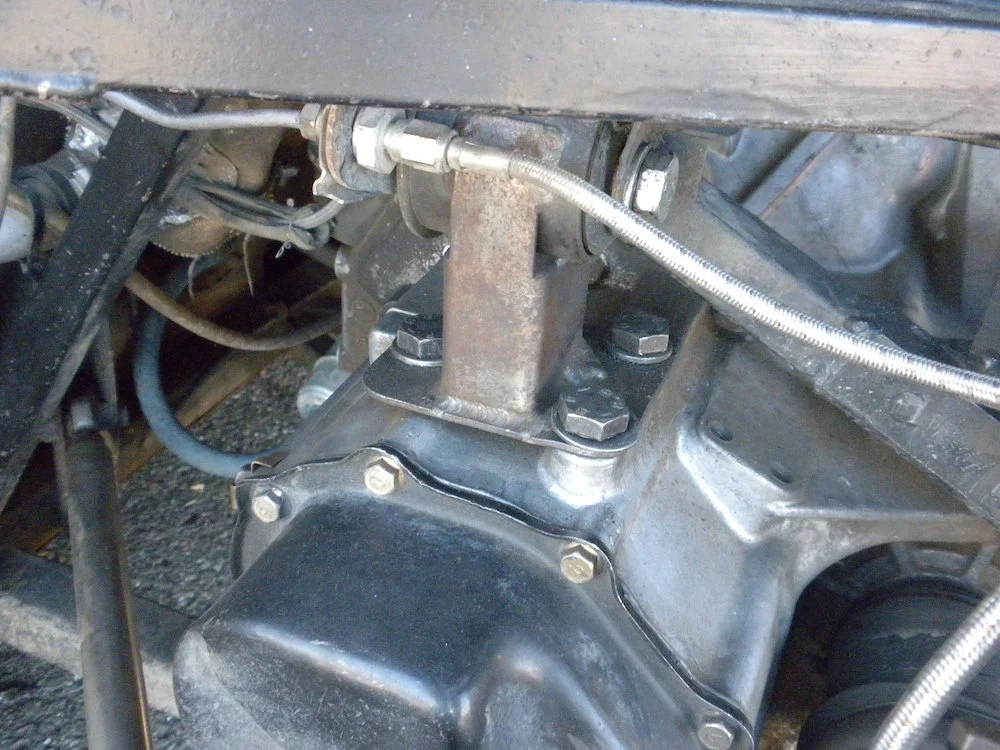
With the rear toe link out of the way you can now begin the process of removing the transmission mount. There are two bolts (top and bottom) on the transmission side and one large bolt to the chassis. Use a 17mm wrench and socket with ratchet for the transmission mount and 3/4 inches for the larger chassis bolt.

If you are having difficulty removing it you might need a pry bar and a floor jack to help you move the motor in one direction or the other. A friend to help you wiggle it out can be really helpful in getting the right alignment so it can just slide out.
The transmission mount was in pretty bad shape and came apart as we removed it from the car.

Before you install the new mount you should paint it to protect it from corrosion. We didn't do this here as we didn't have paint at the track. We will later remove the mount again back at the shop for corrosion prevention.
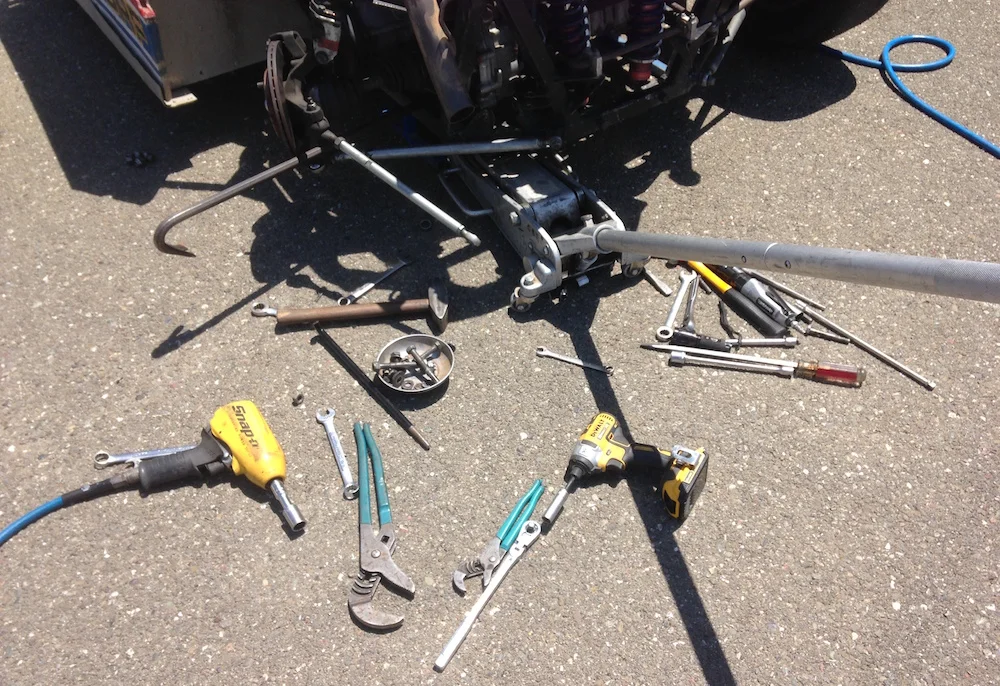
The number of tools laying around the work area are a direct indicator of how much time and struggle was related to the job. We had trouble getting the new motor mount in, as you can see by the large assortment of tools including pry bars, screw drivers and hammers.
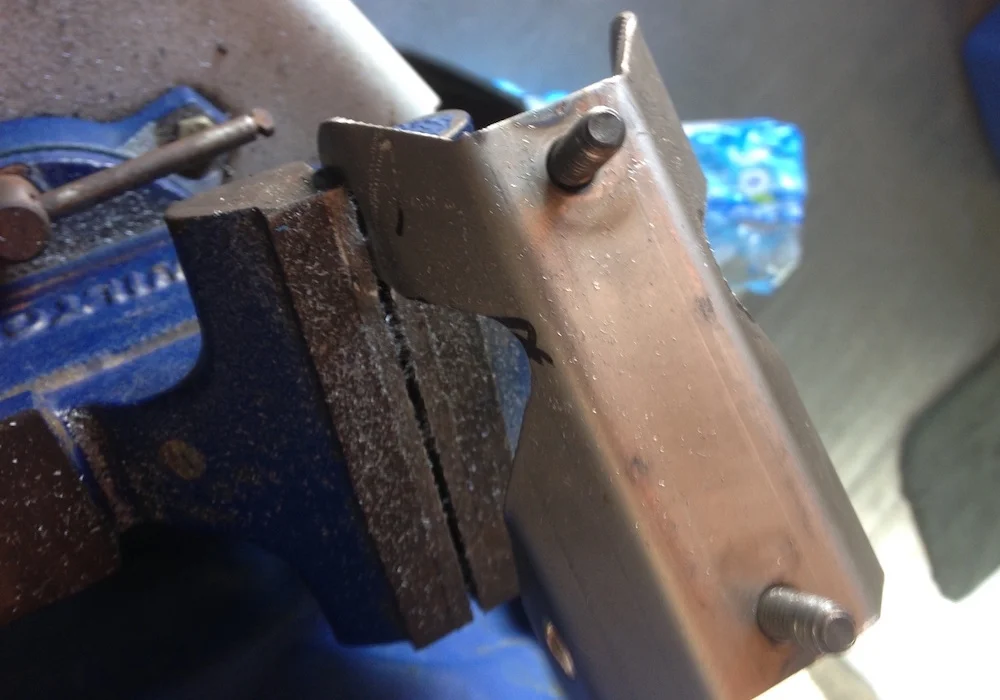
The new transmission mounts are a two piece component one side fits up to the transmission and the other side the chassis. There are two studs and corresponding slotted holes that allow for any misalignment in the chassis mount position relative to the transmission.
After struggling to get the motor mount into place we realized it was hanging up where it fitted up against the transmission. We marked up the bracket and had to do some massaging with a file to provide the necessary clearance.
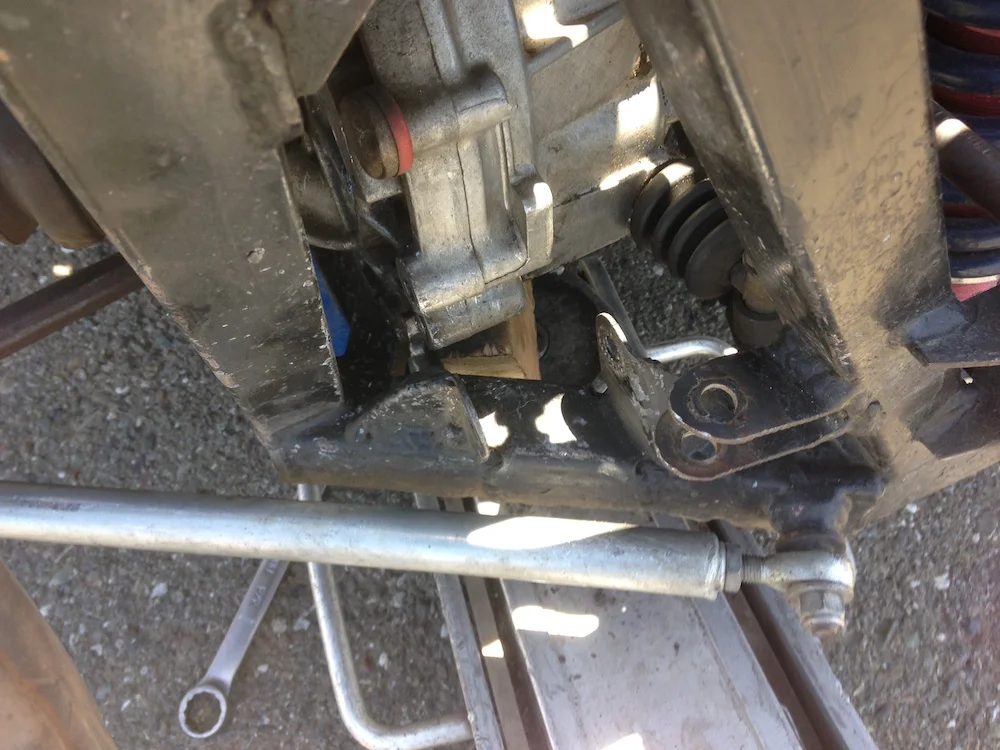
Once you have the mount clearanced you can now go ahead and install the mount. You can place a jack under the transmission or motor to help shift it back and forth or side to side as needed to get it aligned for the transmission mount. It slid right back in.
If you are still struggling to get the mount in place you may need to loosen the other motor mounts in order to shift the motor and transmission into place. Undo the motor mounts using 3/4 inch socket and wrench.
Insert the transmission mount into position and slide the bolts into place. Nut all the bolts into place without tightening them all the way down. You may need to use pry bars, large screwdrivers and/or rubber mallets to help move the motor into place and insert the mount. This is made easier if you have a friend on hand to help.
The transmission mount is now in place and all the bolts inserted and nutted including the additional motor mounts, if you had to loosen them. You can now go around and tighten everything down using the 17mm, 5/8 and 3/4 inch spanners and sockets. Do this systematically and double check them all before you are done. Tighten the two part transmission mount studs and two nuts last, don't forget this step.
If you removed the rear toe link, reinstall the spacers as they were, reset the rear alignment and check the bump steer before heading out on track. Even if you didn't remove the link it is probably a good idea to check the toe to make sure you didn't change anything with all your prying and banging to get the new mount in place.
Other Maintenance Articles


When replacing or refilling the Spec Racer Ford coolant system you need to make sure the all the air is bled out of the system before heading out on track.