
Installing a Fuel Cell & In-Tank Pump Kit
Unfortunately the Fuel Cell bladders do not last forever and over time they will start to leak. Installing a new fuel cell is a pain as you have to remove the seat, hoses and transfer all the equipment onto the new bladder then reinstall it all back into the car. Hopefully this guide helps make the process easier. If you don’t have the In-Tank Fuel Pump now is definitely a good time to upgrade.

Tools and Equipment
New Fuel Cell - Enterprises PN: 580624, 580624A, 580625, 580625A depending on needs. We used 580624 the ATL Foam Bladder with foam and oval gasket.
In-Tank Fuel Pump Kit - Enterprises PN: 1150002
5/16 inch Nut driver
-6 AN Wrench
3/8, 7/16 inch Wrenches / Spanners
3/8, 7/16 inch Sockets
3/8 inch drive Ratchet
Impact Driver (Optional)
Hacksaw Blade
Sheet Metal Sheers
Coarse and Fine Files
Pry Bar
Screwdrivers
Wire Strippers
Wire Crimpers
Remove the Old Fuel Cell
Start by draining all the fuel out of the car. This can be accomplished by disconnecting a hose from the fuel rail, putting one end into a fuel jug and using the button on the Gen3 or by jumping the relay on the Gen2 to activate the fuel pump.
Disconnect the fuel filler hose from the fuel cell side, see our Fuel Filler Hose article if you are unsure of the steps.
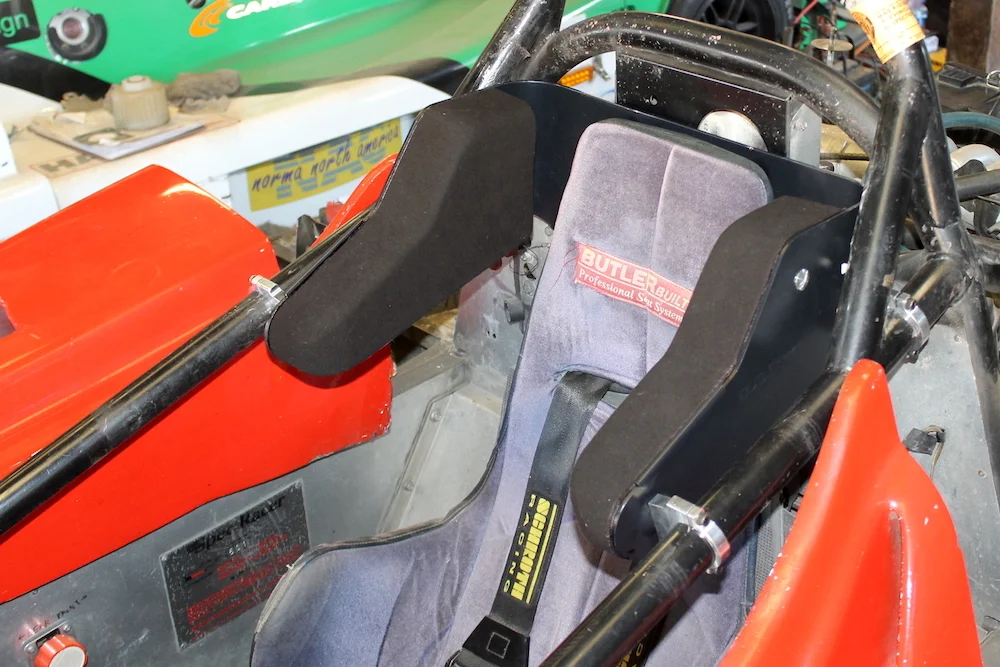
Remove the seat from the car. If you have a ButlerBuilt Seat you can use our installation guide as a reference. For the Fiberglass seat see the Spec Racer Ford Gen2 Manual in our Tech Tips section.

Undo all the fasteners holding the Fuel Cell cover in place using the 5/16th inch nut driver and 3/8th inch wrench, socket and ratchet or impact driver. There should be 4 sets of fasteners the two sides, the top and the bottom rows.

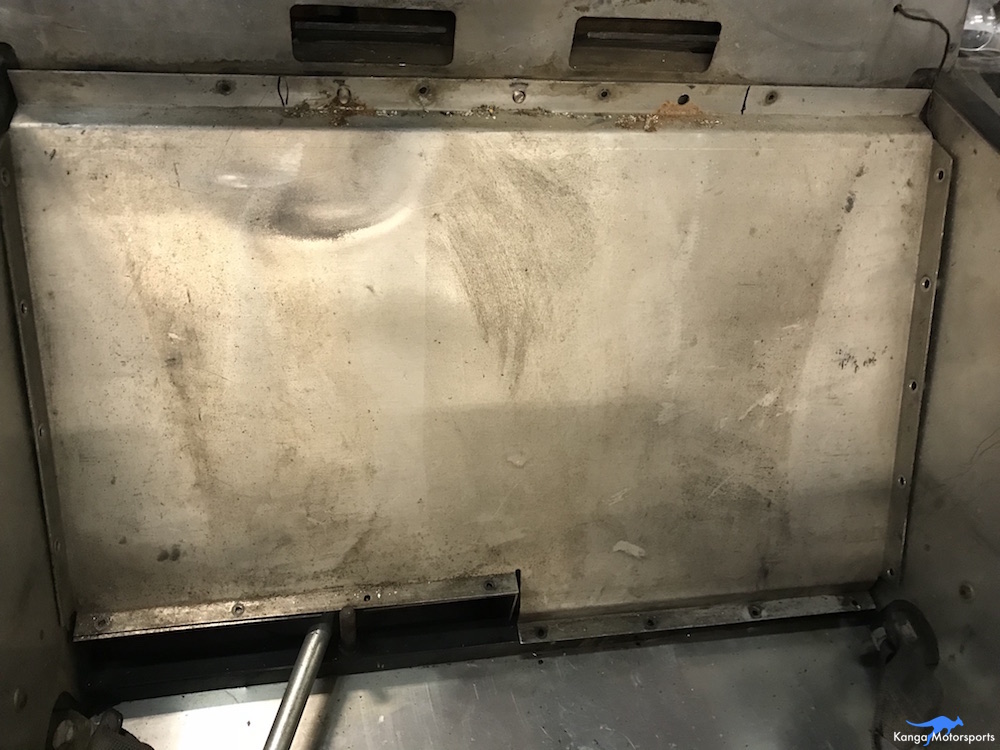
To remove the fuel cell cover you might have to use a pry bar or blunt flat blade screw driver to help get it loose.

If your fuel cell cover panel isn’t notched for the ButlerBuilt rear bulkhead mount now is a good time to mark it up and notch it. That way you don’t have to undo the difficult to reach rear bulkhead bolts each time you have to access the fuel cell. This can be accomplished using a hacksaw and some sheet metal sheers. You might need to clean up the edges with a file.

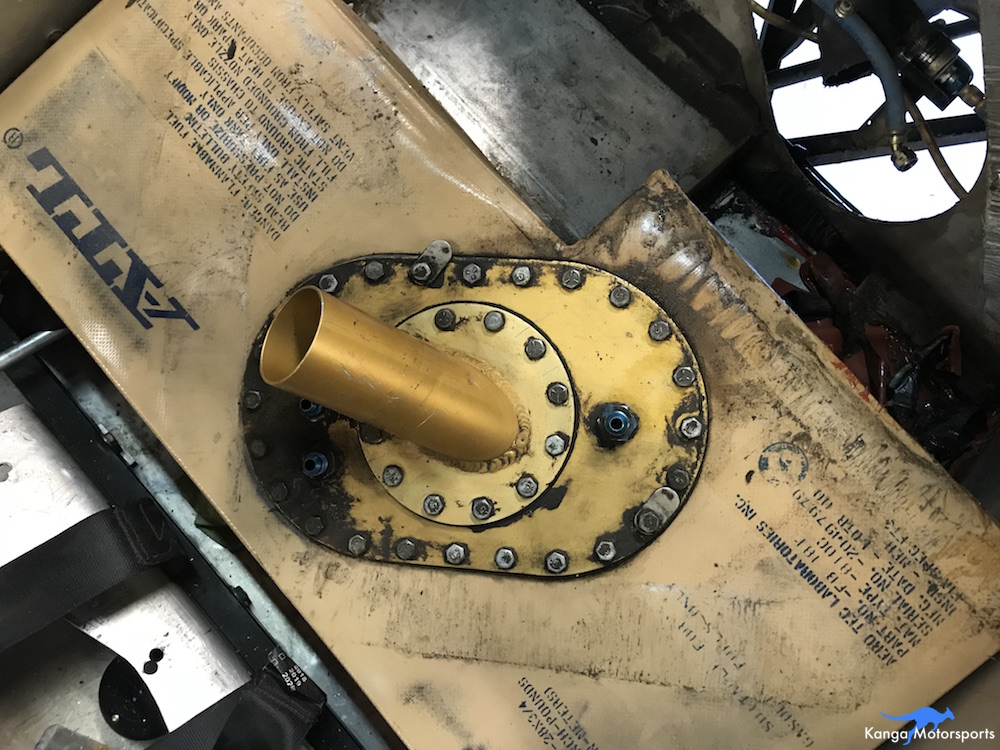
Before disconnecting the fuel lines it is a good idea to mark which fitting is the Vent and Return.
Disconnect the fuel lines from the Fuel Cell close out plate using the -6 AN wrench. If your hoses are old and starting to crack now is a great time to swap them out for a fresh set of AN hoses and fittings.

Loosen the the closeout place bolts with the locating tabs using a 7/16th inch wrench or socket and ratchet. Then you can swing the tabs out of the way of the engine bay bulkhead and pull the fuel cell out through the drivers compartment.
Clean the Area
If the fuel cell is old or has not been removed in awhile it is going to be filthy.
You will need to reuse the cover plate and fittings so it a good idea to block all the holes with plugs and give the plate a very good clean.

With the fuel cell out of the car, now is the perfect time to clean out all the old gunk that has collected over the years.
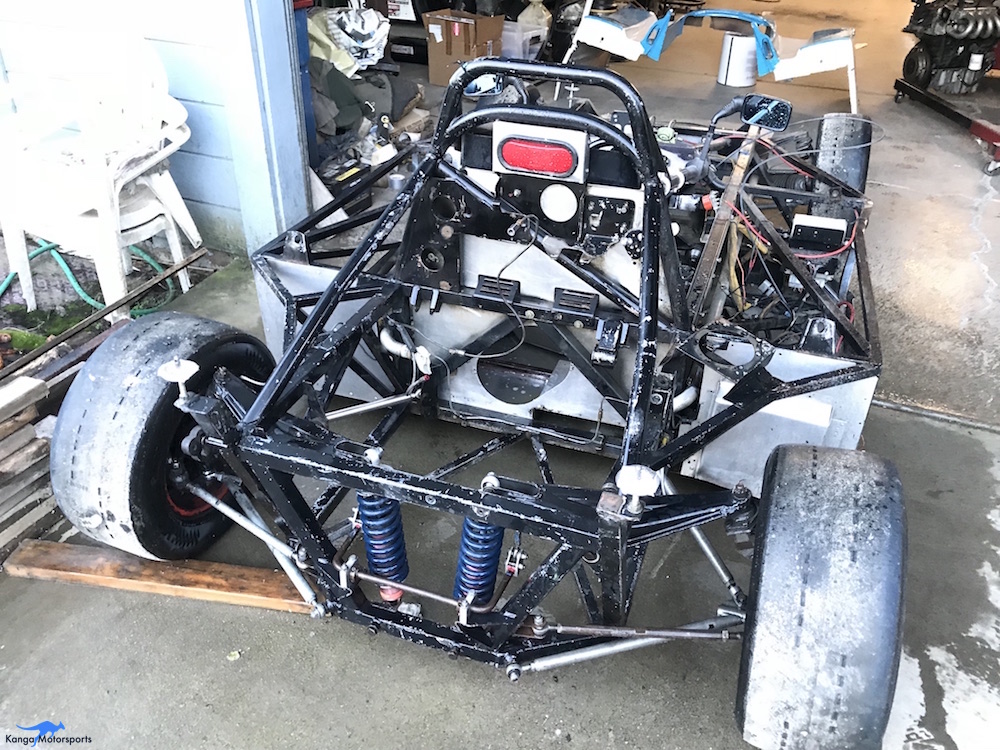
I was replacing my fuel cell and installing the In-Tank Fuel Pump when doing the Gen3 Upgrade so it was a good time to clean out the entire engine bay and cockpit.
Before installing the new fuel cell into the car you will want to protect it from any sharp elements that would rub against the fuel cell while driving such as rivet heads and sheet metal edges. Better off using a little bit of tape now then putting a small hole in your very expensive new fuel cell.
Prepare the New Fuel Cell
The new Fuel Cell comes with compliance documentation make sure to store this in a safe place.

Depending on the fuel cell you buy it might come with foam that helps reduce the amount of fuel movement as you corner, brake and accelerate. You will need to cut the foam to fit the surge box in place. This can be accomplished with a hacksaw blade. The surge box should sit at the lowest central point with about an inch of clearance all around.

Install the internal vent line and make sure the hose is not kinked or blocked as the tank will not vent correctly and you will have a hard time get a full fuel load into the car as the air can’t escape.
If you have the external fuel pump and are upgrading to the internal fuel pump see the “In Tank Fuel Pump” section below before proceeding to the next steps. Otherwise continue on.
Use a brand new gasket and replace the fuel cell cover plate. Just loosely thread all the fasteners in place. Make sure the plastic washers are all in place, you do not want any leaks. Do not tighten down yet we will torque them to the proper spec later.

It is a good idea to mark which fitting is which, here you see a “V” for Vent and “R'“ for Return.

If you are doing a Gen 3 conversion you might find it beneficial to slightly clock the fuel filler neck to curve the fuel filler hose. This will make it easier to remove the oil filter when it comes time to do oil changes. Use a brand new gasket if you do undo the fuel filler neck portion of the closeout plate. Here you can see we clocked it two fastener position if you notice the black indicator lines. It depends on your car and hose routing on how many positions to clock it, one might be sufficient. We still have a hard time removing the filter in this position.

For both the filler neck place and fuel cell cover lightly snug the bolts first using a star pattern criss crossing. For the 3 fasteners with the locating tabs you will have to provide the final toque when the fuel cell is in place and the tabs are rotated into the correct position. Do not tighten one side straight away as you don’t won’t to pinch and ruin the gasket seal, you want to get an even crush across the entire surface area. Then torque to the manufacturers recommendation 40 in-lbs. We did a two step process 20 in-lbs all around followed by 40 in-lbs. Be very careful not to over torque these bolts as you can easily strip them out ruining the fuel cell in the process.
In Tank Fuel Pump
Detailed instructions for installing the new pump were provided by SCCA Enterprises in a Technical Bulletin.

The basics of the install are updating and modifying the surge box to house the new fuel pump and pick up mesh. Then modifying the fuel feed line to connect the to the pump and outlet of the fuel cell cover plate. You will also need to drill and secure an new pass through for the electrical connector and then terminate it to the engine harness.


Install the New Fuel Cell
With the new fuel cell all sorted it is time to get it back into the car.

Place it in the cockpit and you will need to position it so that you can get the fuel cell cover plate in the hole of the engine bay bulkhead.

Then rotate the three locating tabs into position and torque those bolts to the manufacturers recommendation, 40 in-lbs.

Reconnect all the fuel hoses including the feed, return, vent and filler hose. Good thing you marked the Vent and Return line positions. You did remember to do that right?
Connect the fuel pump wiring to the engine harness.
Pour some fuel into the fuel cell and check for any leaks on the cover plate, hoses or filler neck.
It is a good idea to turn on the ignition and check you are getting fuel pressure before you cover over the fuel cell and reinstall the seat. That way you do not have to remove it all again if there is an issue and you have to pull the fuel cell out.

If everything is working reposition the fuel cell cover and reinstall the fasteners. Reinstall the seat and you are ready for the next race weekend.
Big thank you to CSR Performance for all the help with the fuel cell.
Other Tech Tips


We decided to replace the old bent and misshaped suspension rockers with the new lighter and stiffer tubular rockers. The step by step guide should make it easier for those attempting the work themselves.