
Ever wanted to go faster but find yourself sliding around in the seat? Or come off the track after a long session and have a stiff back because you were sitting weird trying to support yourself? Perhaps you need to pour yourself a custom seat insert fitted precisely to your body. Below is a step by step guide for pouring a custom foam insert into your race seat using the BulterBuilt E-ZSert kit. If you don’t have time to read you can also watch the video showing the whole process from start to finish.
ButlerBuilt E-Z Sert Kit
Part A Chemical
Part B Chemical
SFI 45.2 Approved Foam Pad
Plastic bag
Duct tape
Double sided tape
Stir mixer
Spray Adhesive
Electric carving knife
Flame retardant fabric

Extra Tools and Equipment
Although the ButlerBuilt kit comes with everything you need to produce the foam insert there were a few extra items we found to be helpful.
Hacksaw blade
Stanley knife
Marker
Sand paper
Preparing The Seat
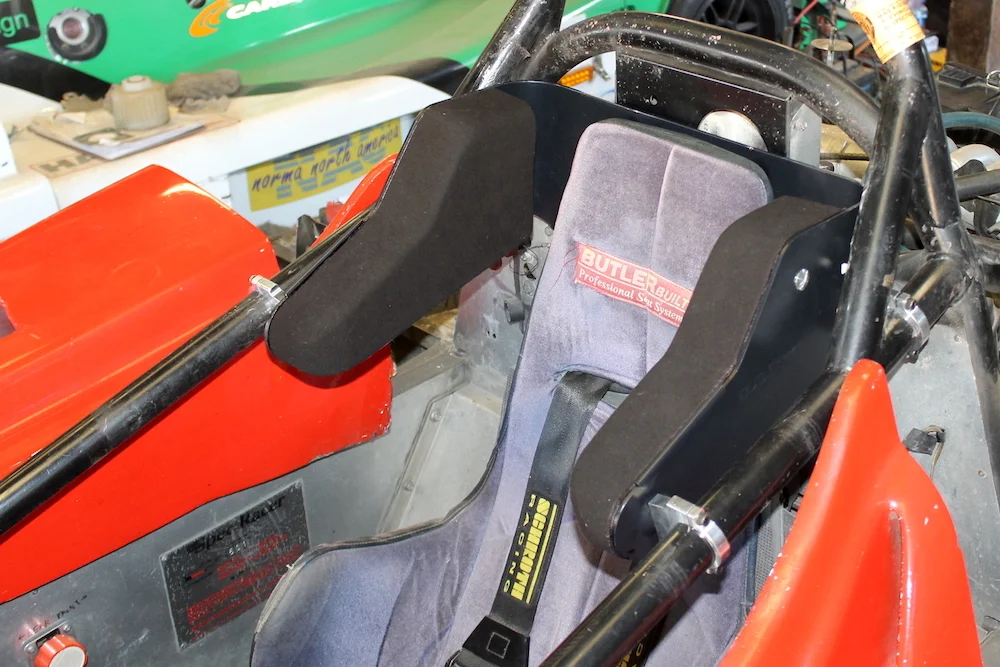
Here we show how to pour the insert using the ButlerBuilt seat but you could also do it with the fiberglass seat or any other race seat you have in the car. The principles and processes are the same regardless of the seat you are using.
We started with the a brand new seat that was not yet mounted in the car. You can skip a few steps if your seat it already mounted into the car. Having the seat out of the car made it easier for us to film and show you how to go through the process.

First step of the process is to ensure the seat is clean. Wipe it down with a cleaner that doesn’t leave any residue. ButlerBuilt recommends glass cleaner or acetone. Avoid lacquer thinner, especially on powder coated or painted seats as it can ruin the finish.

Before pouring the liquid foam into the seat you want to make sure there is a small amount of thickness in the base of the seat. Use the provided foam pad to raise the driver to the correct height. If you do not use any foam pad the liquid foam will be squished out when the driver sits down placing them at the wrong height and resulting in a hole at the base of the insert.
Measure and cut the foam pad to fit the shape of the seat base, leaving a 0.5 inch gap around all sides.
Test fit the foam pad to ensure there is a half inch gap around all the edges. The gap allows the liquid foam to fill in and expand to make a good bond and provide strength to the foam insert.

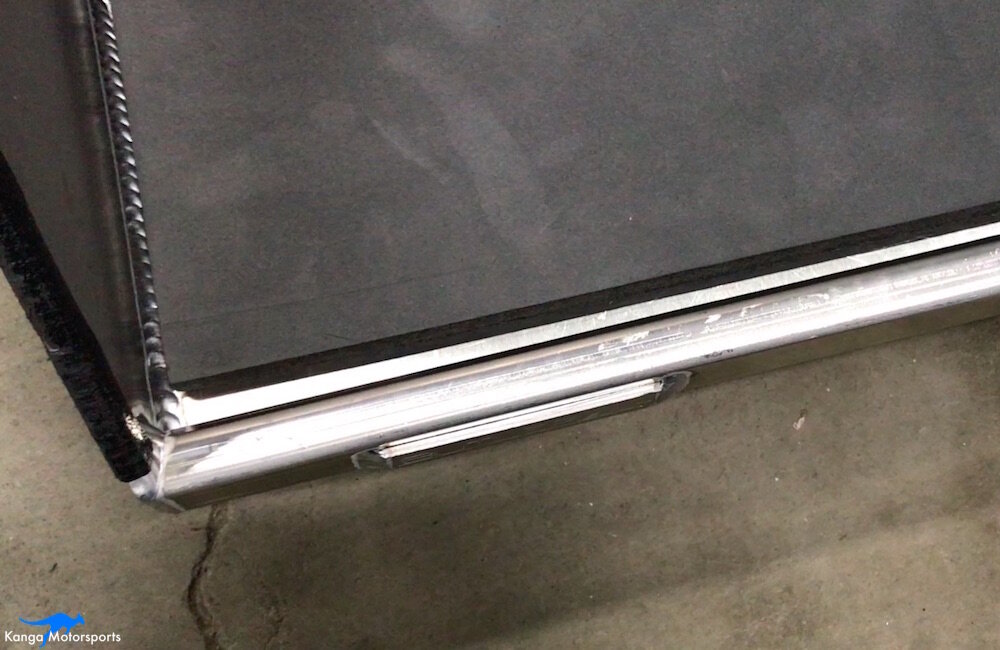
Make sure to tape off the front lip and opening of the seat. If you don’t the foam can expand into the opening and make the insert very difficult to remove from the seat.


Once the foam pad is cut to shape, place it inside the large plastic bag. Position the bag with two to three inches gap from the bottom to allow the liquid foam to expand around the driver and base.

Also check that the bag is centered in the seat so there is an even overhang on both sides.

Next fold the bag up around the foam pad in the base to provide you access to install the seat into the racecar and/or lay down the double sided tape.

Position double sided tape on the seat to help hold the bag in place. We used the black gaffer tape below the double sided tape to make it easier to remove without leaving any residue. Place the double sided tape on the sides, bottom and back of the seat.
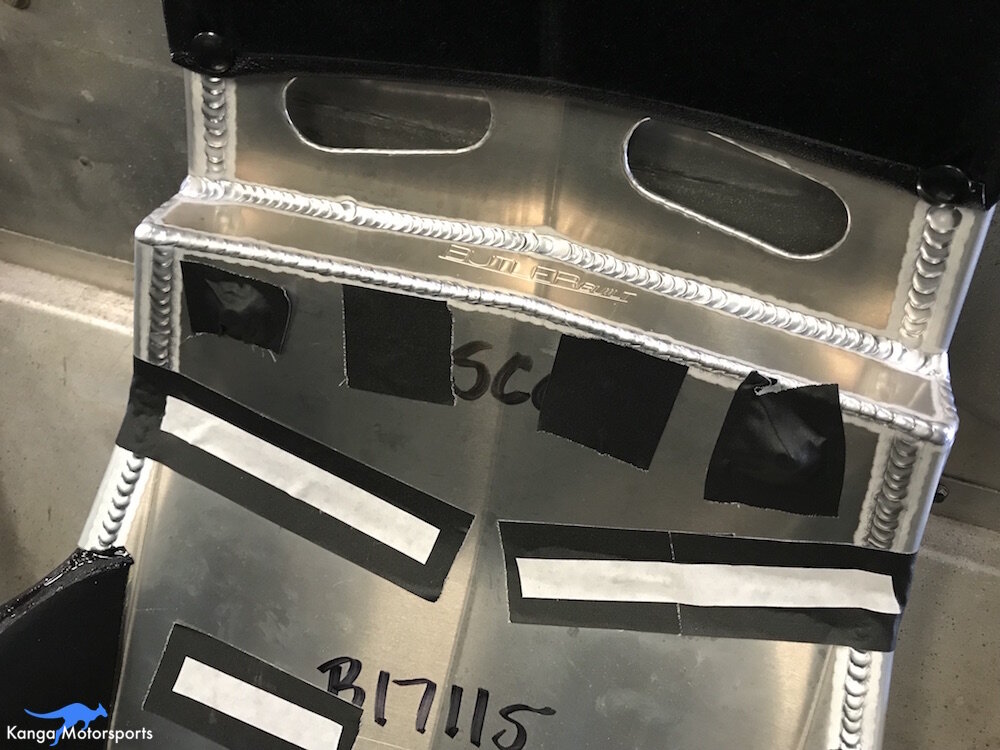
Tape over any sharp edges or bolts heads to ensure they don’t pierce or tear the bag.
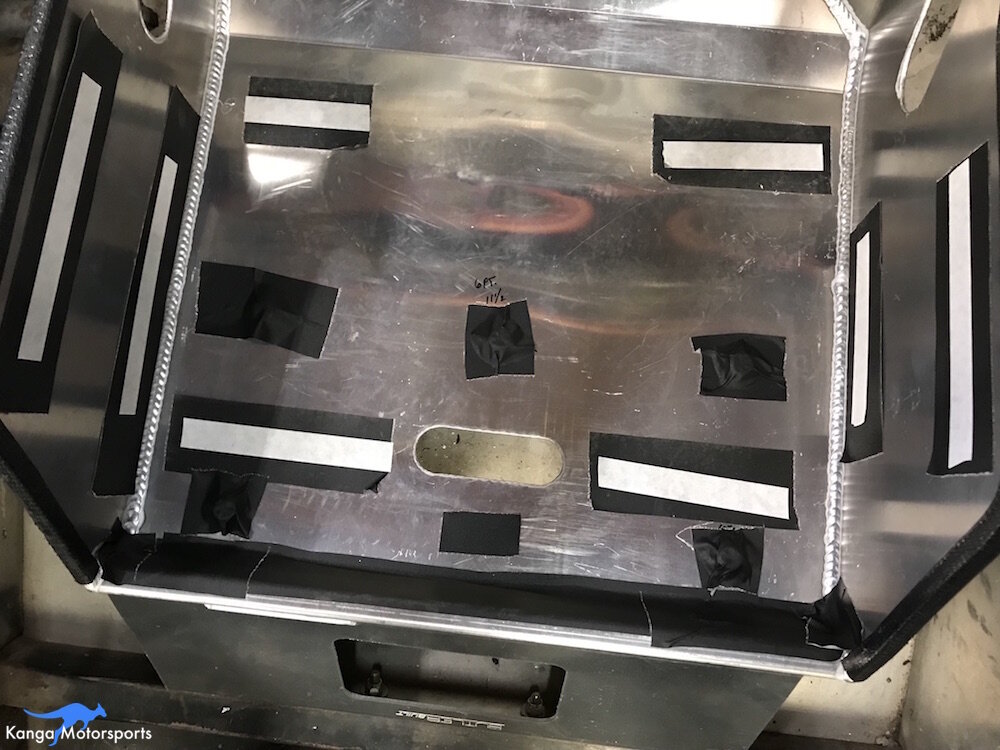
Here you can see the bottom of the seat and sides all taped up and with the white double side tape positioned to hold the plastic bag in place.

Remove the front liner of the double sided tape and reinstall the plastic bag and foam pad.
Pouring the Insert
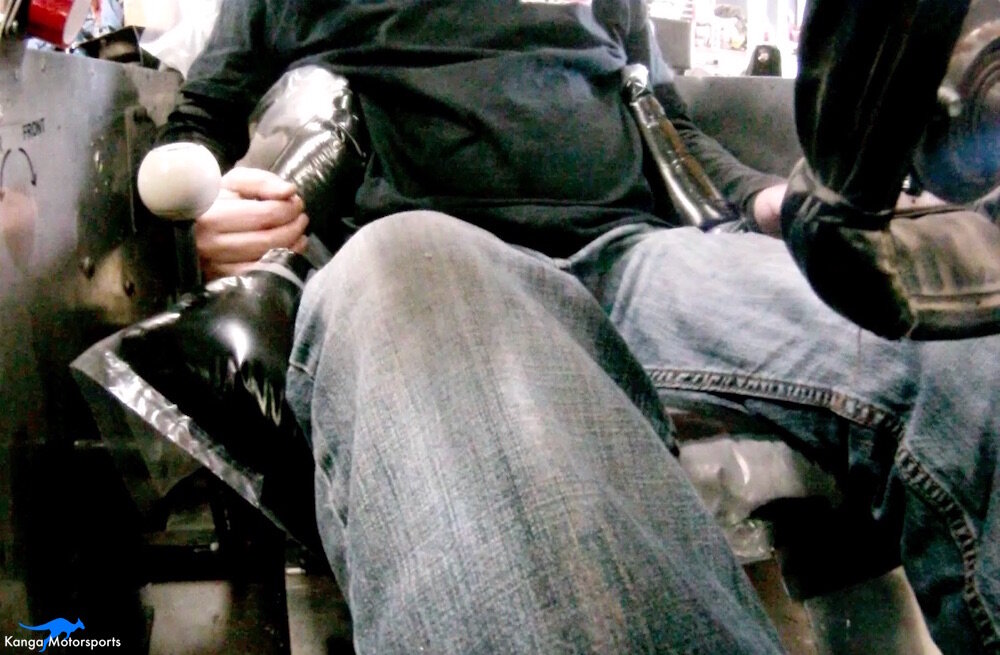
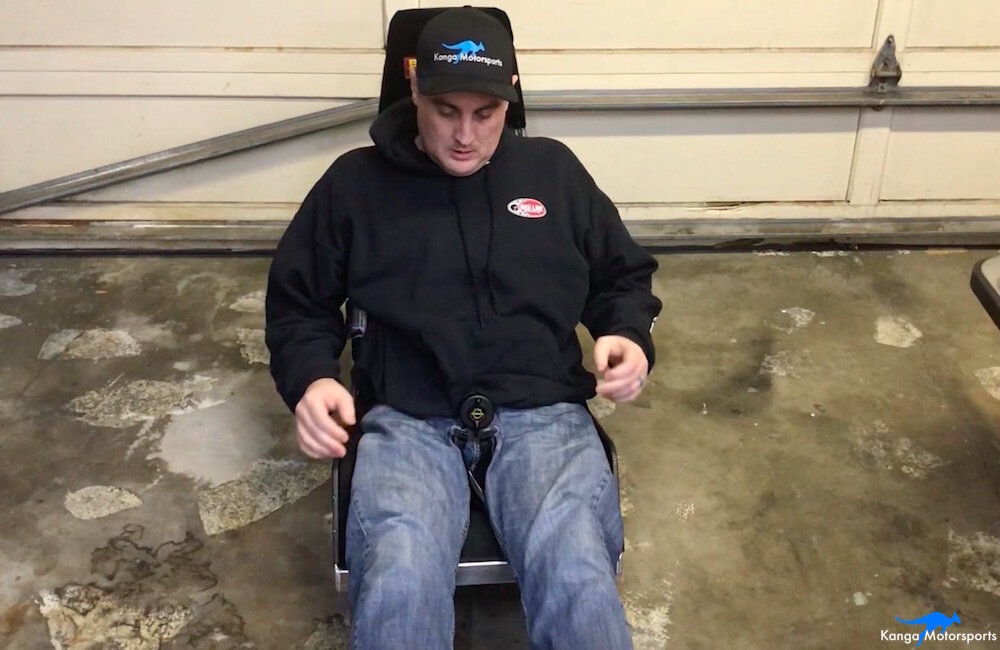
Before pouring the liquid foam make sure to have you drivers suit on or thin similar clothing. Avoid wearing a belt or anything bulky that might distort the foam and not fit you correctly. If you use a Head and Neck Restraint device that fits around your chest also make sure to wear it. You want the foam insert to suit you in your driving gear.
It is very important to read the included instructions on the chemicals otherwise you can end up with a horrible mess on your hands.
According to ButlerBuilt it is critical that the chemicals are at a temperature range of 65-80 degrees Fahrenheit or (18-27 Degrees Celsius) otherwise the foam won’t expand correctly and the results will be poor. DO NOT attempt to heat the chemicals up in the microwave. It is also not recommend to pour them the same day as you receive the shipment as the chemical has probably been through temperature swings. You want to make sure they are at a suitable and stable temperature overnight.
Before mixing the chemicals get the plastic bag into position and have the driver sit in their seat in the racing position. You want to check the bag is not creased or folded over on itself. Be very careful not to puncture the bag. It might be useful to remove the steering wheel to make more room for getting in and out of the car.
Cover the floor under and around the buckets with a disposable item in case of splashing from the mixing.
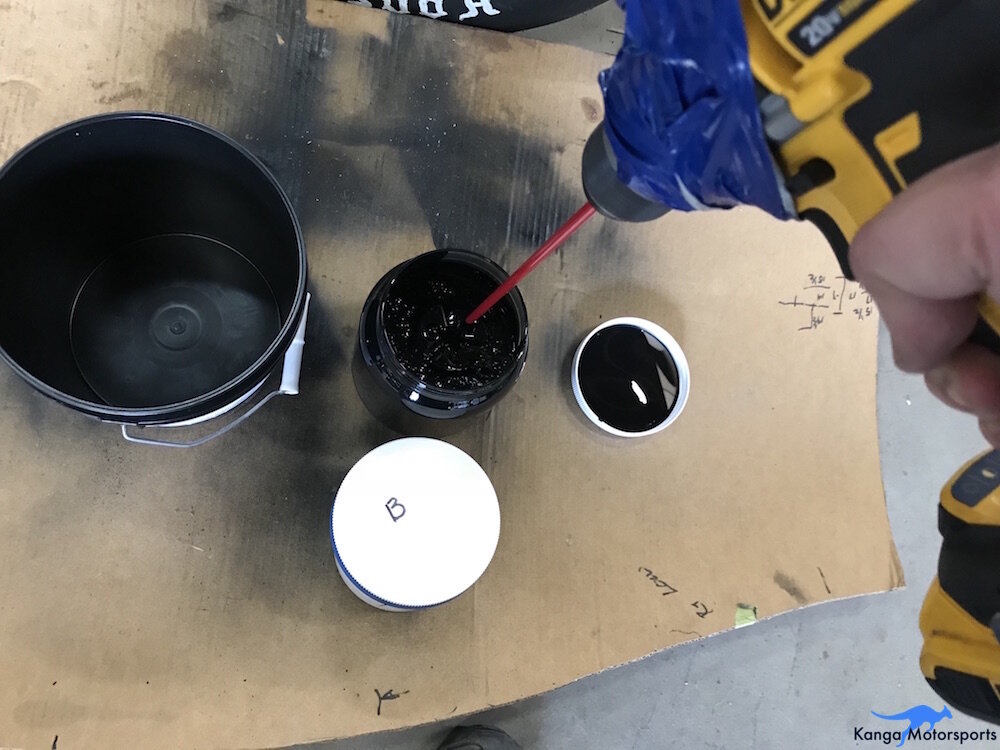
Open the buckets and there will be a sealed container inside each bucket, Part A and Part B. Stir only Part A inside of the jar for at least 1 minute using the provided stirrer and an electric drill. The electric drill needs to have a minimum of 2400rpm. Stir until the entire contents has turned black and has no white streaks in the liquid.

Transfer “Part A” from the jar into the “A” bucket.
Make sure you have the driver in place. Once you mix Parts A and B you will have a very limited time window.

Once Part B has been poured into part A you cannot stop!
With the driver in place pour Part B into bucket “A”. Mix on full rpm for 10-12 seconds. Get the chemical into the bag as quickly as possible. Have the driver lean forward and slightly lift up from the seat and dump all of the chemical into the plastic bag. This will allow the chemical to flow under and around the thigh and leg area.

As the chemical flows down have the driver sit down in the racing position and the chemical will foam up around them. You might have to have the driver lean forward for it to flow up their back and once it reaches their shoulder blades they can sit back and hold (or pretend to hold) the steering wheel.

The foam will continue to expand around the driver and into the rest of the bag.
Wait approximately 5-7 minutes for the chemical to cure enough before the driver exits the seat.

Wait another 5-10 minutes (or longer) for the foam to sure before trying to remove the insert from the seat.

Be careful when removing not to tear the foam. If tearing does happen it can be easily glued back together using the spray adhesive. We found it easiest to pull up on the bag and slowly pry around all the edges of the seat to help work it loose.

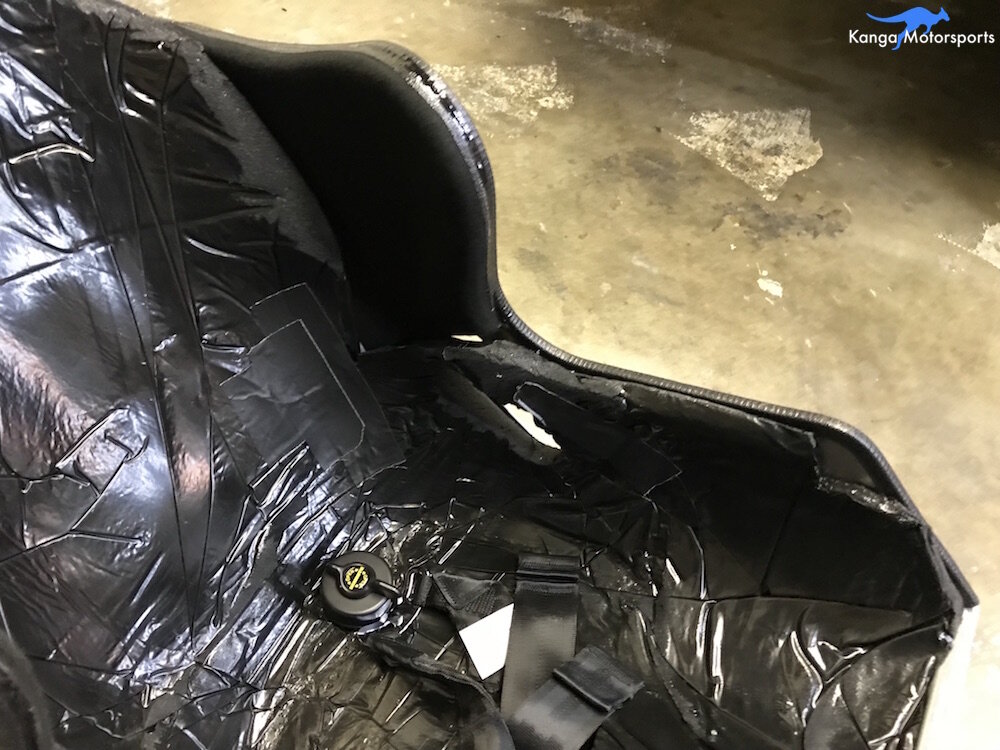
With the foam insert cured and the edges loose you can now pry the plastic bag and insert from the race seat.

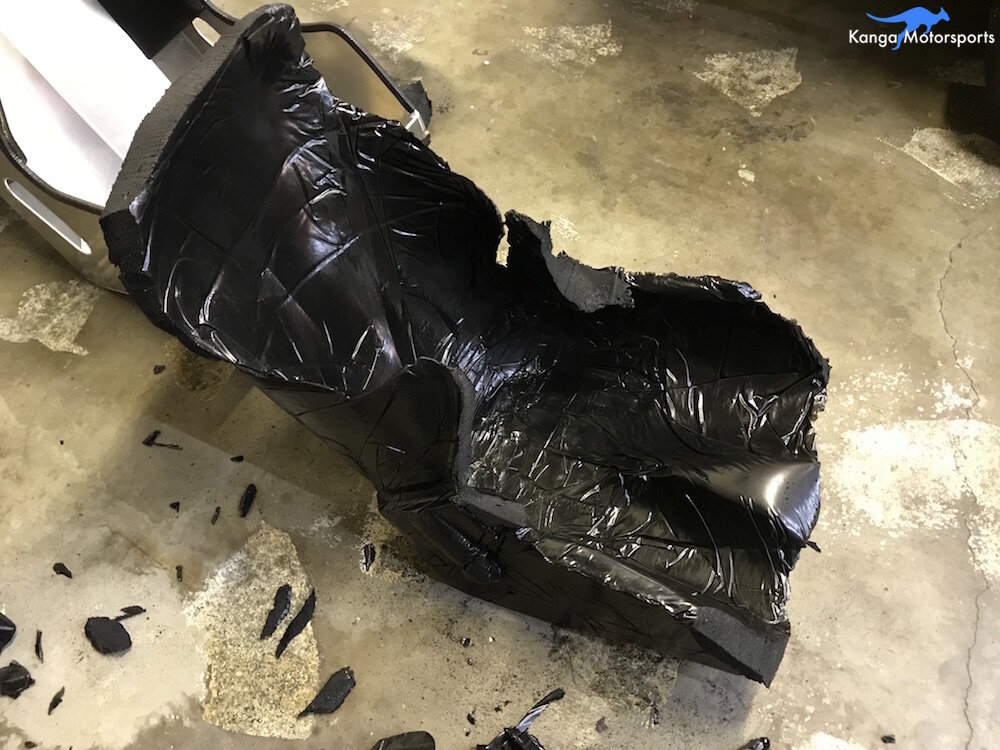
Here you can see the bag and new foam insert removed from the seat.

With the bag removed from the car you can now carefully separate out the foam insert. It should come away easily as you slowly and gradually work the bag away from the opening. We had a couple of places where the bag had folded creases so these would need to be smoothed out later. You can also see the excess foam that bulged around the edges, the next part of the process is to trim off these bulges and finalize the shape of the insert.
Shaping and Trimming
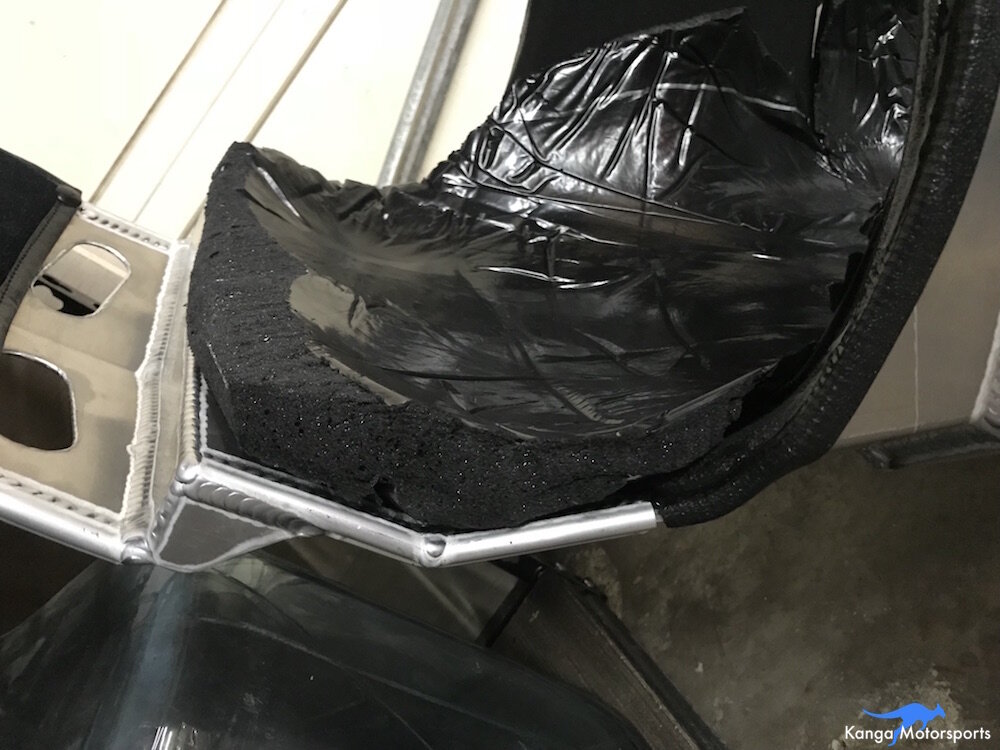
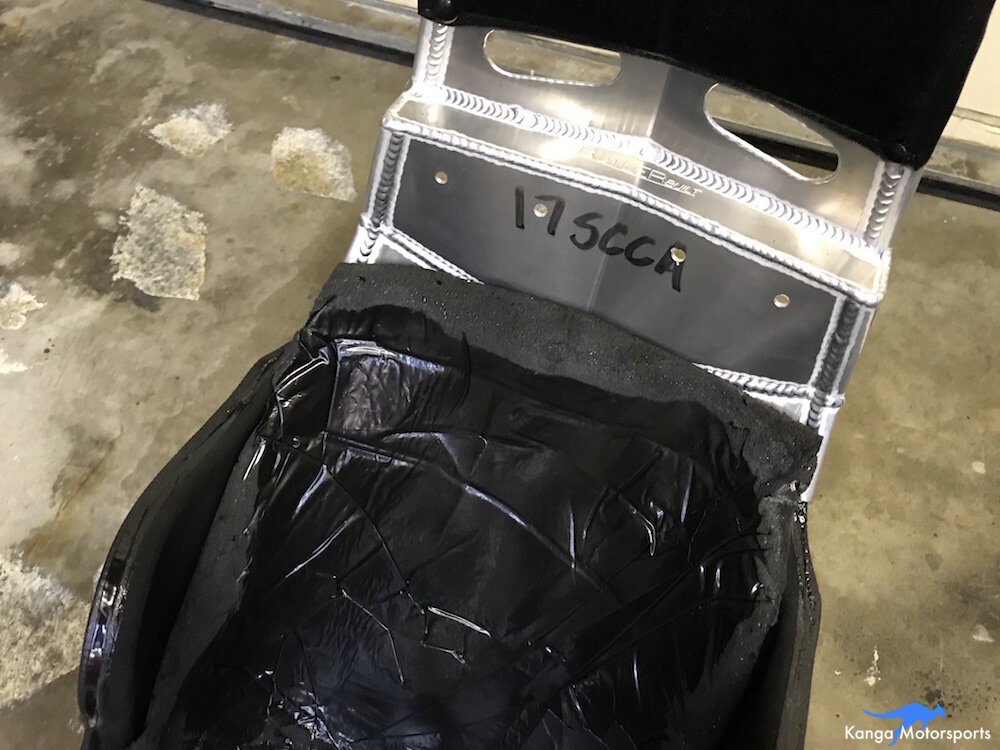
The next step is to remove excess foam from the insert that flowed past the driver and seat. Here you can see we have the seat out of the car as it gave us more access and we could also show you better what we were doing.

Up close you can see the excess foam around the upper portion of the seat, around the wings and at the base.

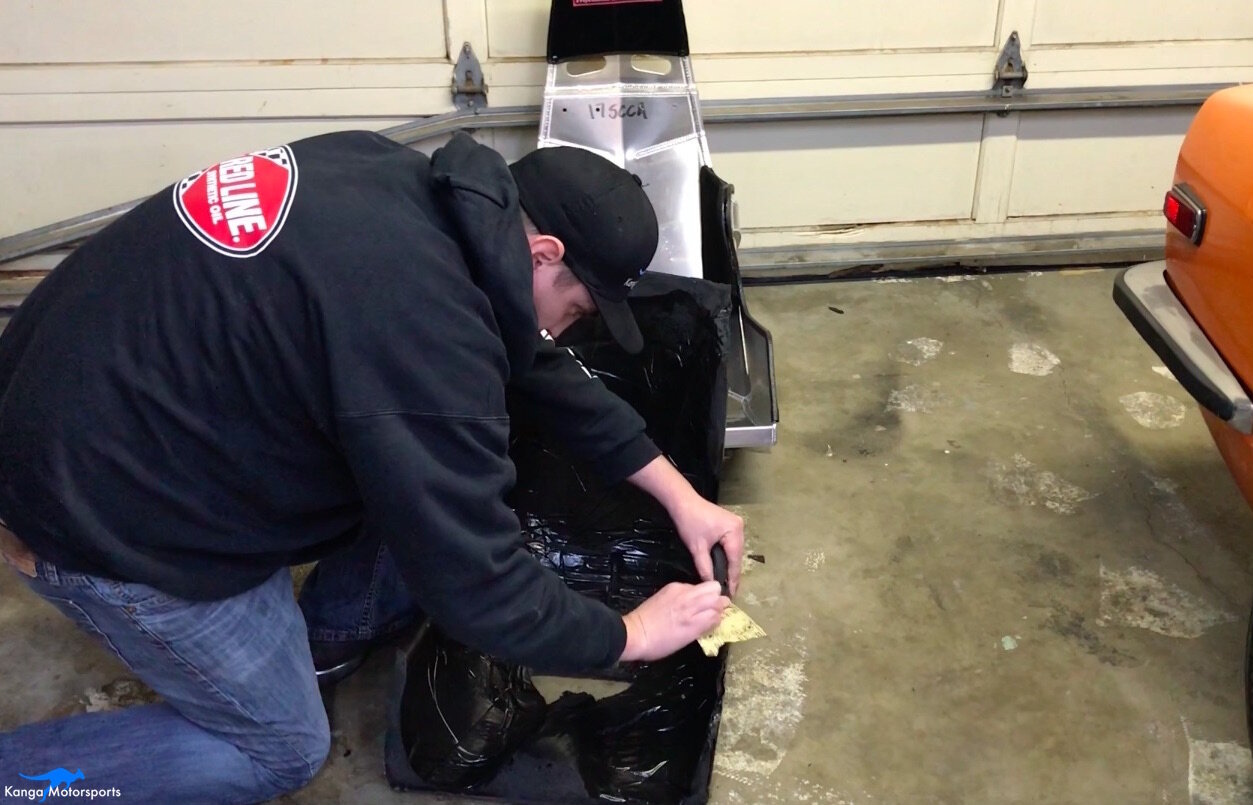
Use a paint pen or similar to mark out all the areas of excess foam with the insert in the seat.

Use the electric carving knife to cut off any large chunks of excess foam. Alternatively we used a spare hacksaw blade to better control the angles and fine tune the cuts.

Here you can see the large excess chunks have been removed.

Refit the insert into the seat and check the shape and edges.

Repeat the process marking out the high spots and any areas that interfere with driver ingress and egress.


Continue trimming and test fitting by sitting in the insert. Here we have removed the large excess foam from the side wings, since they were in the way when getting in and out of the seat.

It might take several iterations to get the fit and shape correct.

We found using the hacksaw allowed us to do small controlled cuts taking off a little amount of material each time.
When we poured the foam seat I don’t think we sat our shoulders all the way back and we ended up with a large amount of bulky foam in the upper areas of the seat. It took a fair amount of cutting and shaping to get the feel just right.

Next step is to cut out the belt holes. The side lap belts are easy to locate by the bulges. Use a sharp Stanley knife to roughly cut out the bulges and foam underneath. You can then use the carving knife or hacksaw to fine tune the shape before using sand paper to smooth out the edges.
Test fit the insert to the seat and make sure the belt holes line up. Test to ensure the belts feed through and have the proper alignment.

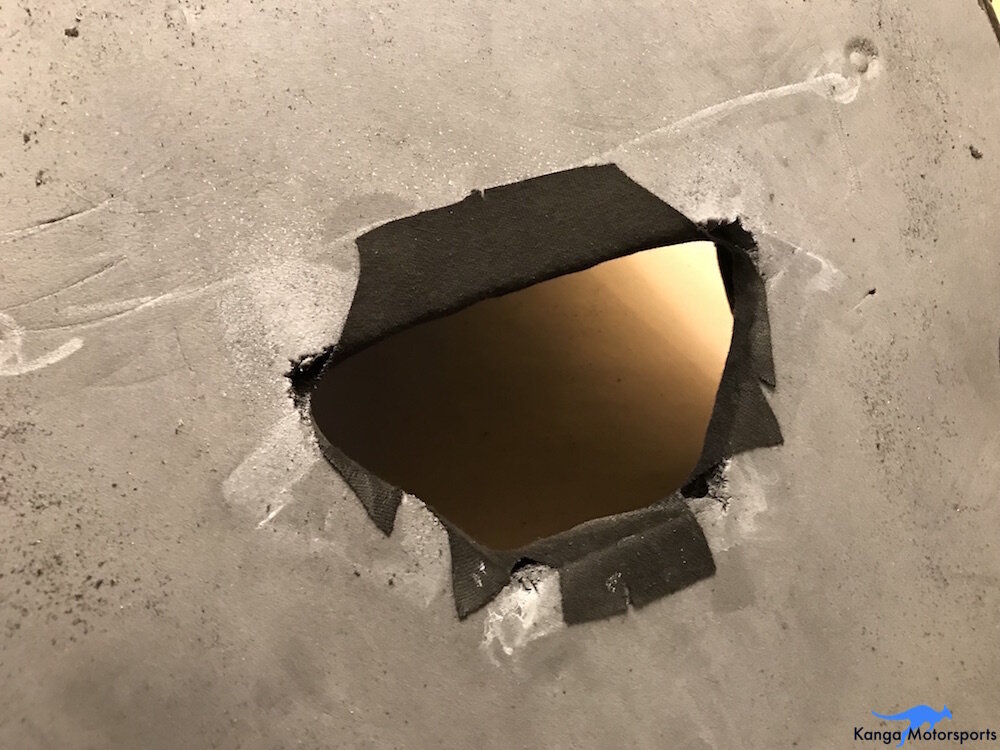
To properly position the submarine belts you will need to cut a hole in the base of the insert. Thanks to my buddy Emmett that machined up bushing to perfectly fit the seat belt attachment anchors and bolt them into the base of the seat.
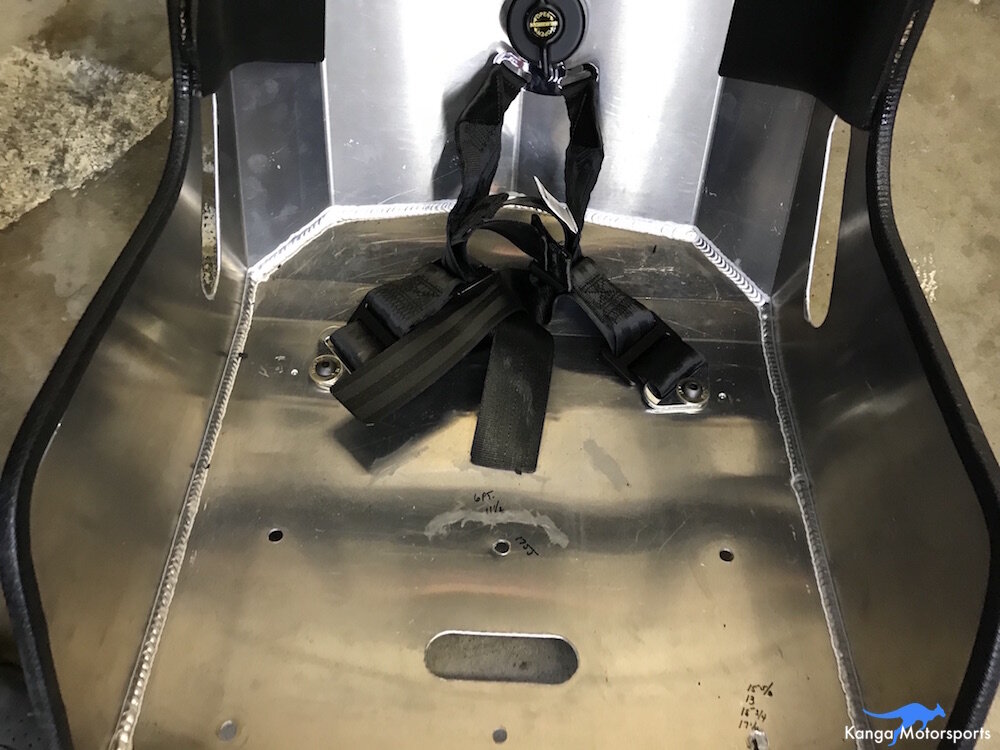
Measure the position of the belt mounts and while sitting in the seat mark where you need them to come up into your crotch.

Transfer the measurements to the foam base of the insert. We initially marked out a small opening and then cut a hole big enough to fit the cam lock through.

Test fit the insert and see how well the submarine belts feed through and fit the driver. With trial and error we found that we had to enlarge the lower hole and shape it towards the mount points to better feed the harnesses through the insert.

Here you can see the larger trapezoidal cut out we ended up needing for the submarine belts.

Where the foam was thin around the belt holes and under the seat wings we used the black duct tape to strengthen the insert and help prevent future tears.

Here you can see the insert positioned in the seat. We also used tape in some areas to clean up some weak spots where the foam was thin or the bag was creased back over itself.
Use sand paper to smooth out the rough edges and round any squareness caused by the large cuts.
Covering with Fire Retardant Fabric
Use the spray adhesive to cover the seat insert with the flame retardant fabric.

Start by draping the provided fabric over the foam insert to check the fit and ensure there is enough material.
We found we had made the back of the foam insert too high for our fabric so we needed to trim a little off the top and reshape it.

Position the fabric starting at the top ensuring there is about an inch of extra fabric to wrap around the back of the top of the seat. Also make sure there is even fabric on both sides.
With the fabric positioned, start at the top center and spray a few inches of the glue down the front of the insert. Smooth the fabric over at the top working your way down. We found it easier to work from the center outwards to get a nice even finish. If you see folds or have the fabric bunching up lift the fabric up taut and smooth out again.
Keep working your way down the seat a few inches at a time until you reach the bottom. Then working from the center glue out to the edges of the seat.

When you get to the edges use scissors to cut reliefs into the fabric to help shape it around the curvature of the seat. We found spraying the glue and then pulling the fabric tight to stretch it around the edges worked best. Holding the fabric in place for a few seconds will also help it stick to the glue.

For the seat belt holes you will need to cut a slit in the middle of the hole and then cut triangular reliefs. Work the fabric around the edges and then spray the glue down when you are happy with the shape. We found that around the tight curved edges we had to cut more reliefs to get the fabric to sit correctly.

We also had to cut extra reliefs around the areas with the seat wings to get the fabric to drape correctly.

Here you can see the edges where the reliefs have been cut into the fabric and overlaid on top of each other.

The opposite side of the seat with the fabric now glued down.

Here you can see the process we used for cutting the belt hole reliefs with the lower harnesses.
Slice the middle of the hole and then cut the fabric reliefs before gluing down the edges.

The finished fabric around the lower belt cut out from the seat insert cockpit side.

With the seat fabric glued down you can now iron on the ButlerBuilt patch.

We used the gaffer tape around the edges of the glued down fabric to help hold it in place while it dries and also prevent it from catching on the seat edges when installing the insert into your racecar.

We also taped around the the seat belt holes and all the leading edges of the foam insert.

The finished foam insert prior to installing into the racecar. The kit turned out fantastic and really helped improve our feel from the racecar.
Installing the Insert
Place the insert into the seat you might have to squeeze the insert around the rib cage wings. As you place the insert into the seat you will have to feed the lower belts through the bottom opening. Once in position you can then feed through the the lap belts.

Test fit the insert in the seat with the harness to ensure a good fit.

Here you can see the finished insert in the ButlerBuilt seat prior to installation into the car.
See our previous article for instructions on How to Install a ButlerBuilt Seat.
Want more technical and racing tips? Sign up for our Kanga Motorsports Newsletter.
More Tech Tips


We decided to replace the old bent and misshaped suspension rockers with the new lighter and stiffer tubular rockers. The step by step guide should make it easier for those attempting the work themselves.