Installing the Subaru WRX STI differential is a bolt in process that can provide your Datsun 240z a relatively cheap Limited Slip Differential (LSD). This should increase your traction, especially out of corners and help you to reduce your lap times.

Parts Needed:
Rear Subaru WRX STI Differential R180
2004-2005 Mechanical LSD Gear Ratio 3.9 - This is the one I used for the better final drive with the 5-speed transmission
2006 Mechanical LSD Gear Ratio 3.545
2007-2015 Torsen LSD Gear Ratio 3.545
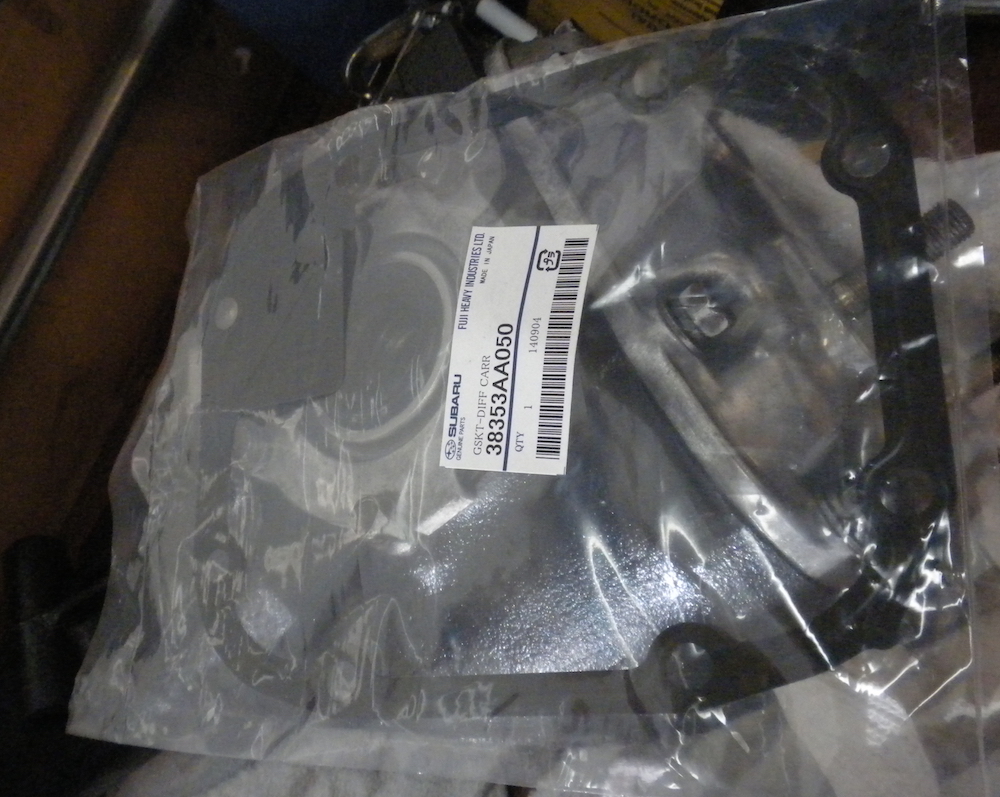
Subaru Diff Cover Seal - SUBARU 38353-AA050
27 Spline Stub Axles from John Williams or Futofab
4x M8 x 1.25 Drive Shaft Bolts - NISSAN 01111-00281
4x M8 x 1.25 Drive Shaft Nuts - NISSAN 1223-00041
4x M8 Locking Washers - NISSAN 08915-13810
8x M10 x 1.25 Half Shaft Inner Bolts - NISSAN 38228-21000
8x M10 x 1.25 Half Shaft Outer Bolts - NISSAN 39628-E4100
16x M10 x 1.25 Half Shaft Nuts - NISSAN 39627-E4100 / 39627-N3000
16x M10 Locking Washers - NISSAN 08915-14010 / 08915-2401A
2x Rear Diff Mounting Nuts - NISSAN 08912-84210
2x Rear Diff Mounting Washers - NISSAN 54474-E4100
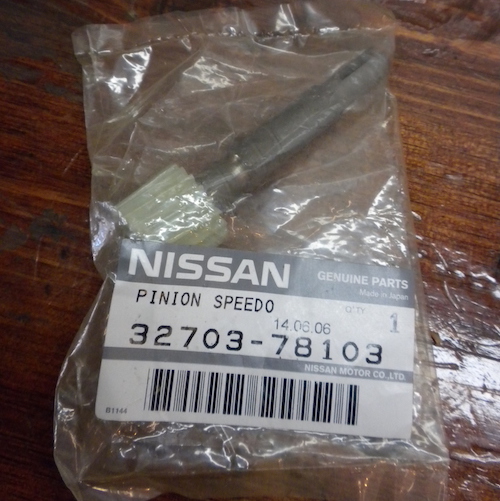
1x White Speedo Cog 19 Teeth (Gear Ratio 3.90) - NISSAN 32703-78103 - You cog will depend on your diff ratio
1x Transmission Cog O-Ring - NISSAN 32710-14600
1x Transmission Cog Retaining Pin - NISSAN 32873-14600 (optional)
1x Transmission Rear Oil Seal - NISSAN 32136-U010A (optional)
I replaced my driveshaft and half shaft fasteners during the refresh but depending on the condition of your hardware you might not need to replace it. The Nissan fasteners are supposedly hardened and have the right profile for the application. You might be able to get away with non standard fasteners but I would not recommend it. I also replaced my transmission rear oil seal while I had the drive shaft removed, cheap insurance against future leaks.
Tools Needed:
14 & 17 mm open end wrenches - you'll need a couple of the 14mm, the lower profile the better
10, 14 & 17 mm 27mm (1-1/16 inch) sockets
Extensions and ratchet
1/2 inch breaker bar
Small drift for the speedo pin
Large screw driver / pry bar
Seal puller
Jack and jack stands
Impact wrench or large breaker bar and lots of muscles
Rubber mallet or hammer
Painters tape
Brake or carb cleaner
Safety Glasses
Paint Pen (optional)
Installing a Limited Slip Differential
The first thing to do is source all the parts. Finding the Limited Slip Differential can be tricky but they aren't rare. It must be from the STI model.Search Subaru forums and wreckers and you should be able to source one for around $500 or less.

While you are awaiting for that to arrive, order the stub axles from John Williams or Futofab. While many vendors offer them nowadays, he built the original sets with Beta Motorsports and still sells them cheaper than most competitors.

Next order all the odds and ends you need from Nissan and any seals you might need from Subaru or your local parts suppliers, numbers and quantities are provided above.
Now with all your goodies, it is time to install. Check your used Subaru diff operates smoothly, clean it up, inspect all the seals and hardware. Replace whatever you need. Cleaning off all the old grime with a quick scrub makes working on the differential much easier.
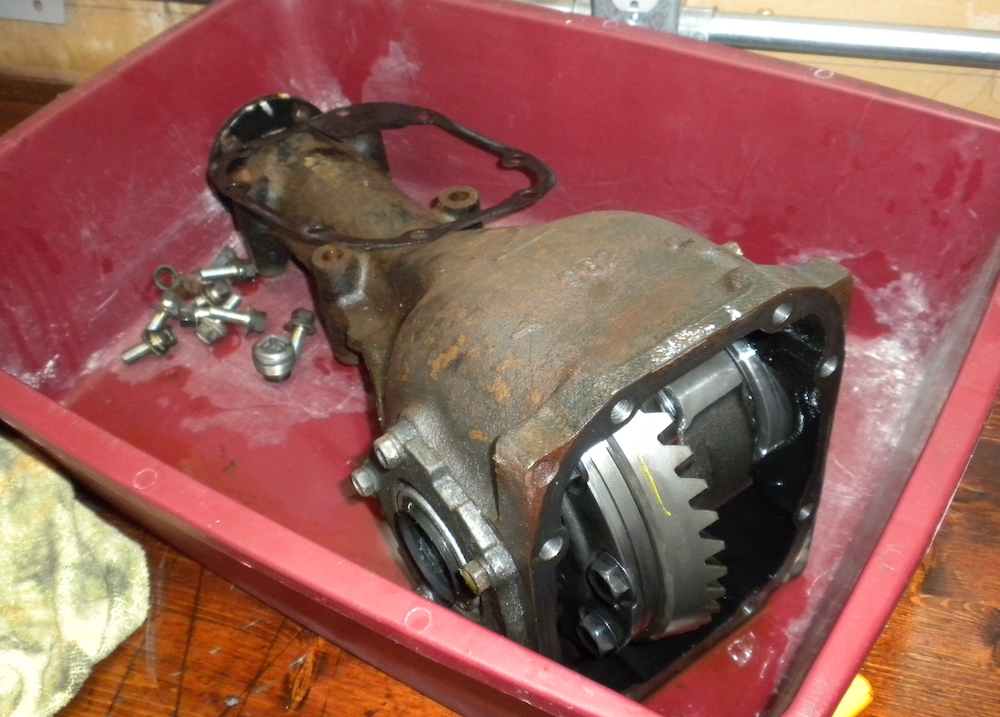
Crack open the differential and check the internals, make sure you got the ratio you wanted, it is stamped on the gears. You should see 39:10 for the 3.9 LSD you want with the 5 speed transmission.

Although not necessary now is a good time to clean up, polish and/or repaint the differential. I reckon it makes it look a lot better when you reinstall it in the car.

Break the rear lug nuts loose. Jack up the back of the car sure make you chock the front wheels. Get the rear as high as you safely can as you want some good working room under there. I found it easier just to raise the entire car. If you have a lift this is much easier but not essential. Always use quality jack stands and make sure the car is sturdy before you get under the car. Be safe out there.
Remove the rear wheels to make access easier. I like to place the wheels under the frame just in case.

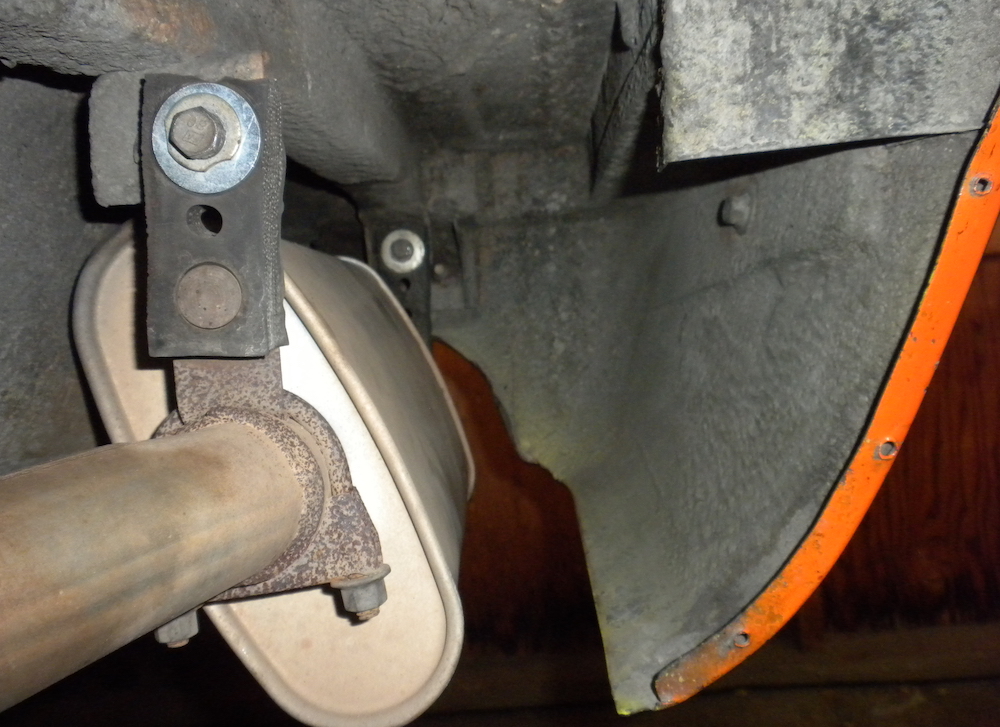
I had to remove my exhaust to get better access to the driveshaft and differential. Depending on how your exhaust system is laid out, you will need to disconnect it in front of the driveshaft and from the rear hangers. Place the exhaust system out of your way.

Disconnect the half shafts from the differential output shafts using a 14mm open end wrench or spanner. Space is tight under the car. A thin low profile spanner will make it easier. You will need to be patient only doing a quarter turn at a time and then rotate the half shafts to reach the other nuts. You can then pull the half shafts out of the way. Now is a good time to check the condition of the U-joints and replace if necessary. I wore some safety glasses to avoid having the 40 year old grime dropping in my eyes.

The transmission will leak if you remove the driveshaft. You need to replace the transmission cog for the new differential gear ratio anyway, so you may as well drain the transmission.
A good thing to check before you drain the transmission is that you can remove the fill plug on the side, otherwise it is a bad day with an empty tranny and no way to fill it. Use a 1/2 inch breaker bar on the drain plug and place a pan underneath to catch the fluid.
Remove the differential companion flange bolts that attach to the driveshaft. Removing the differential carrier can help in providing better access.

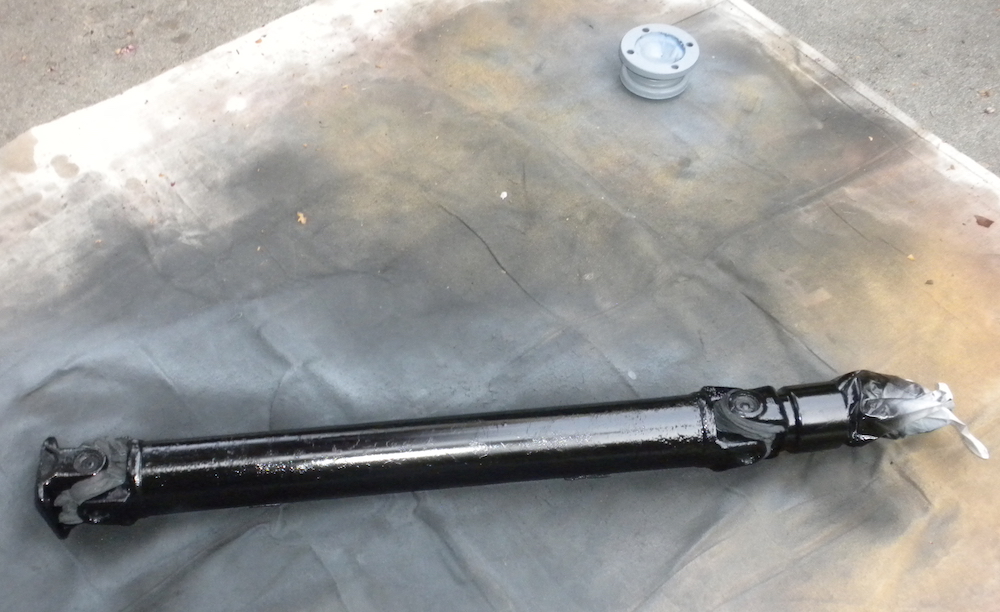
Remove the driveshaft by sliding it out of of the back of the transmission be careful not to drop it or damage any of the flanges.
With the drive shaft out of the way, inspect the rear transmission seal unless it is brand new replace it. It is a cheap seal, easy to do and will help eliminate future oil leaks. Use a seal puller to extract the old seal. Clean all the surfaces using brake or carb cleaner and inspect for burrs. Align the new seal and very carefully drive it into place using the old seal as a drift to distribute the load evenly while lightly taping into place with a rubber mallet or hammer.
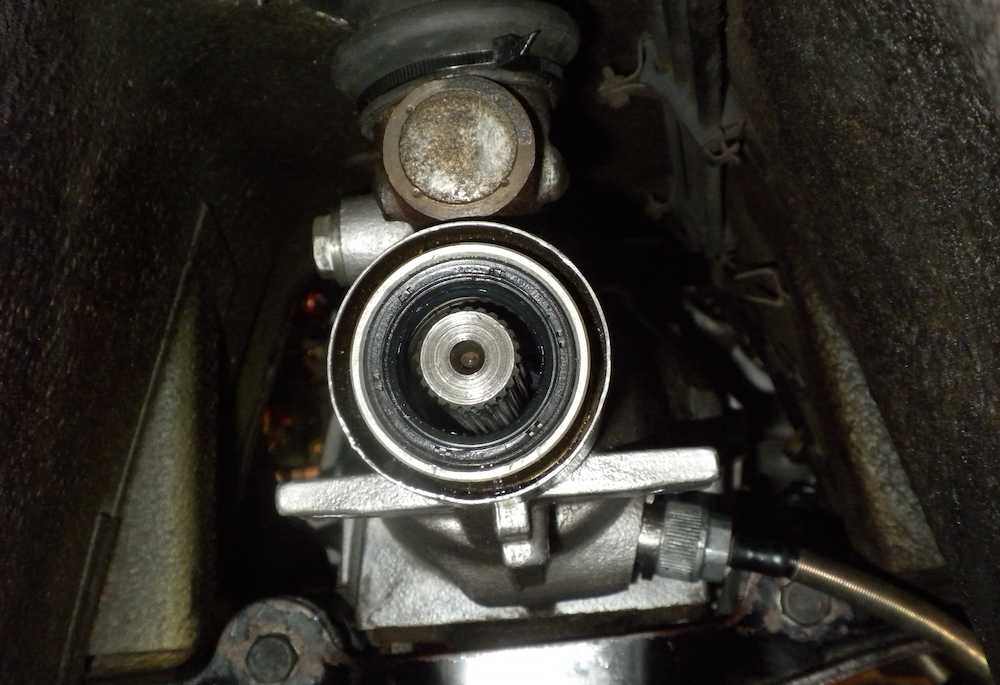
Remove the old speedo cog by undoing the cable on the side of the transmission. You may have to lever the cog out with a large screwdriver using the slots on the body sides. Be careful not to mark any sealing surfaces. Replace the o-ring on the body with your new o-ring to help prevent future leaks. Tap out the pin that holds the cog shaft in place using light hammer taps and a small drift (or screw driver in a pinch). If you don't want to replace the pin you tap it most of the way out so it clears the cog shaft but is still in the main body. Extract the old cog, being careful not to damage it and slide the new cog in. This should be easy if it isn't check to see the pin is out and there are no other hang ups. You can then install the new cog, tap in the retaining pin, align with the transmission meshing gear, lightly press into the transmission housing, check for free movement and reconnect the speedometer cable.

Now to remove the old differential. Undo the upper rear differential mount nuts on the back. Put a jack under the differential and move it forward until the rear studs clear the mounting holes. Then you can lower the differential out of the way.

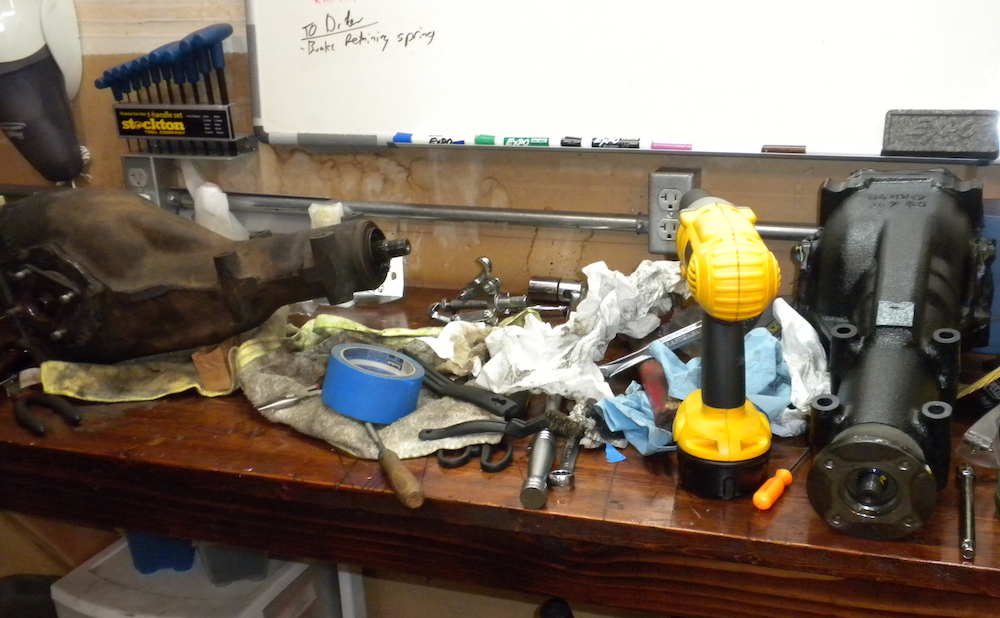
Place the old differential on the bench. You will need to remove the companion flange from the old differential using a 27mm (1-1/16 inch) socket and impact wrench.

Optionally with the differential, companion flange and other components out of the car you can give them a quick refinish with a few light coats of paint.
The companion flange from the Subaru differential will not mate up to the Datsun 240z driveshaft. Remove the companion flange from the Subaru differential and install the Datsun companion flange using the 27mm (1-1/16 inch) socket and impact wrench. Look up the torque value and torque to spec.
Before you tap the new 27 spline output shafts into place you need to put the bolts that connect to the half shaft in place. I held them in place using painters tape. They were supposed to be a press fit but mine slide in easily. If you don't put them in now you will have to pull out the output shafts again and this is a real hassle. With the bolts in place you can now slide the splined shafts in on either side of the diff and lightly tap them all the way in using a rubber mallet. Make sure they are fully seated. Don't just whack them as you can damage the seals or mess things up if you don't have the splines aligned correctly.
Here you can see we also swapped out the old busted electronic plug from Subaru differential and replaced it with the simpler fill plug on the Datsun differential.

Fill the differential with Limited Slip gear oil. It is easier to fill before placing in the car, but it will make the diff heavier when lifting into the car. You decide when to fill it, just don't forget to make sure it is full. Reading up on Subaru forums the clutch pack LSDs needed a special type of fluid and the consensus seemed to be Motul 90A, so that is what I used.

I choose to upgrade the front differential mount to the Ron Tyler (RT) type you can find a lot of information on these at HybridZ or ClassicZCars. You can purchase online the RT diff mount here. Install the RT mount before lifting the Subaru differential into place. I found I had to grind away the edge of some of the washers to get the bolts to sit right.
Lift the new completed differential into place, I used a jack to help me lift it into place. Note I have the front bolts and nuts in place in the photo so I could easily undo and connect them to the diff mount without dropping washers all over the place.

Slide the upper rear mounting studs into place and install the nuts and washers. Don't torque them fully yet as you might want to move the diff back and forth to get the mounts in.
Then you can reconnect the front differential mounting bolts. Once you have it positioned go back and torque the rear mounting nuts.

Slide the driveshaft input yoke onto the transmission output shaft being careful not to damage the rear seal. It is a good idea to check the U-joints are still good before reinstalling.

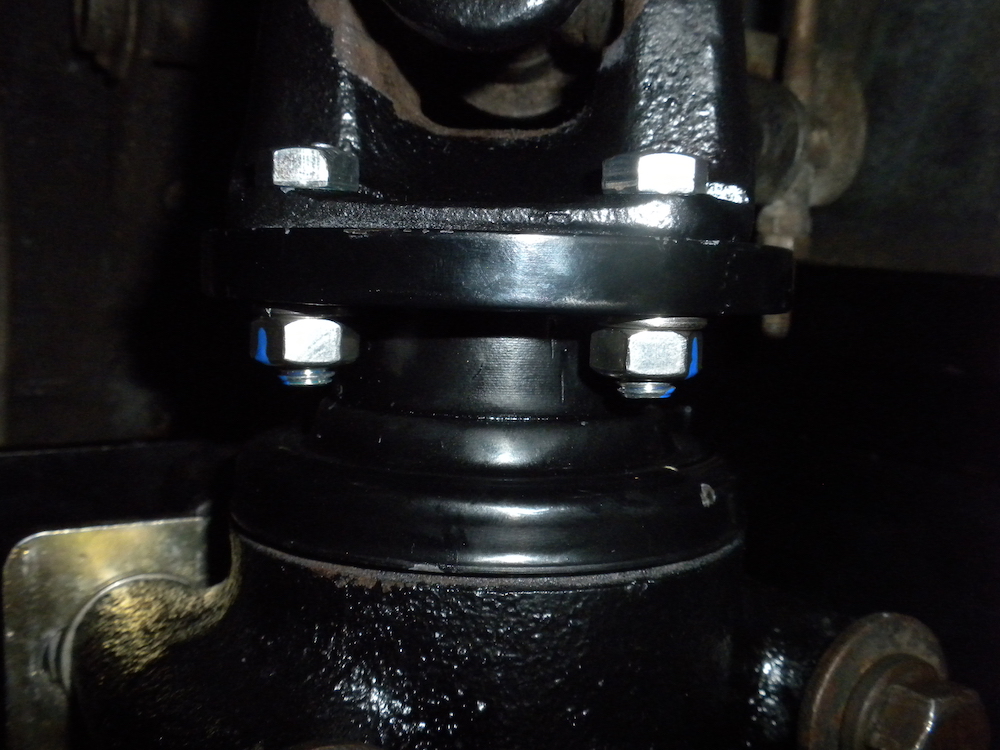
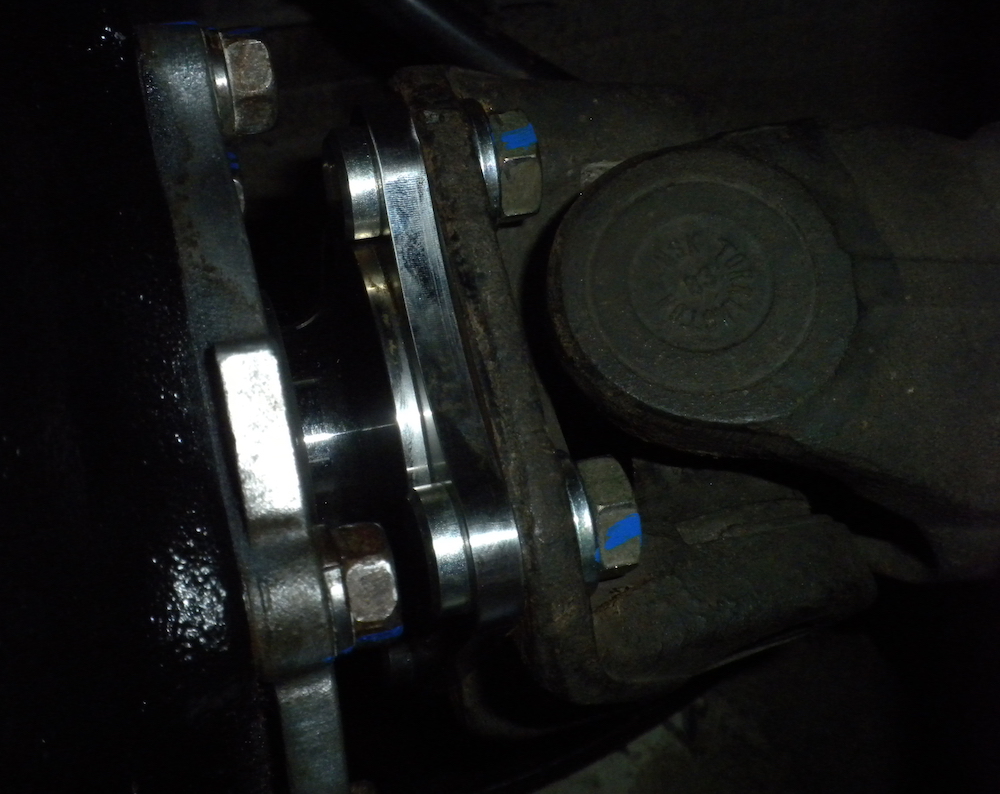
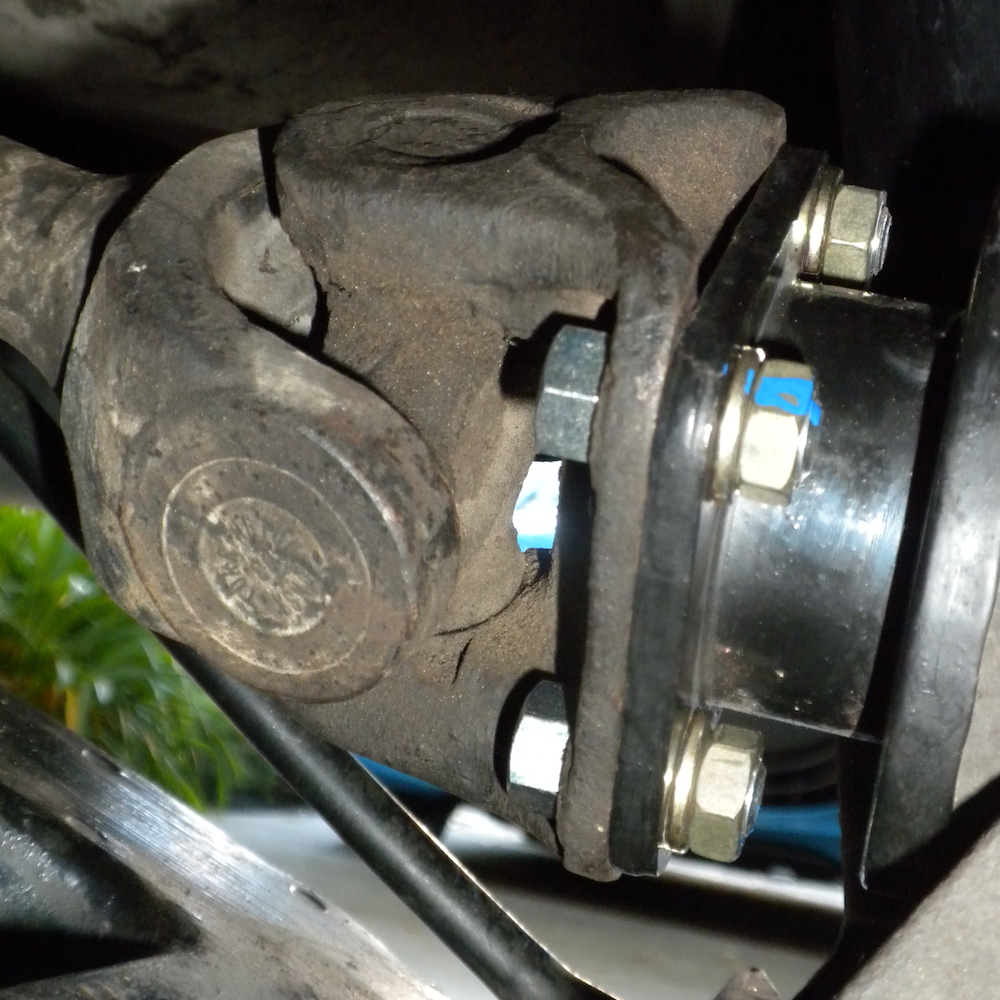
Bolt the driveshaft to the companion flange on the differential and torque the bolts into place. You will have to rotate the drive shaft to reach each of the bolts. I hand tightened each of them first before switching over to the two 14mm wrenches and tightening fully. Note: I mark the bolts with a paint pen to let me know they are torqued tight and I can see if they move/loosen later if the marks are misaligned.
Refill the transmission, I use Redline MT-90 same thing I use in my daily Mazdaspeed 3 and Spec Racer Ford race car.
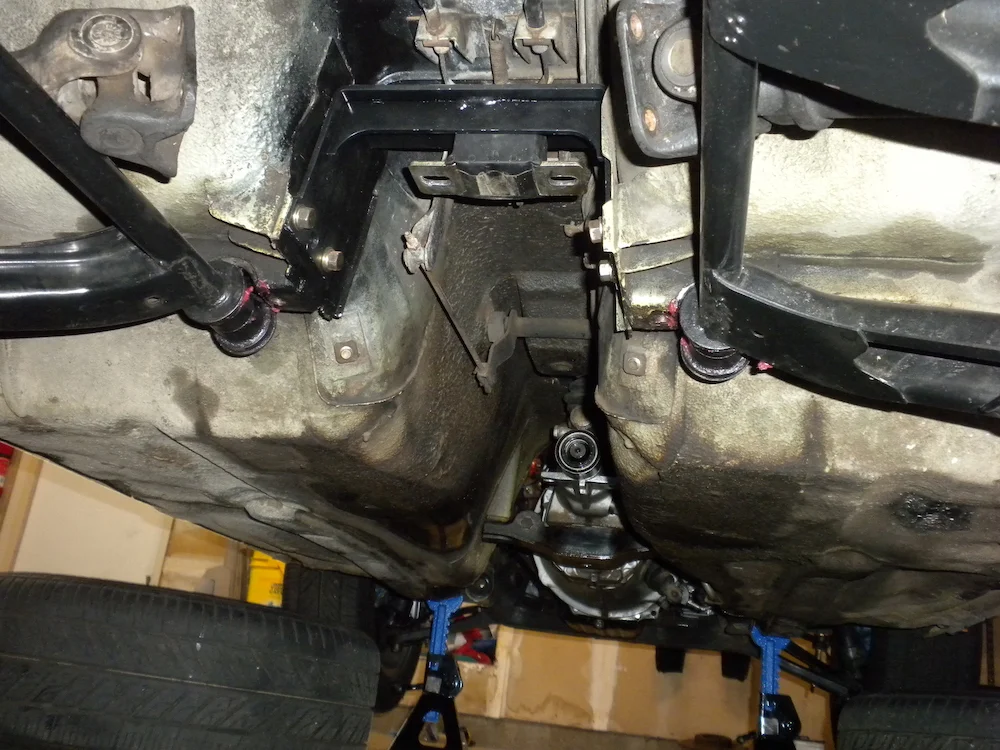
With the driveshaft now connected to the differential you can now reinstall the front differential carrier. Grease the bushings on the rear lower A arms before installing and torque all the bolts into place using the 14 and 17mm sockets and ratchet. The picture shows the carrier installed without the driveshaft connected but it is far easier to connect the driveshaft and then install the carrier.

Insert the half shafts into place being careful not to push the fasteners out of the output shafts and nut them into place. Don't forget the locking split washers.

Again rotate the joint to hand tighten all the split washers and nuts first. This helps hold everything in alignment and then you can torque down with the 14mm spanner. Mark with the paint pen as you go. I try to do opposite sides in a star pattern like with lug nuts.
I choose to replace the outboard half shaft fasteners as well as the old ones were fairly corroded and it was a case of while I am at it. Note the low profile heads and shoulder of the genuine Nissan bolts. It is hard to find this with standard fasteners.

As with the inboard half shaft fasteners hand tighten the bolts, split washers and nuts all the way around before tightening down. You will need two 14mm spanners to tighten fully, the lower profile the better and mark as you go.
Reconnect the exhaust in place. I used a few jacks to hold it in place while I connected the exhaust at the header and then rear hangers. in hind sight I should have used a bunch of cable ties to hold it in place while I went down the line doing each of the hangers. Sometimes I do it the hard way without realizing until too late, hopefully it builds character.
Mark the Diff so you will remember the ratio without having to take it apart.

One last inspection to see everything is tight.
Check for smooth operation of the driveshaft, diff and half shafts.
Replace the wheels and lower the car.
Torque the lug nuts and put away your tools.
Drive for a few miles and check to see nothing is loose. After 100 miles, I went in and made sure all the fasteners were tight for the mounts, diff, half shafts and driveshaft.

I reckon it makes a difference but you be the judge.
Enjoy the ride!

Want more Datsun 240z articles and tech tips sign up for our Kanga Motorsports Newsletter.
Other Datsun 240z Articles