
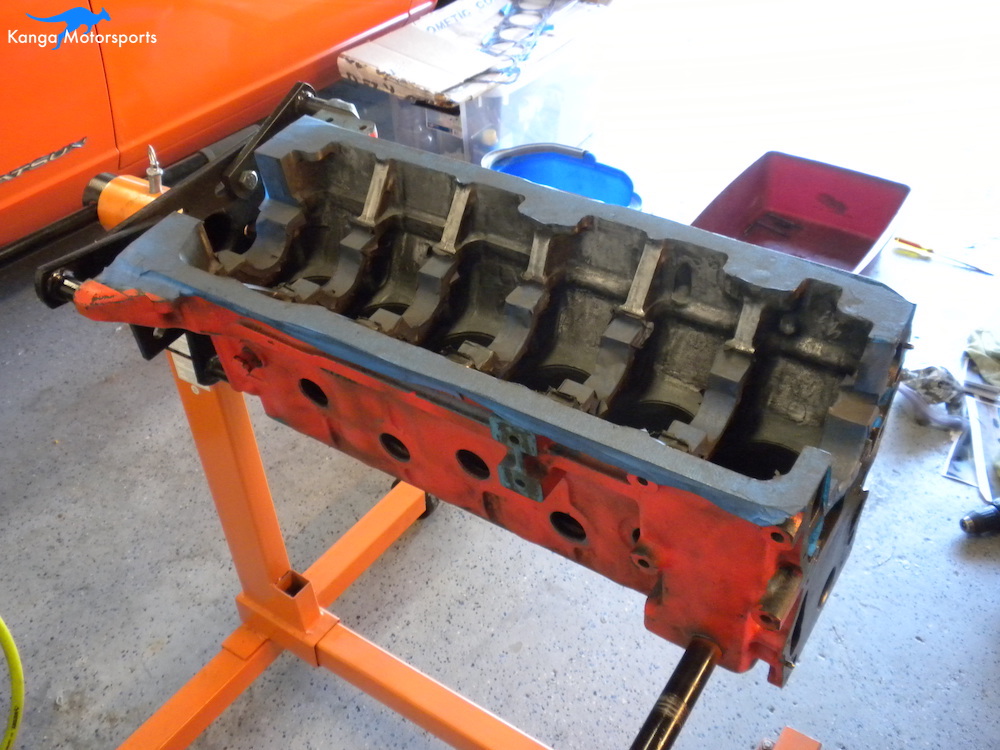
With the bottom end of the engine disassembled and measured. It is time to get around to the engine block modifications. Before heading to the machine shop for boring and decking, I decided to remove all the casting flash and clean the passages and threads.

Tools and Equipment Needed:
Air Compressor
Siphon Gun
Low Vapor Mineral Spirits
Metal Drip Tray
Safety Glasses
Gloves
Respirator Mask
Stiff bristle plastic brushes (Harbor Freight PN: 93610)
Old Toothbrush
Pipe Cleaners
WD-40
Carb Cleaner
HD Pro Simple Green
Paper Towels
Gasket Scraper (TEKTON 5876)
Razor Blades
Straight Edge
Dremel with Flex Shaft
Straight Die Grinder - Ingersoll Rand 307B
90 degree Die Grinder - Ingersoll Rand 301B
Grinding Stones
80 and 120 Grit Sanding Scrolls (Harbor Freight PN: 62394)
80 Grit Thin and Thick Flap Wheels (Dremel PN: 502 and 504)
120 Grit Thin and Thick Flap Wheels (Dremel PN: 503 and 505)
5.5 kg.m (40 ft-lbs) Torque wrench
17mm socket
Engine Block Modifications:
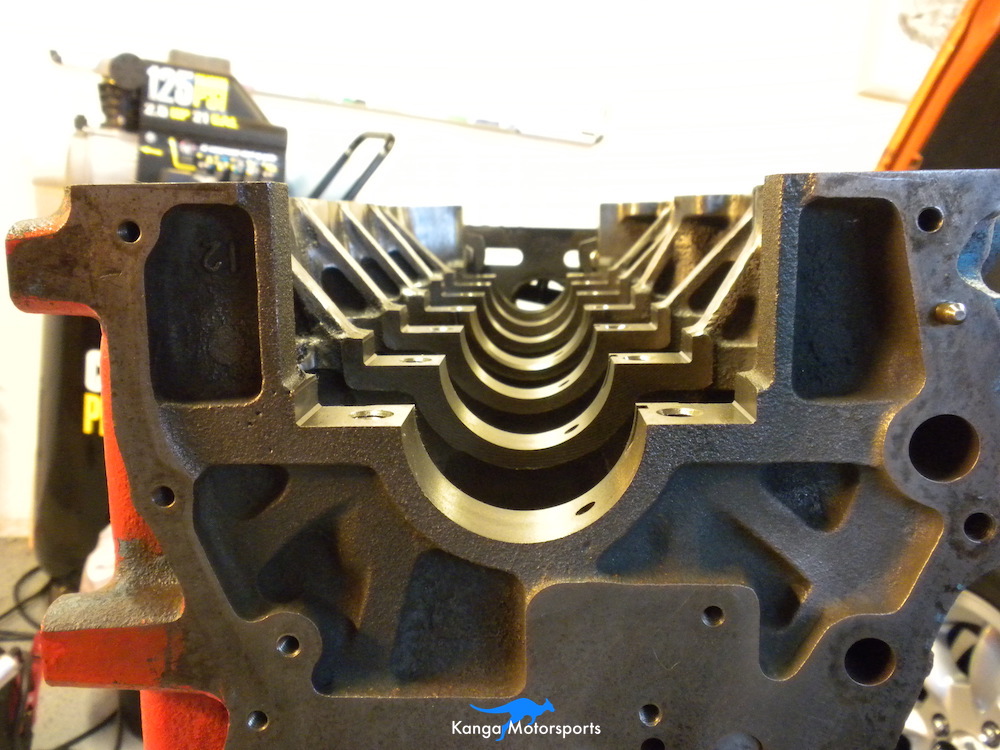
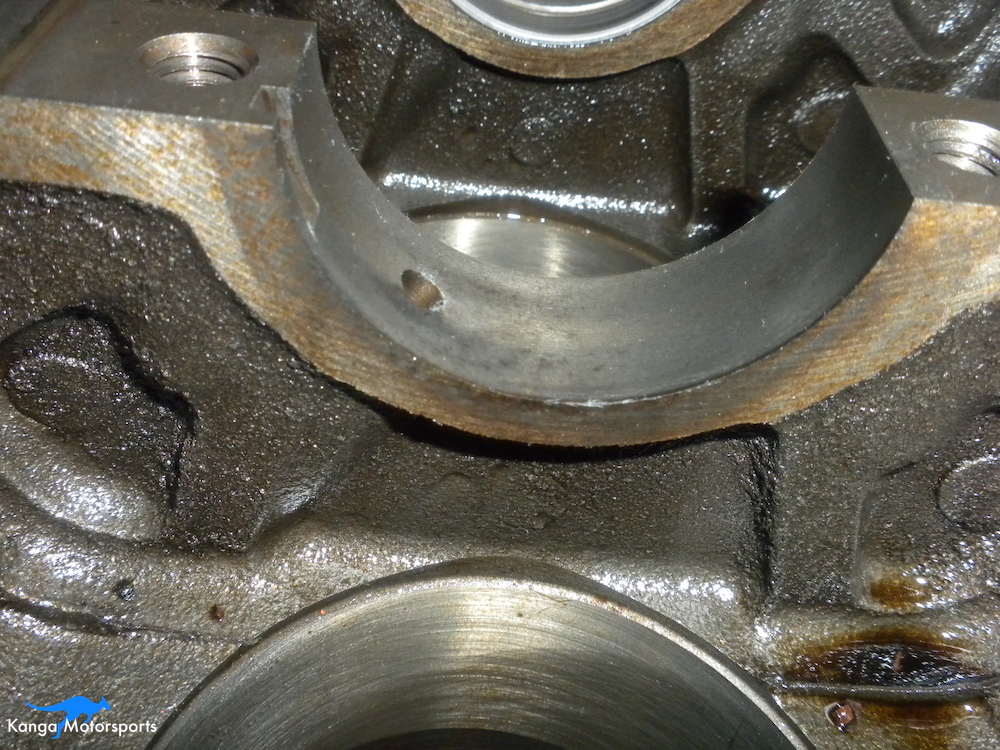
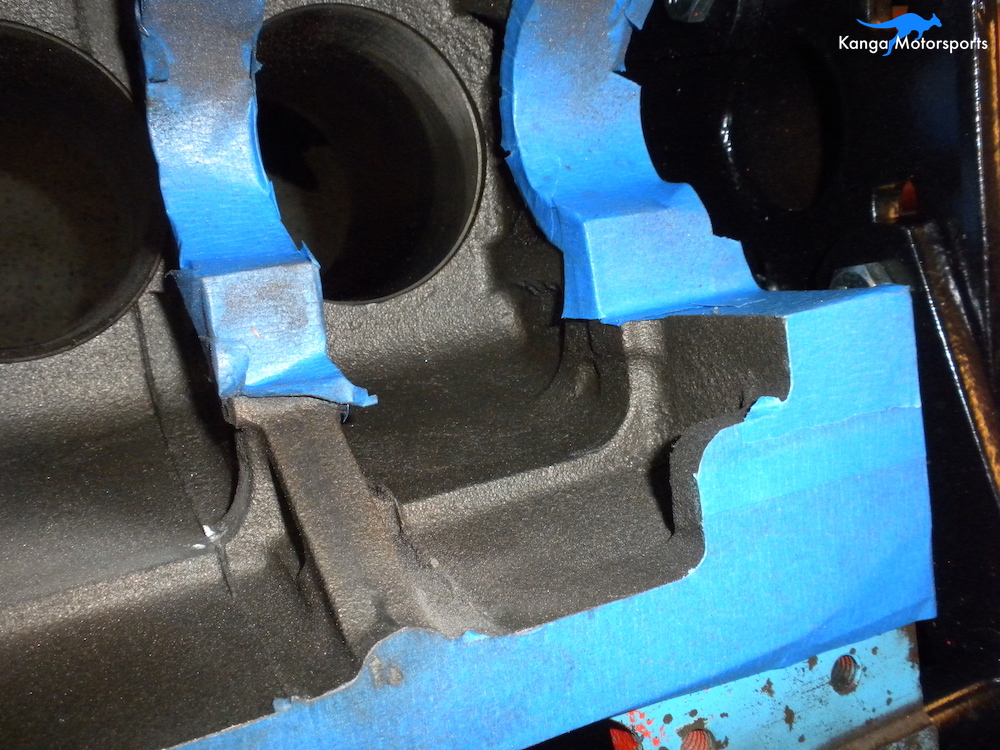
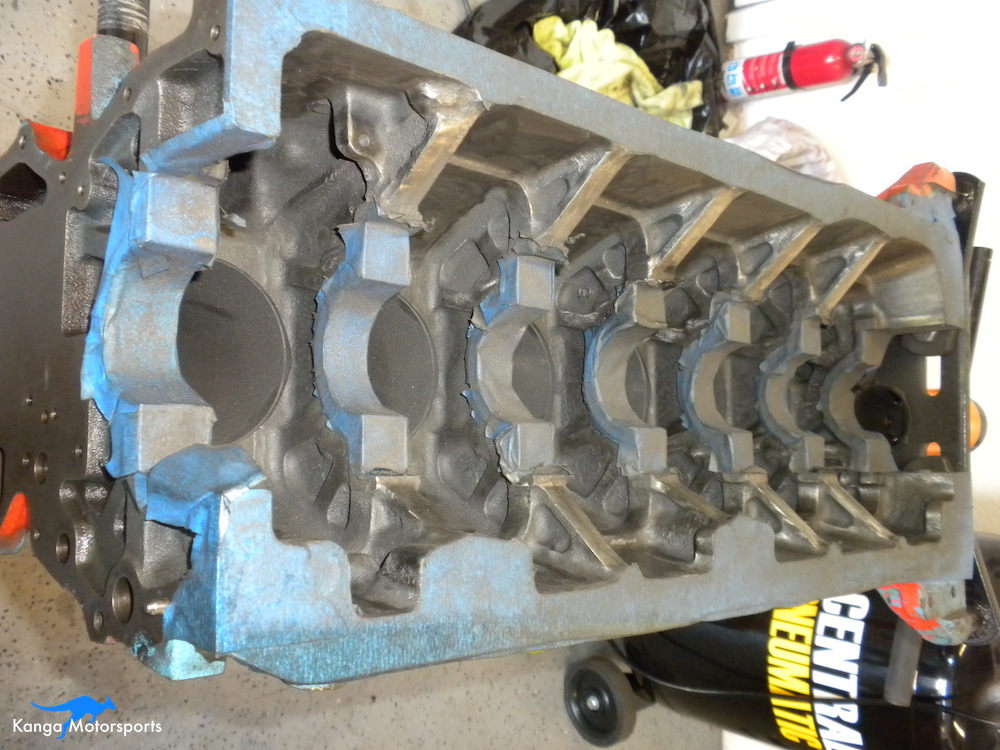
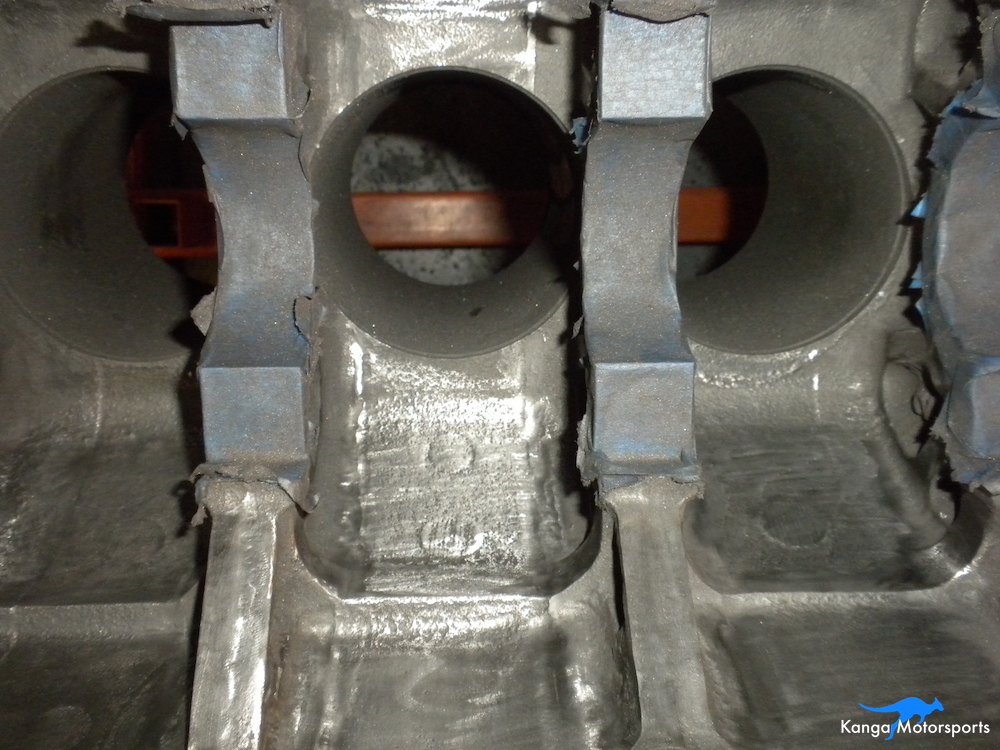
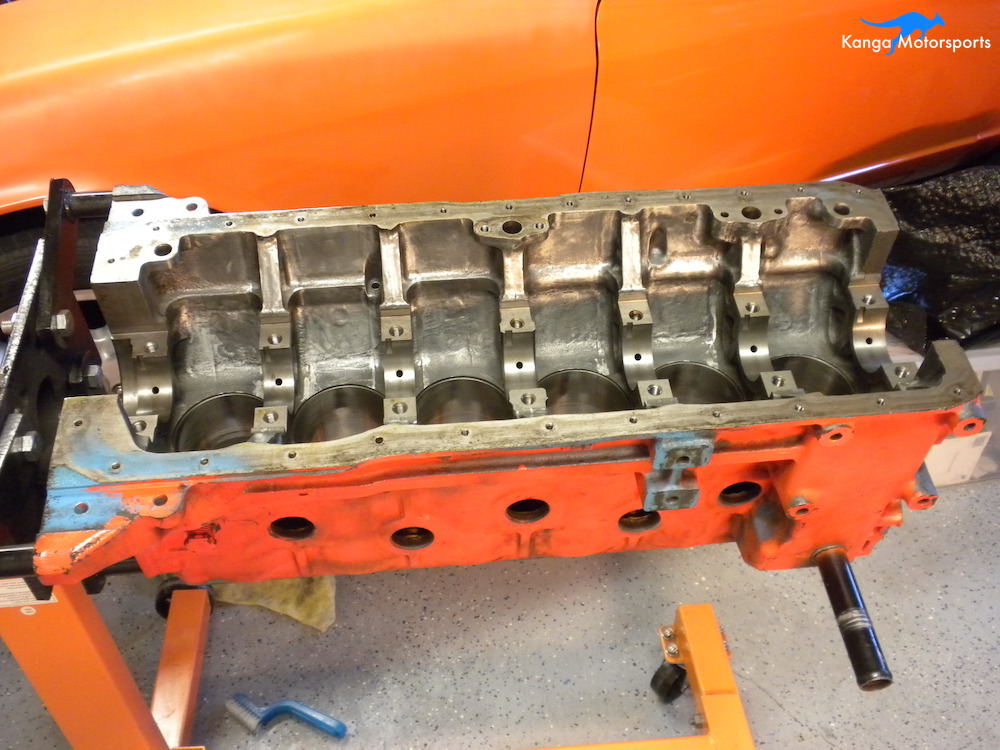
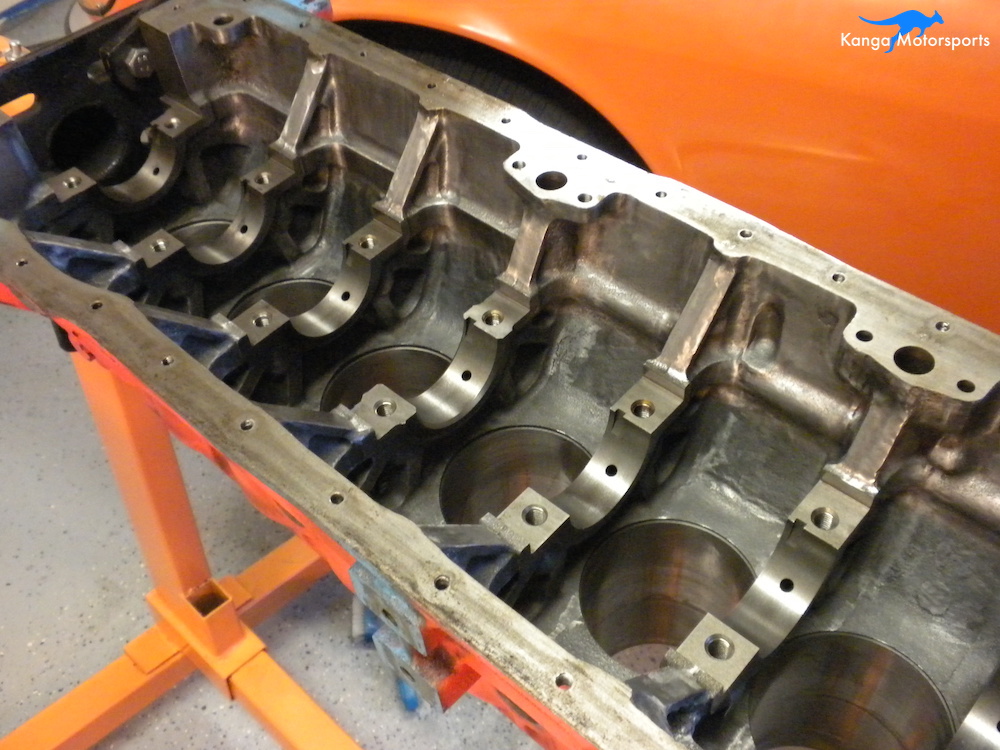
The L-series blocks are cast iron that is later machined and taped for all the sealing surfaces, locating features and fasteners. The casting process can leave behind a rough gritty surface and casting flash. If the casting flash is bad it can break off and possibly block oil passages.
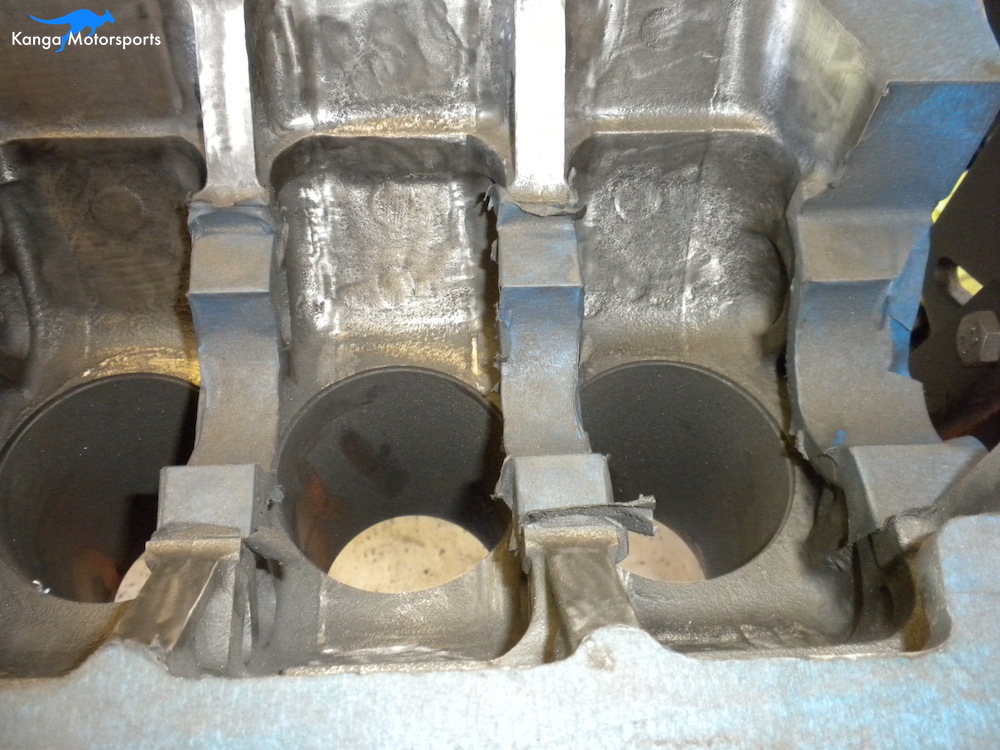
Upon inspection of the F54 block there was some areas where small chunks of casting flash could be broken off. Before sending off the block to the machine shop to fix the piston and main bores I decide to grind away the worst of the casting flash and improve the overall wall finish.
Cleaning the Engine Block
My block was filthy having sat abandoned in someones garage for what looked like several years. First thing to do is clean the block removing any grit, gasket residue, grease or oil build up. You can do that with a degreaser, water and scrubbing brushes. However, cast iron can quickly develop surface rust especially without a protective oil layer and when exposed to water.
You can remove any large gasket residue using a gasket scrapper. To clean the deck and oil pan sealing surface you can use razor blades. Be very careful not to gouge or scratch any of the surfaces. Keep the razor blades perpendicular to the surface and use a gliding motion.

You can clean the block using a mineral spirt pressure washer powered by compressed air and fed by a siphon gun. Place a metal drip tray below the engine block and spray it down. It is amazing how much gunk and dirt will be removed. Use safety goggles, a respirator and gloves. You can also assist the cleaning process with some stiff bristle brushes and pipe cleaners in holes and threads.
With the block now clean you will want to give it a light coating of oil to protect it from the elements and prevent surface rust. I use WD-40 as it is easily cleaned off, cheap and comes in an aerosol can for fast application. You can use any light weight oil. Modifying the block can take a long time so you will need to protect the block between garage sessions. Coat in a light oil, place oily rags to protect the deck and sealing surfaces and put inside a dark trash bag.
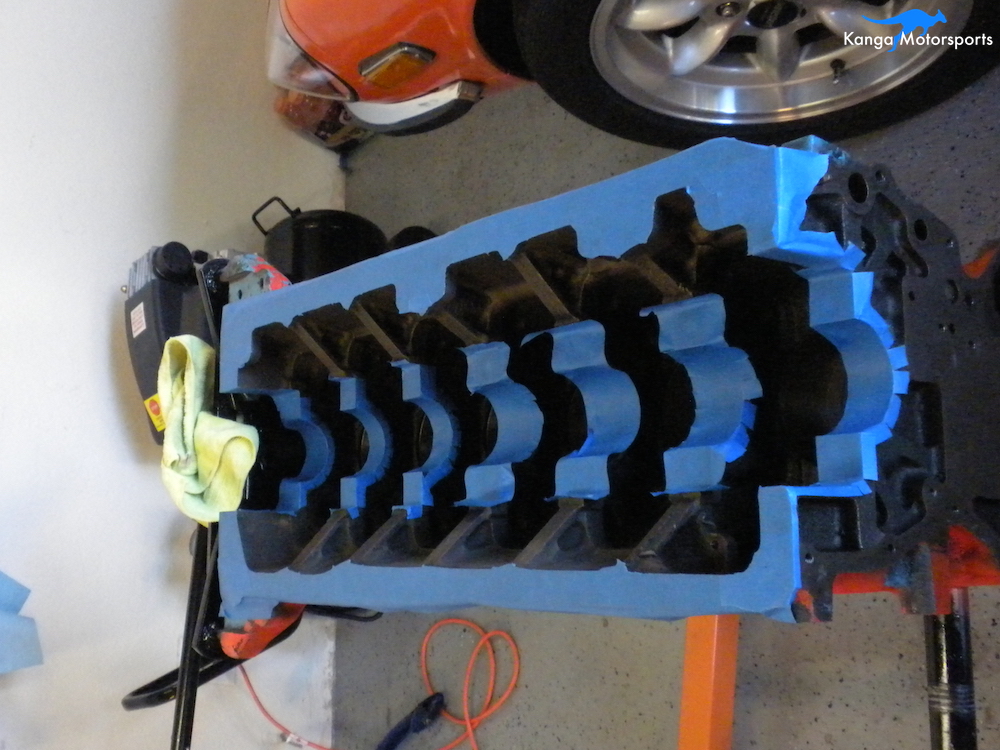
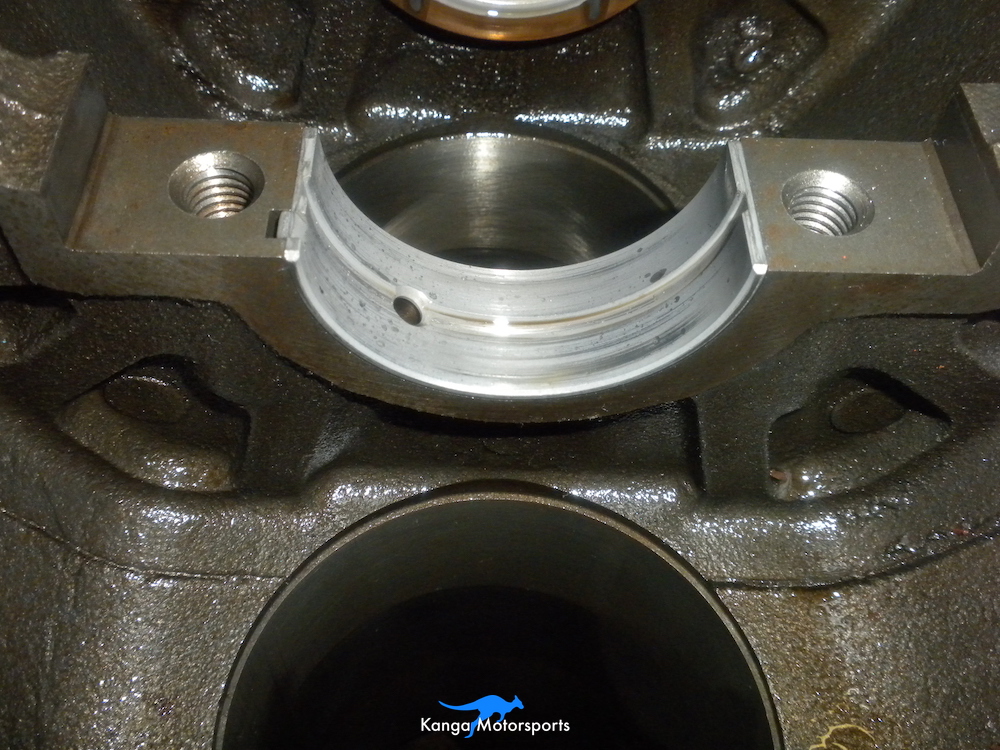
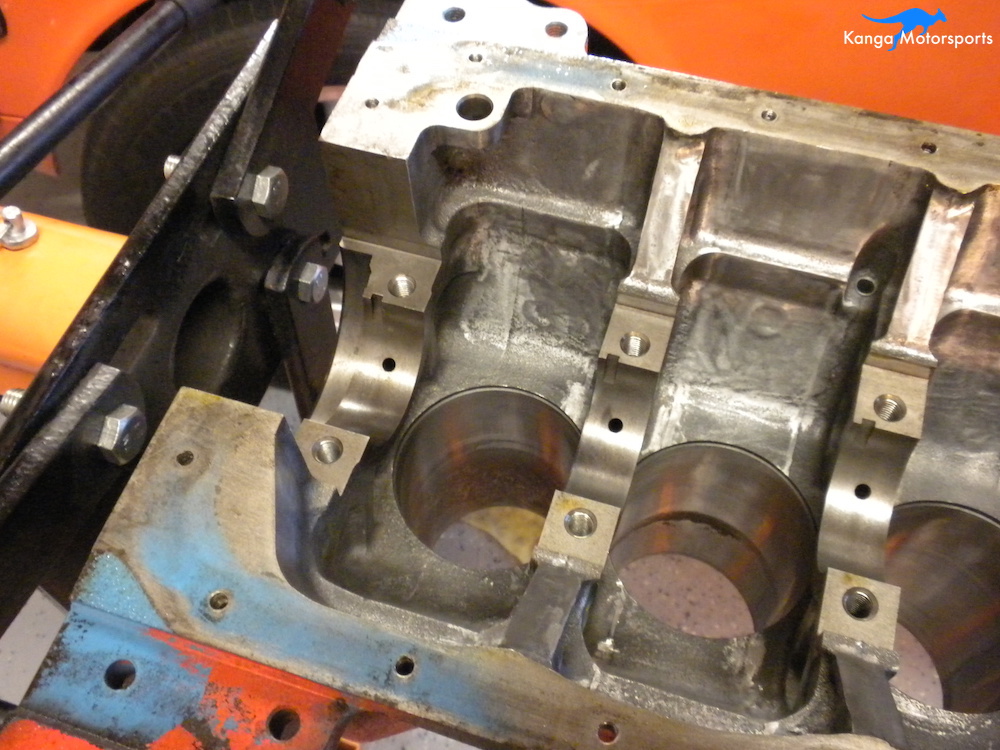
Protect the Bearing Surfaces
Before you start making modifications to the engine block you will want to protect the main bearings and oil pan sealing surface. I use multiple layers of painters tap. Whenever using power tools on the block you run the risk of slipping and scratching or gouging the critical surfaces. The multiple layers of tape should prevent major damage occurring too quickly, but be very careful as a grinding stone or carbide burr can make fast work of painters tape.
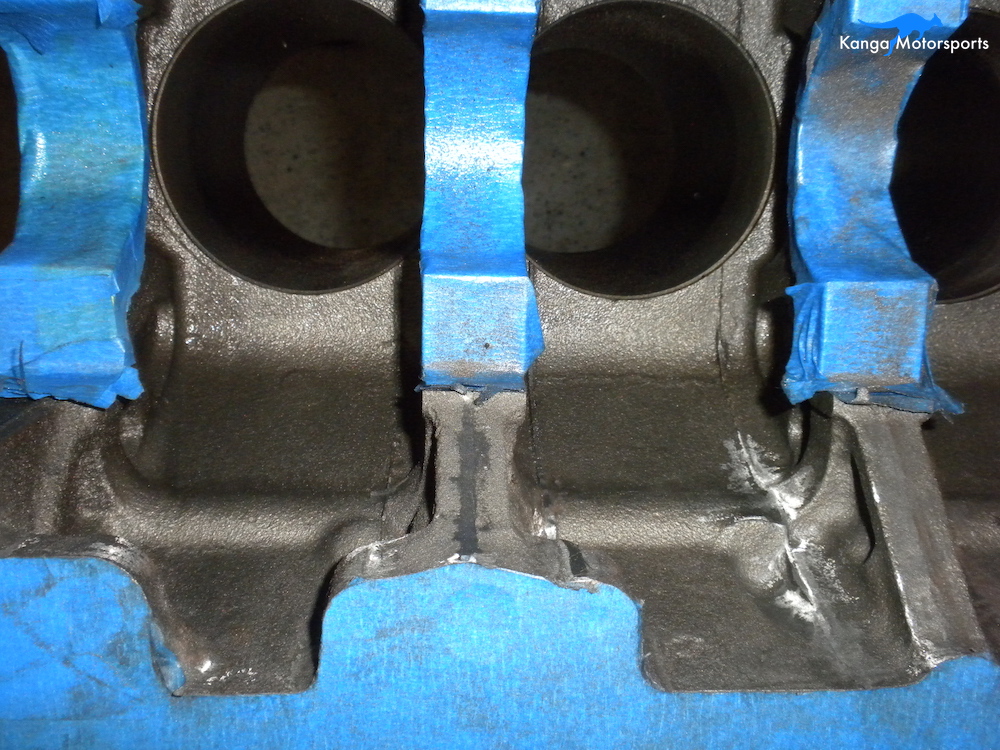
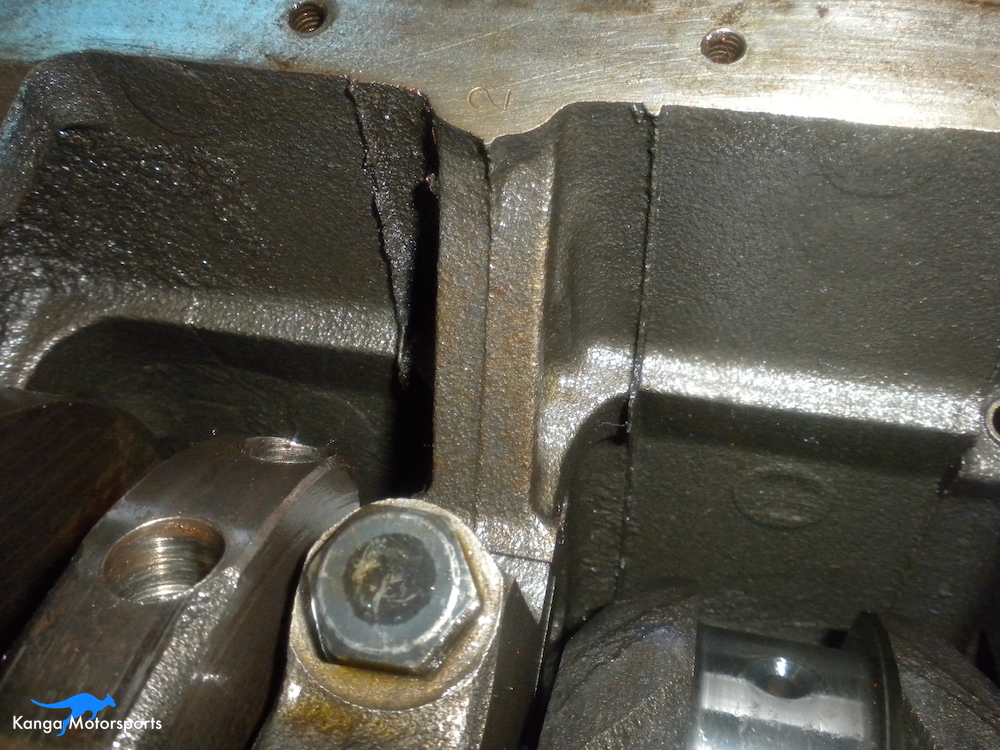
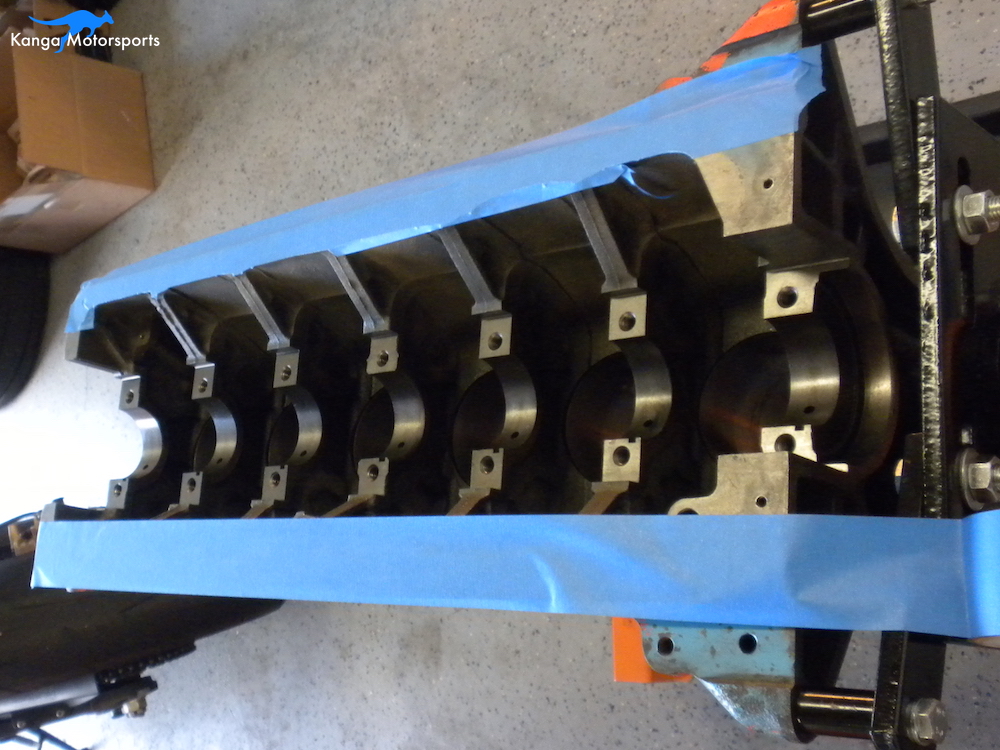
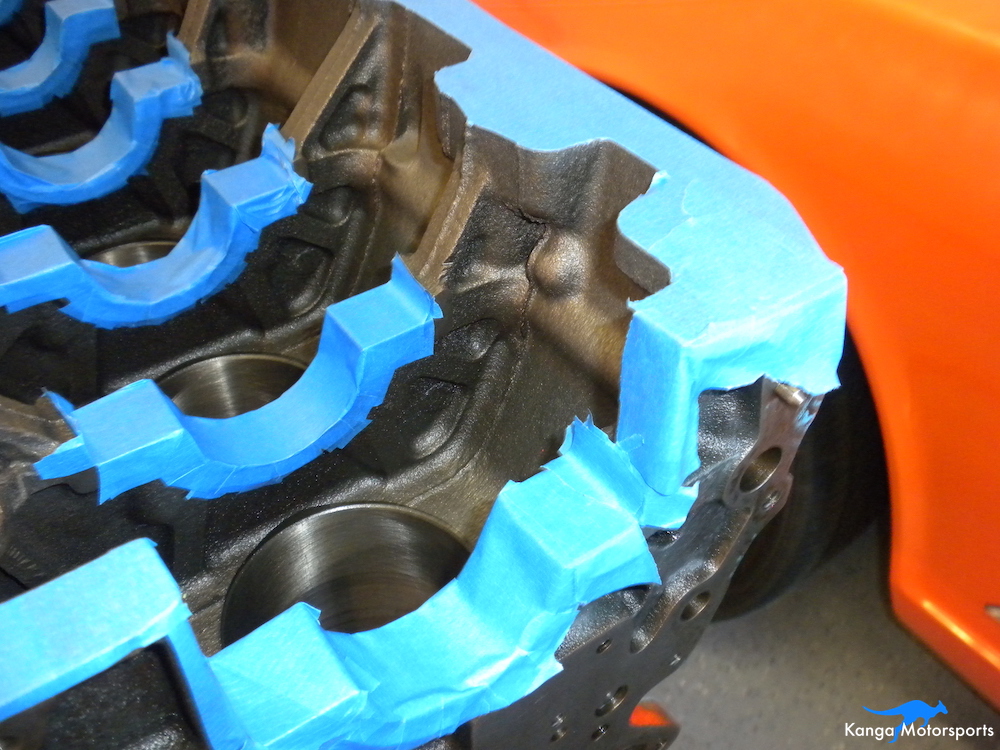
Remove the Casting Flash
The next step is to remove the casting flash. I don't recommend using carbide burrs as it is very easy to cause real damage or junk the block from a slip of the hand. Use safety glasses, gloves and a respirator. There is a lot of metal particles and dust produced in the process and you don't want to breath that junk in.
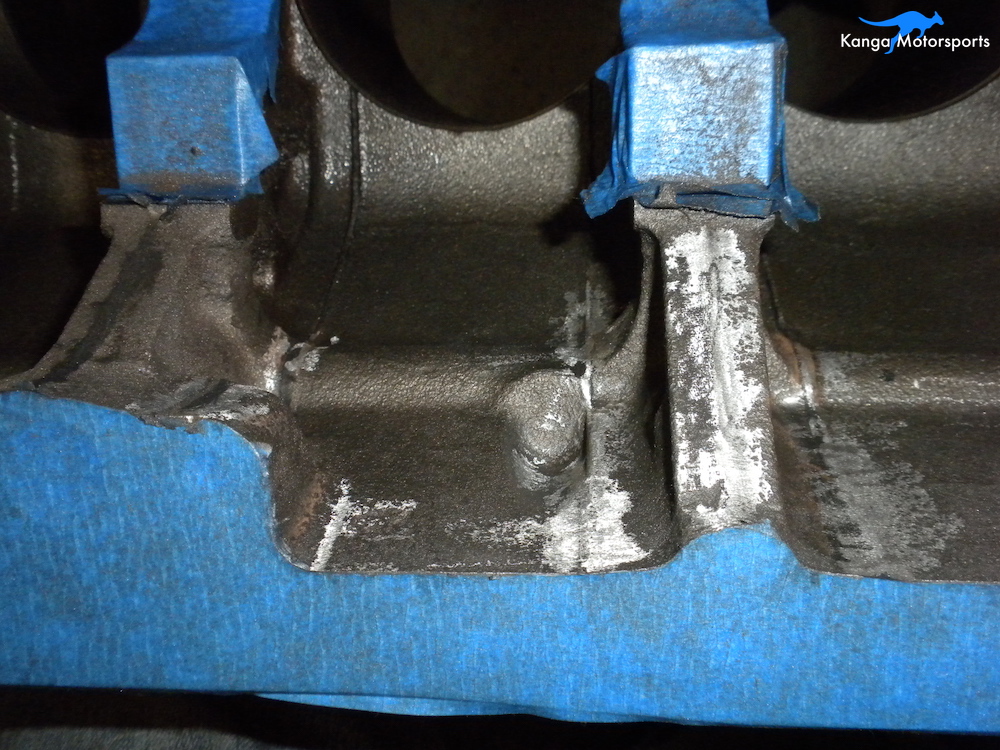
I used a variety of grinding stones of different sizes and shapes depending of the area I am trying to reach. I use either a die grinder or a Dremel with flex shaft. The Dremel really isn't up to the job, the torque is too low. A high torque flex shaft motor is a better option for the tighter spaces when a die grinder is too bulky. I use a straight or 90 degree die grinder depending on the access needed. Use both hands, one for the tool and one to steady and prevent runaway.

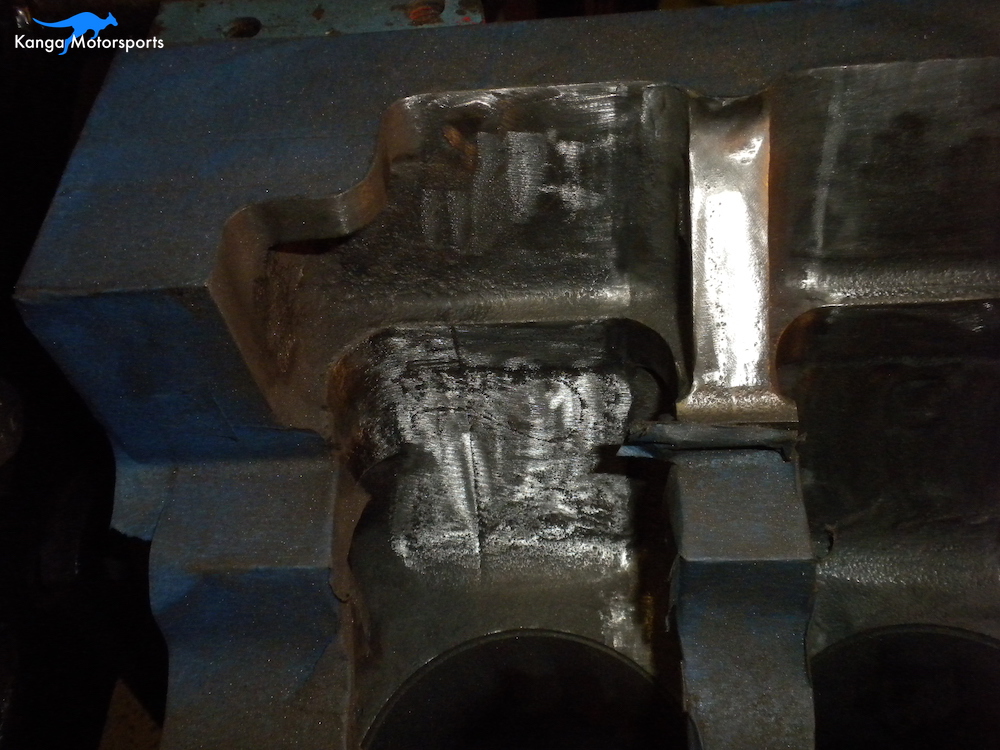
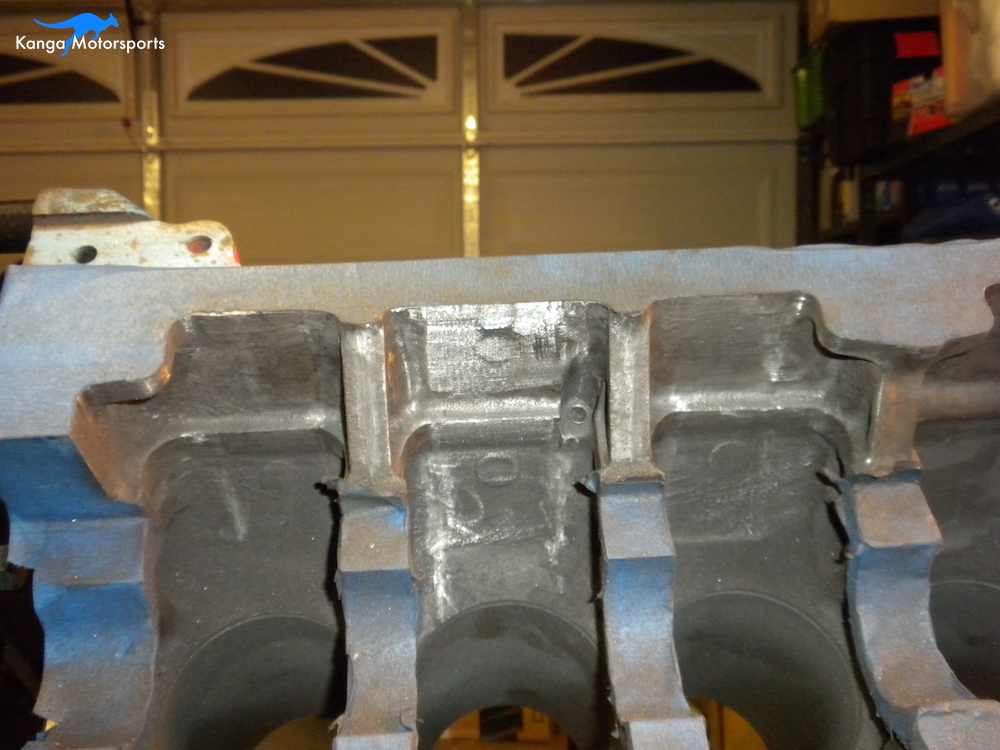
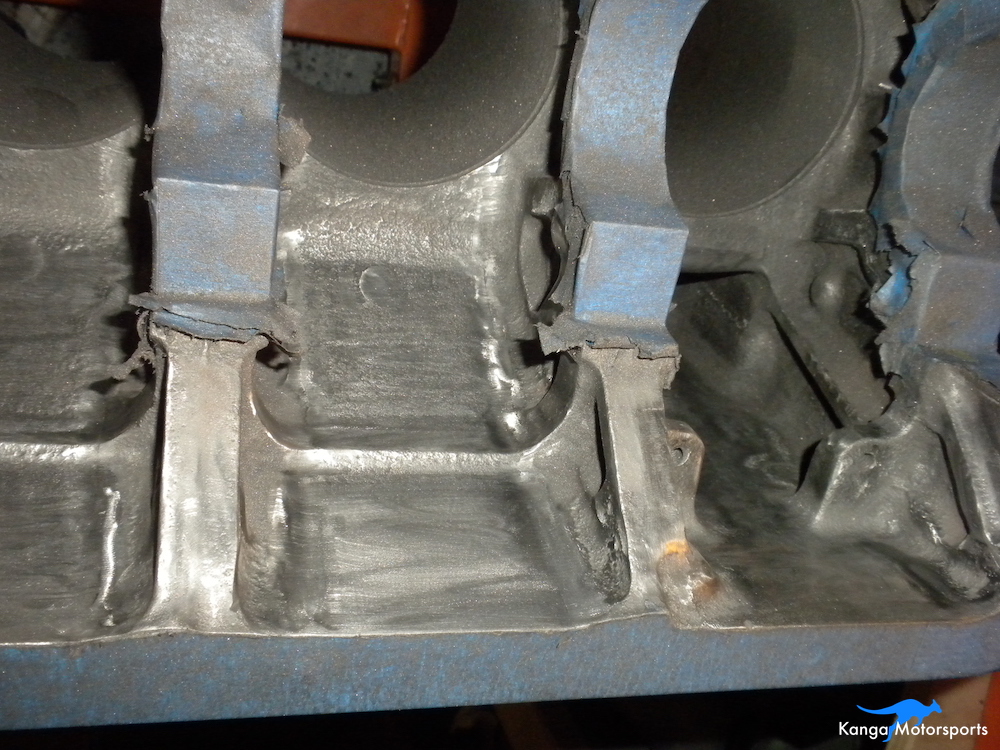
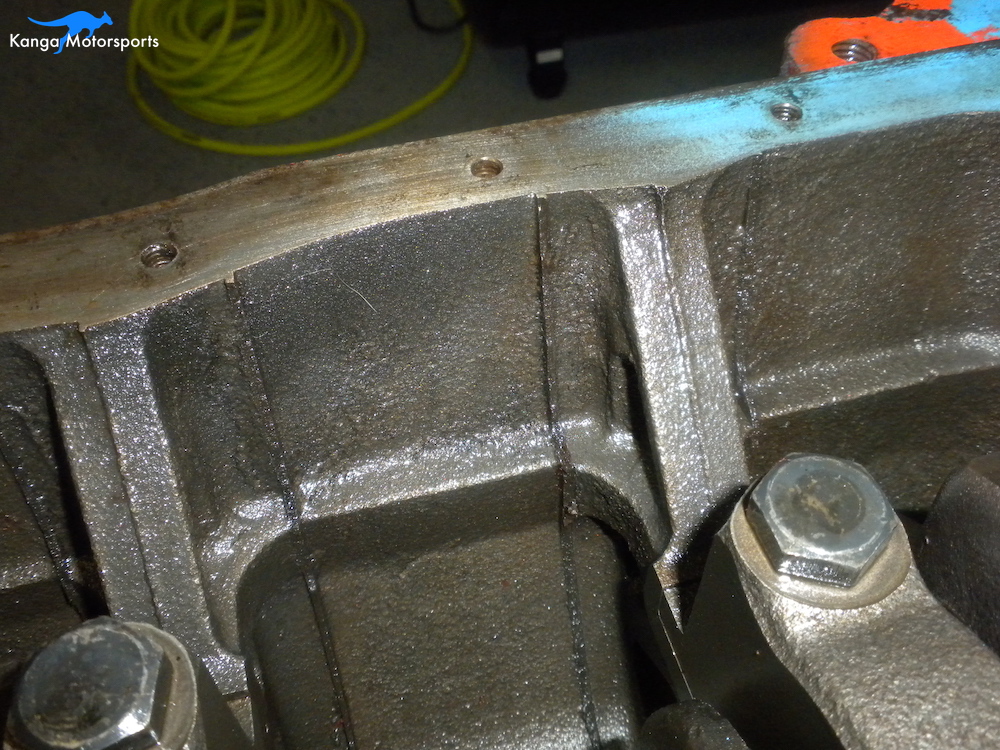
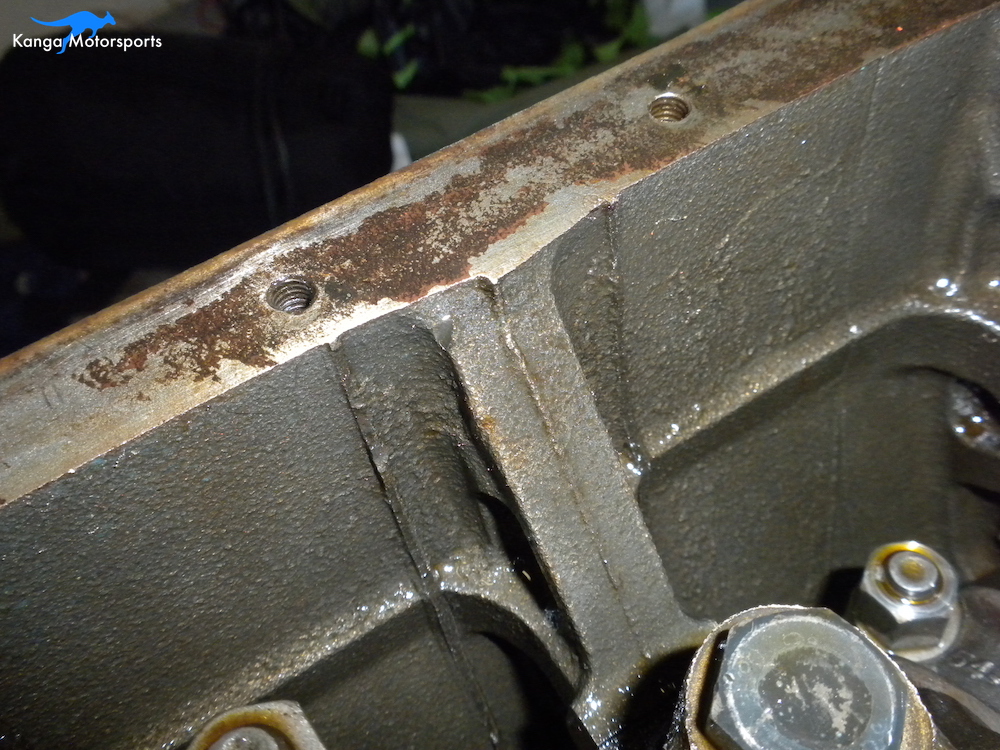
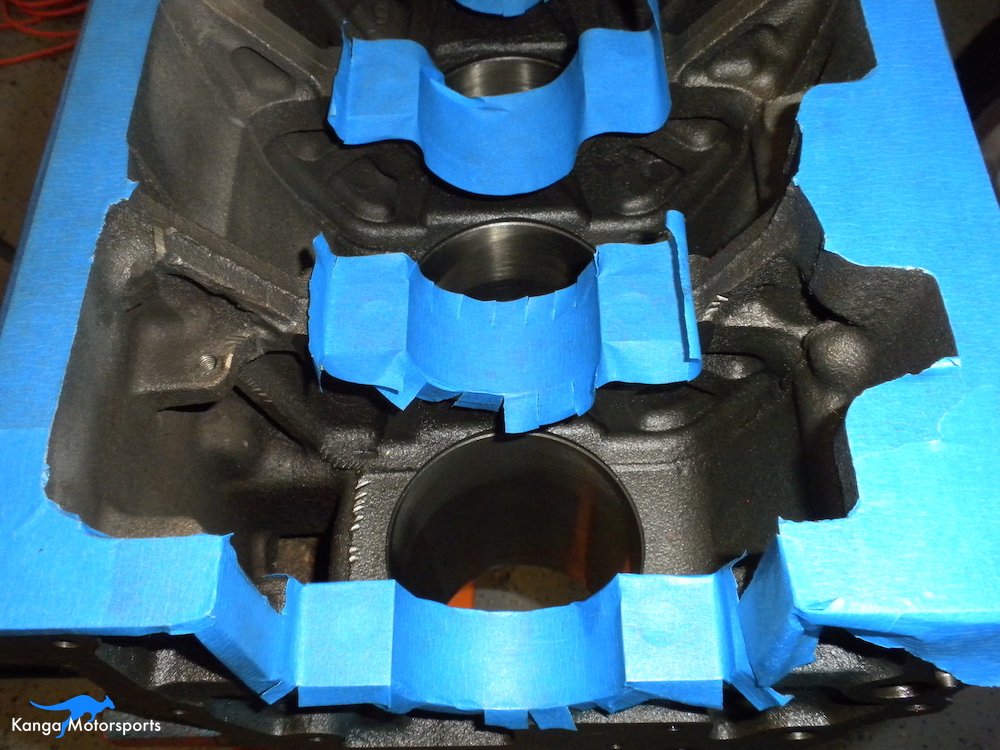
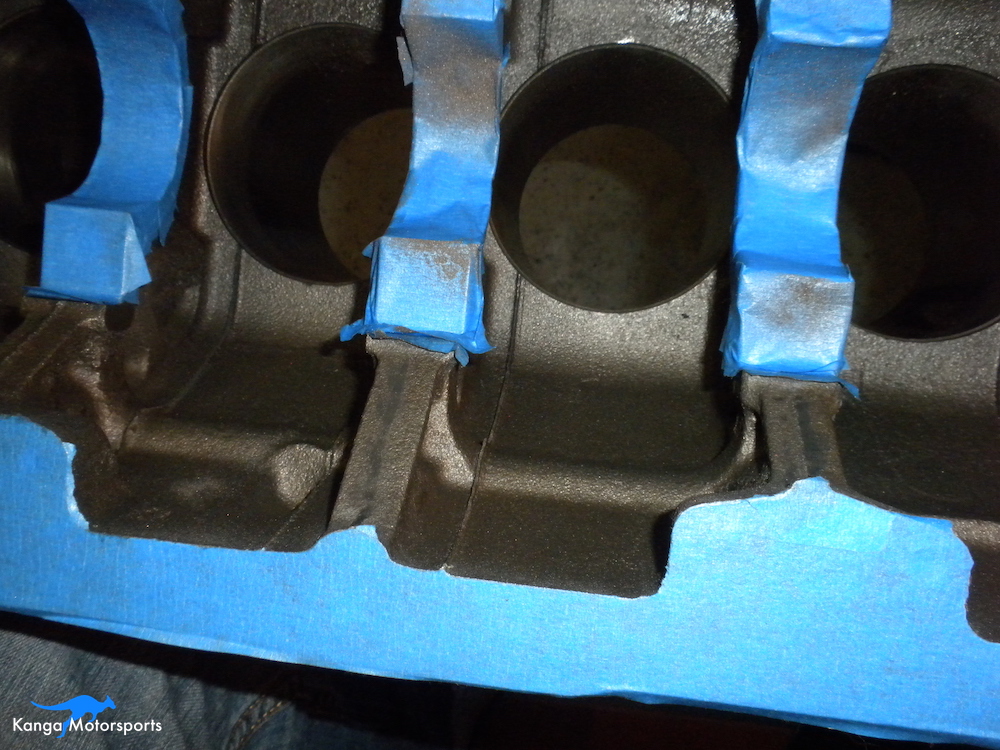
With the casting flash removed using grinding stones you now want to smooth out the transitions and overall block finish. I used a combination of 80 grit sanding scrolls and flap wheels driven by either the die grinders or flex shaft motor. The cone scrolls and thin flap wheels are good for the tight and hard to reach spaces. If possible sand in two perpendicular directions to achieve a better finish.
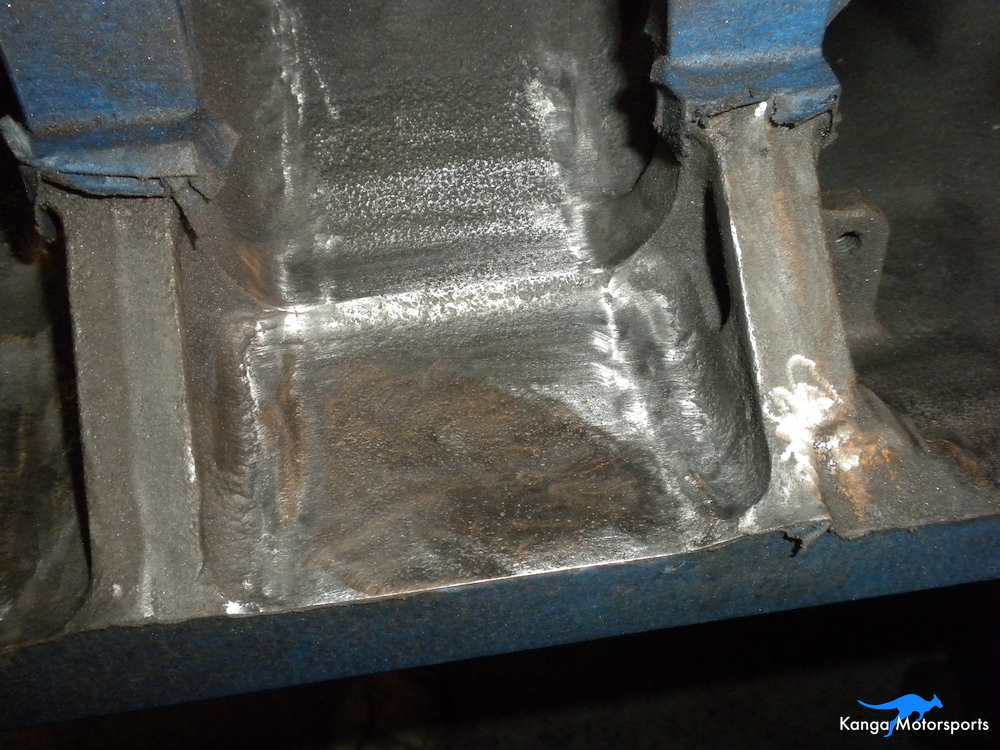
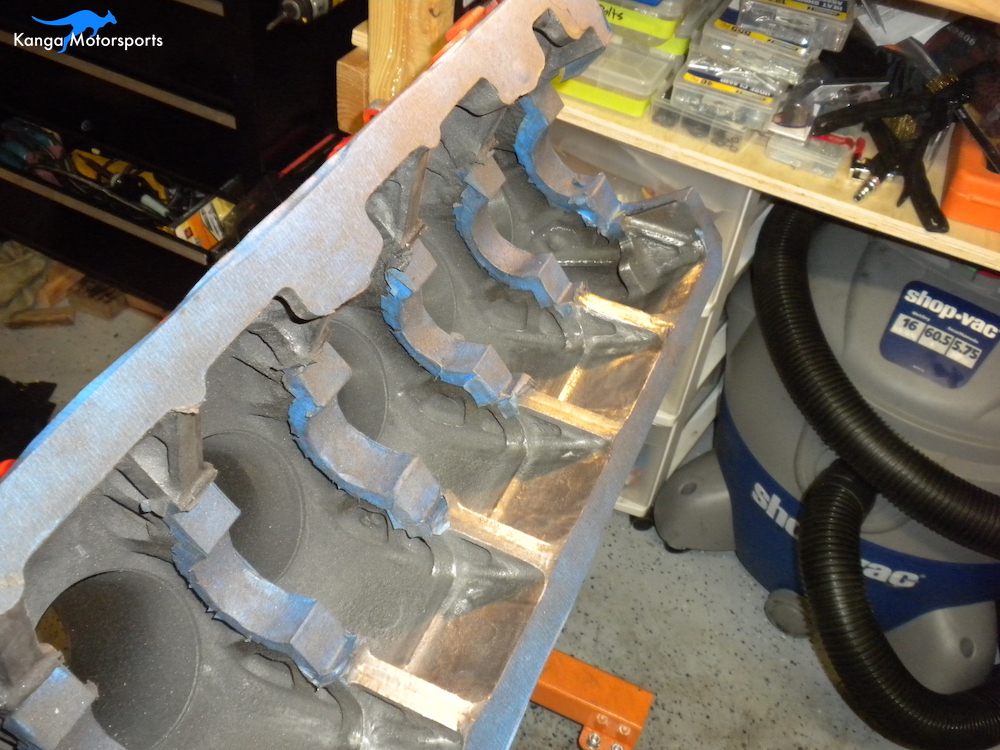
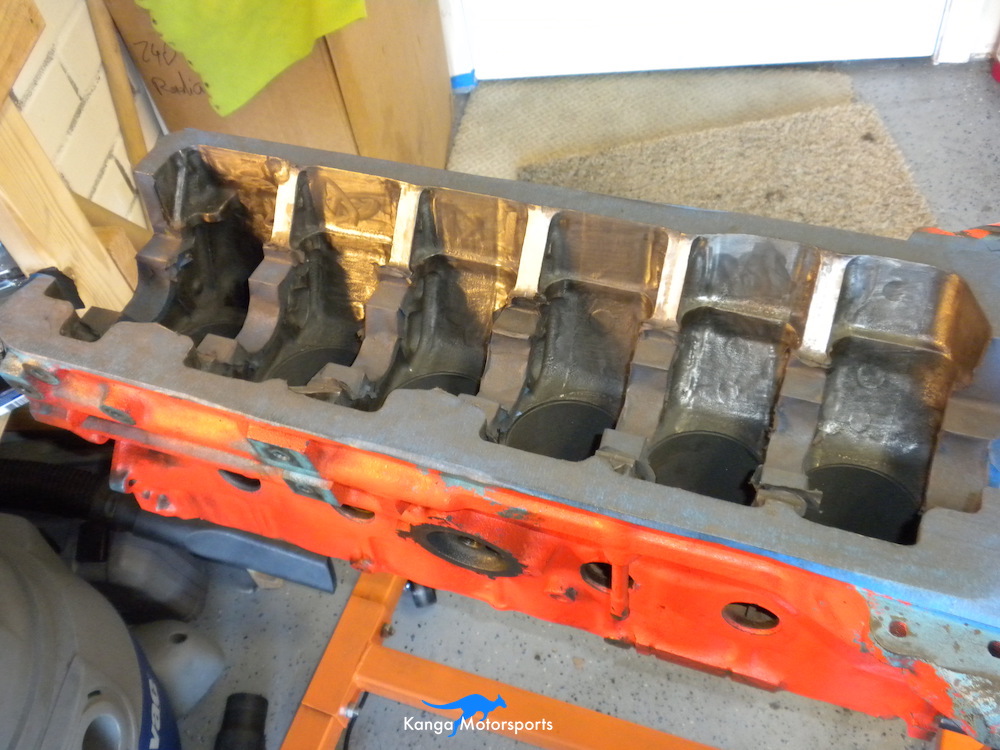
Once you have a smooth finish with the 80 grit switch to 120 grit. Make sure all the deep scratches are gone before moving to the next grit otherwise it will take a long time to get a good finish and remove stubborn scratches. Again sand in two perpendicular direction to achieve a smoother finer finish. You can go to finer and finer grits and even polish the block if you like but I stopped at 120 grit which cleaned up most of the issues and provided a decent finish.
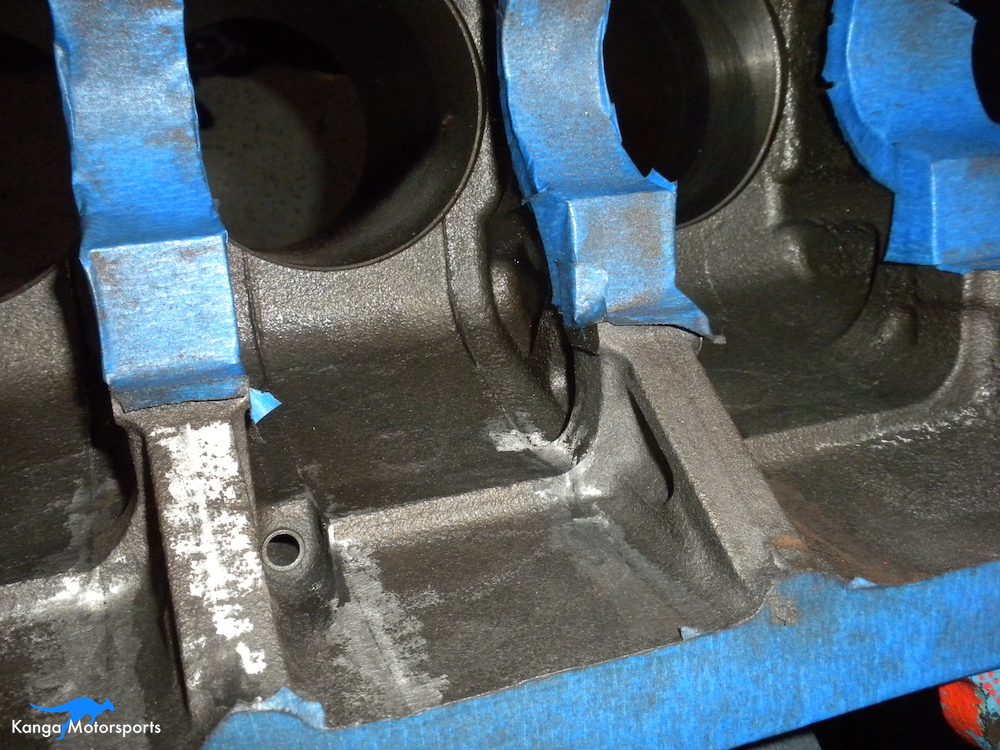
Once you have finished grinding and sanding there will be a lot of metallic dust stuck to everything. Time to clean the block again. Use the mineral spirit pressure washer to clean most of the excess material off. I recommend using stiff bristle brushes and pipe cleaners to assist. Make sure to clean out the bores, water passages, oil galleries and threads. For the final clean remove the protective painters tape be very careful on the bearing and sealing surfaces.
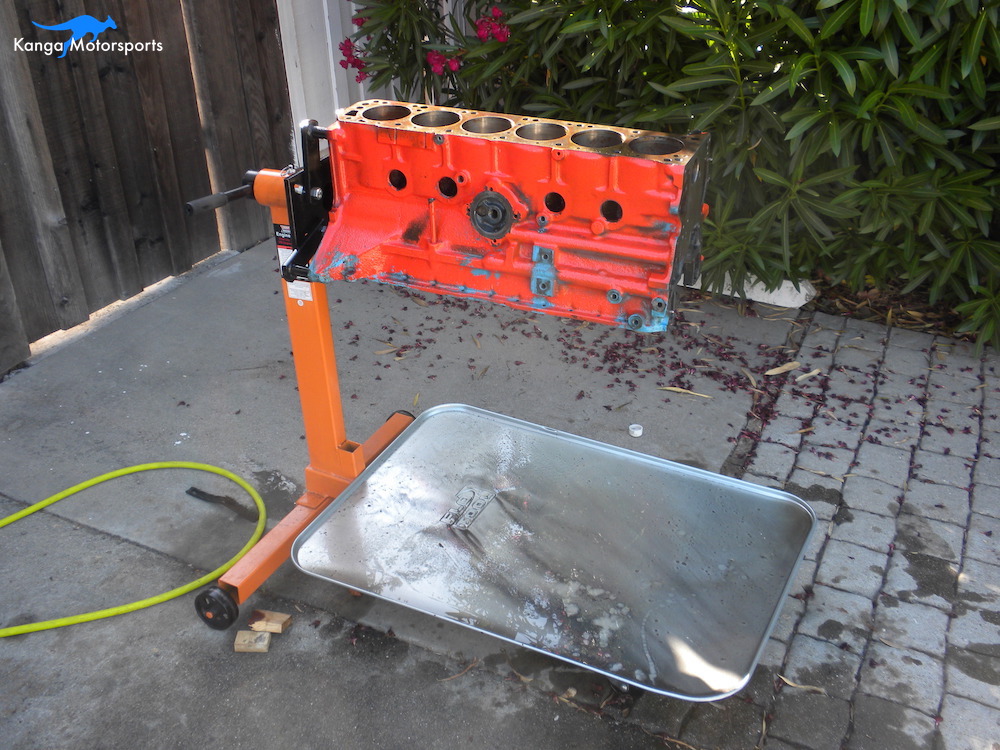

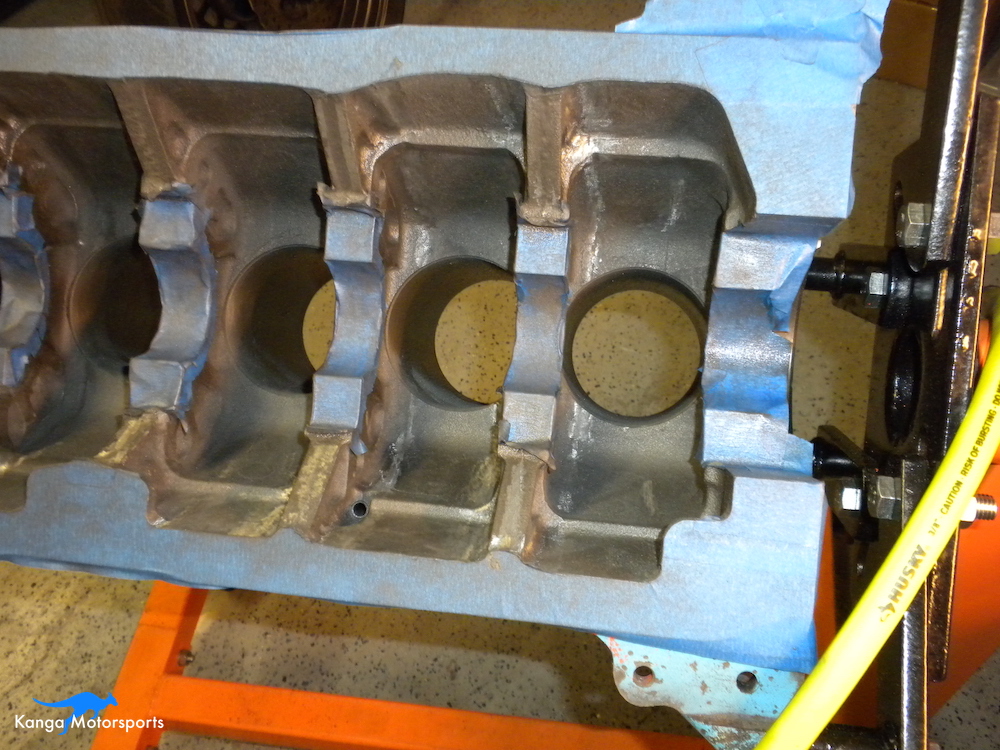
Machine Shop Preparations
With the block now clean give it a coating of light oil to protect it from developing surface rust. Reinstall the the main caps and torque down the bolts in the recommend order. I install finger tight, then torque to 20 ft-lbs (2.7 kg.m) followed by a final torque to 40 ft-lbs (5.5 kg.m). Use the order provided by Nissan starting in the middle and working outwards.

When finished I wrap the block in cling film to keep any moisture and dust out.

Talk to your machine shop but here here is a short list of recommend medication for the L-series motor.
Replace main oil galley plugs with socket head plugs
Drill oil jet from 2mm to 3.17mm
Bottom of bores should have 1mm radius (this might not be necessary if you are doing a large bore size)
Want more Datsun 240z articles and tech tips sign up for our Kanga Motorsports Newsletter.
Other Datsun Engine Build Articles


