
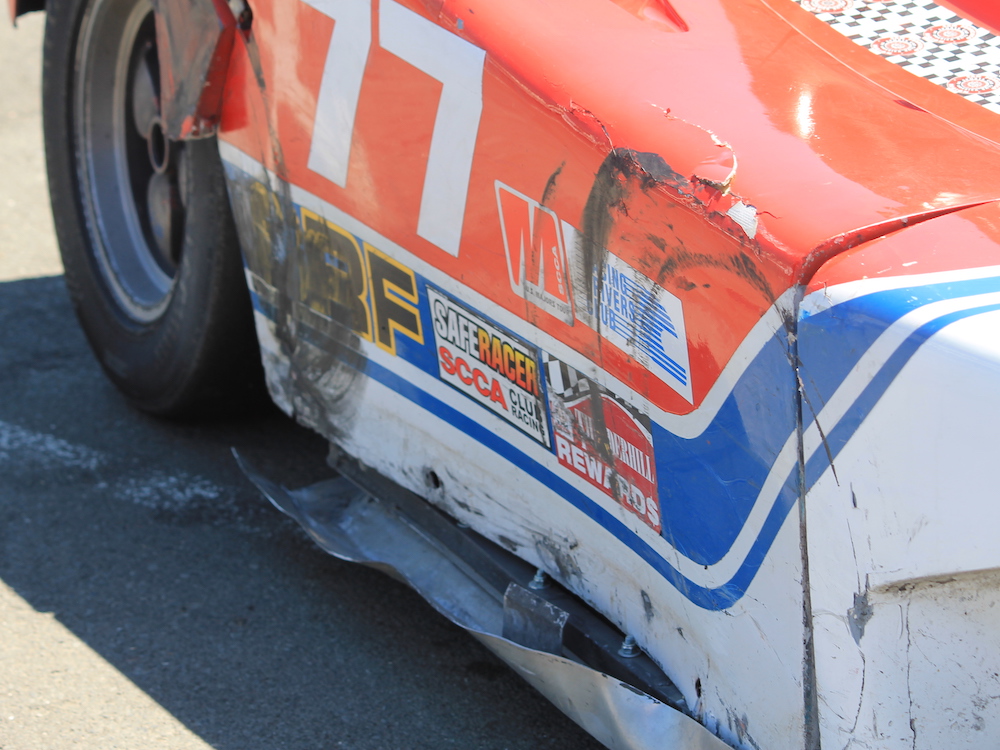
Rubbing is racing... but sometimes you get nudged, bumped or slammed. Luckily the rub rail is designed to be replaced.
Tools and Equipment Needed
Rub Rail Left Hand - Enterprise PN: 180557
Rub Rail Right Hand - Enterprise PN: 180558
Quick Jack
Jack and jack stand
Drill and drill bits
Carriage bolts, washers and nylock nuts
7/16 inch ratcheting wrench
Vise grips
C-Clamp or Spring Clamp
2x4 block of wood
1 inch square tube spacer
Replacing the Rub Rail
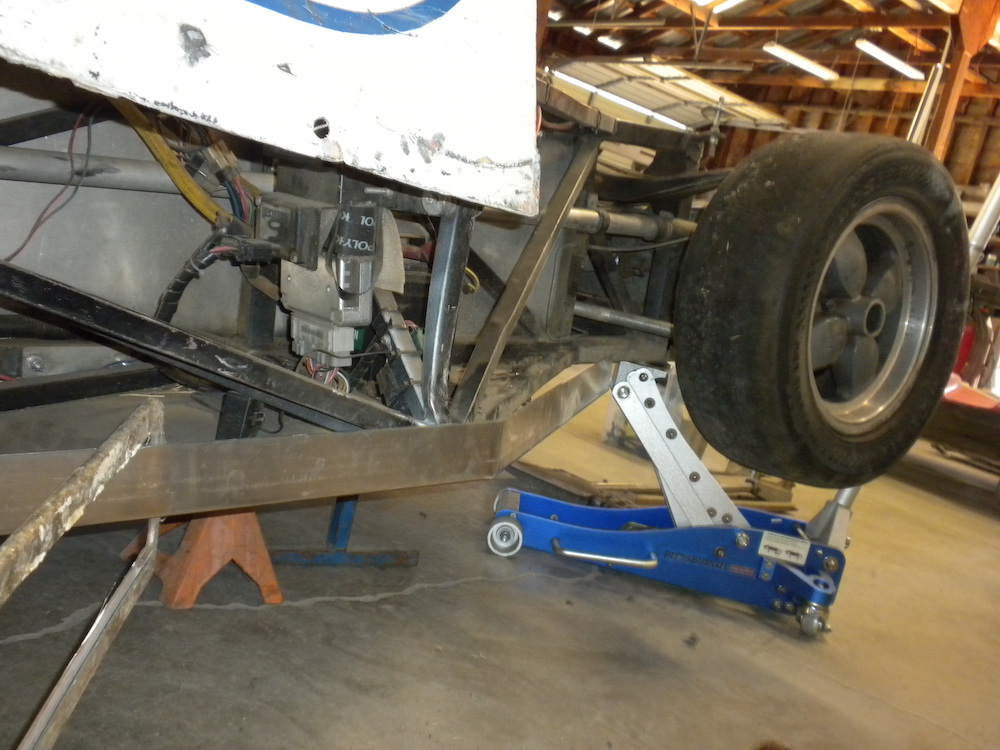
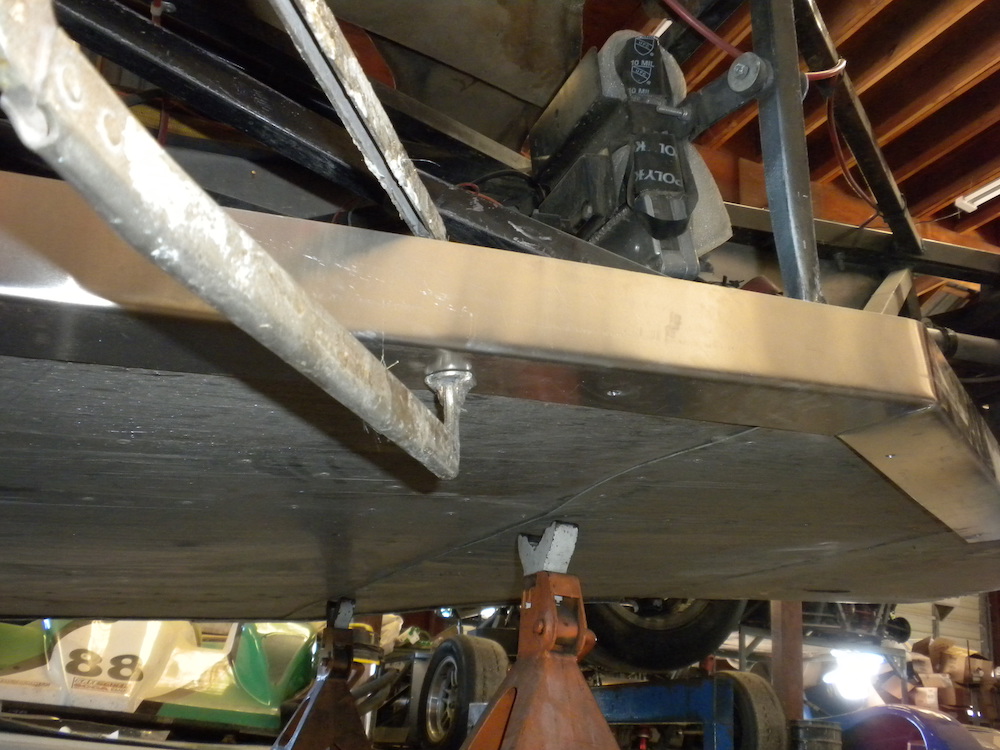
Jack the car up in the air so you can work under it. You might need to drill holes from above or below so make sure you get the car high enough.
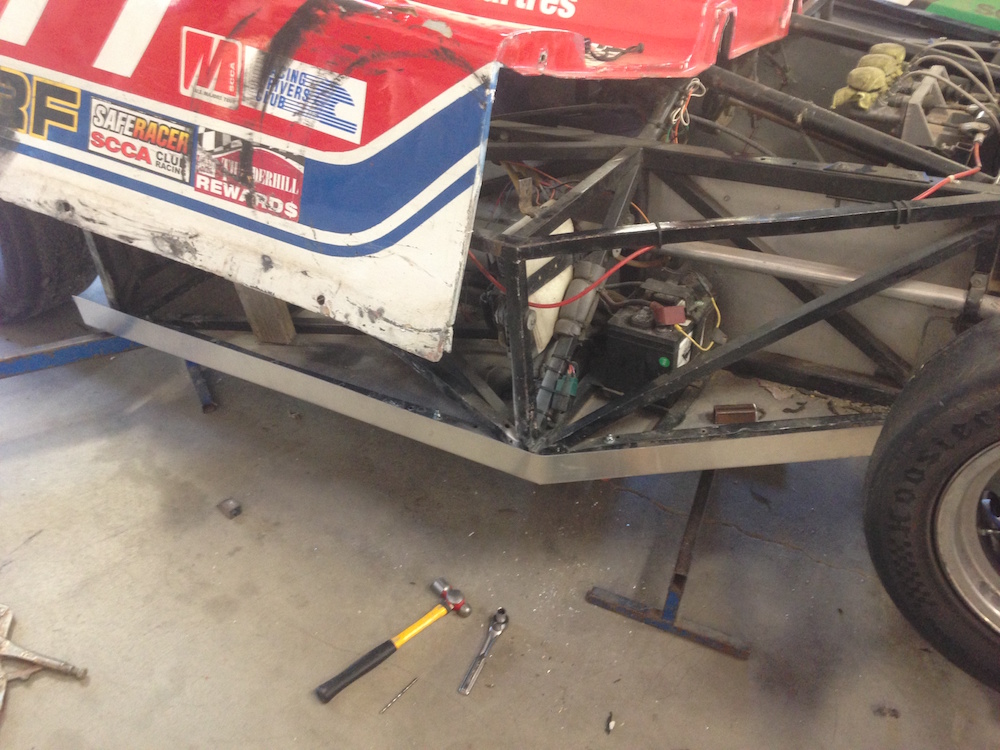
To access the rub rail either remove the central body work or use a piece of 2 x 4 wood to prop up the side pod.
Depending on how the last rub rail was attached to the chassis and how much damage the fasteners received, you might need to replace the fasteners.
If the bolts have been torn out in the past or the chassis has been repaired the bolt holes on the rub rail might not match up with the holes on the chassis.
You should try to use the standard holes with the rub rails where possible, this will make trackside repairs faster and easier.
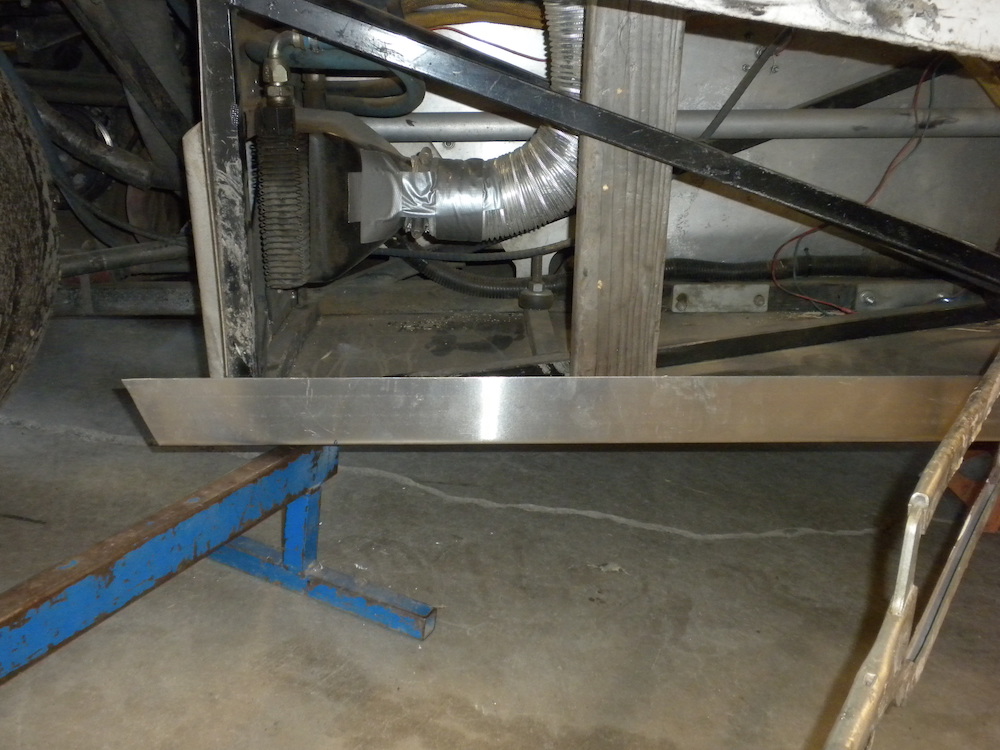
The rub rail should extend out 2 inches from behind the rear of the chassis side pod toward the rear wheel.
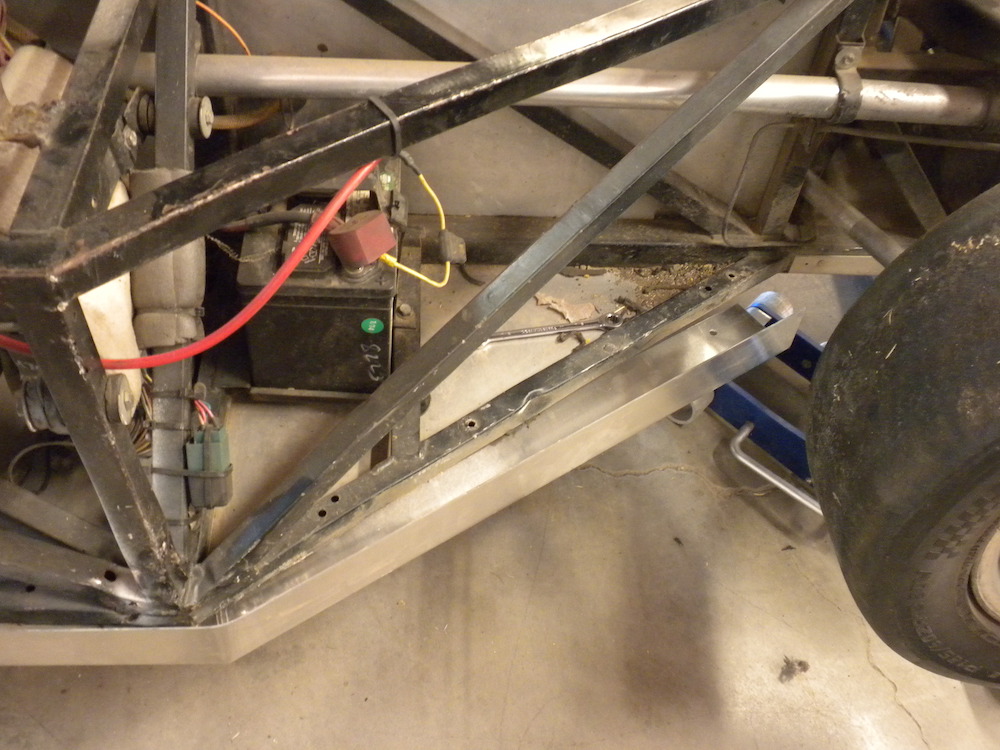
Use a left over piece of chassis tubing as a spacer on the inside of the rub rail against the side pod chassis to create a gap location for the body panel to be put in place.
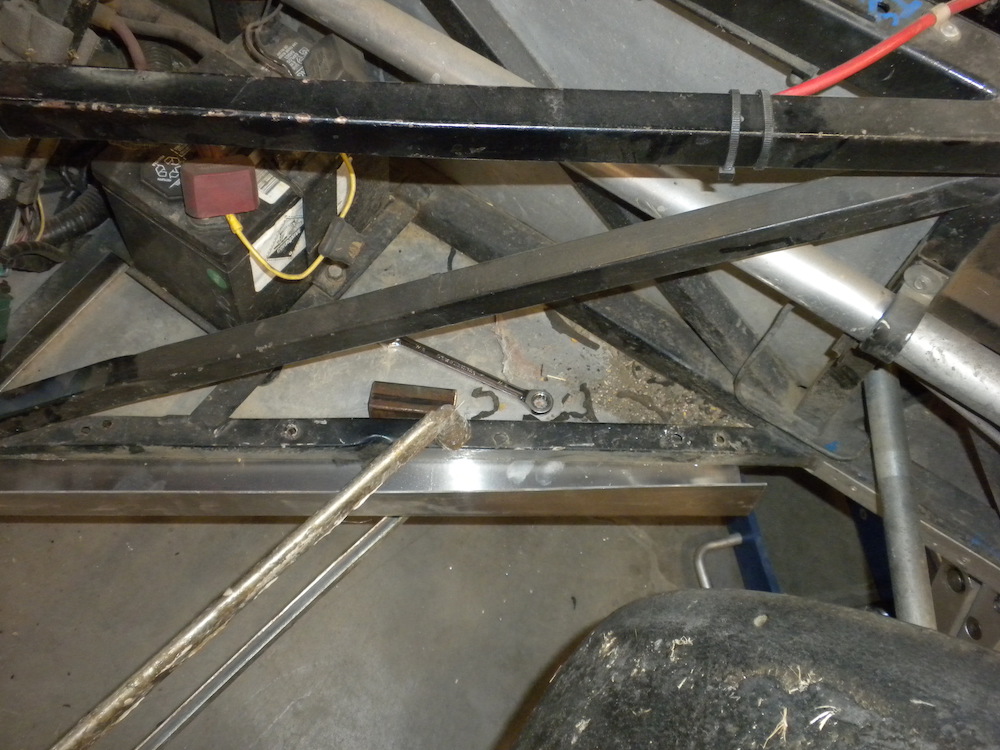
With the rub rail positioned use a C-clamp or spring clamp to hold the rub rail in place and insert fasteners if possible.
If the holes do not line up then you will need to make new holes using the drill and drill bits.
We like to use carriage bolts combined with washers and nyloc nuts to hold the rub rails in place. The carriage bolts may get ground down with time especially if your local race tracks have lots of elevation change. The washers go on the chassis side and will prevent the bolt pulling through. The nyloc nuts prevent the nuts coming loose due to vibration.
Start from the rear of the side pod and work your way towards the front of the car, inserting the bolts and nutting them as you go.
Test fit the body work and make sure everything is in place. If you are happy with the placement lift up the central body work and tighten the carriage bolts into place.
Lower the car to the ground and you are ready for the next session.
Other Maintenance Articles


When replacing or refilling the Spec Racer Ford coolant system you need to make sure the all the air is bled out of the system before heading out on track.