
A fault with Spec Racer Fords is that the alternators can fail, requiring a trackside replacement. The process is straight forward but sometimes access can be a problem.
Tools and Parts Needed:
Alternator 1.9L Renault Alliance - NAPA PN: 213-8403
15mm wrench or spanner
8mm, 10mm, 1/2 inch, 17mm, 24mm (15/16 inch) sockets
Ratchet and/or cordless impact driver
2x 1/2 inch wrench or spanner
2x 7/16 inch wrench or spanner
Alternator Replacement
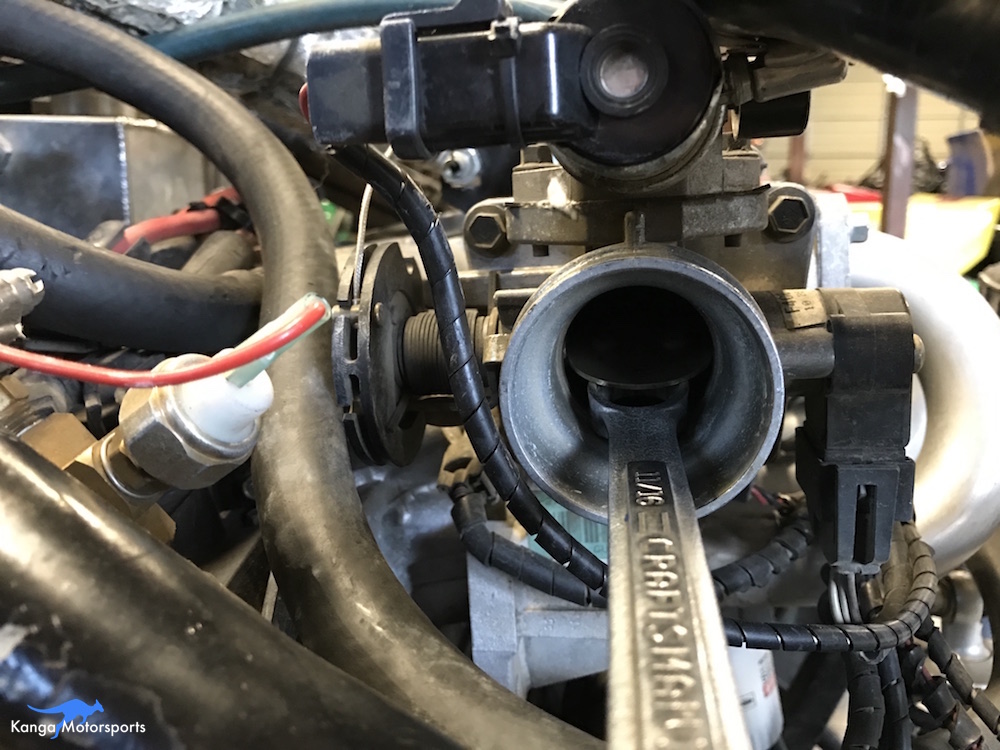
First thing to do is disconnect the battery you will need two 7/16 wrenches/spanners. It helps to have a ratcheting spanner like a gear wrench to make it go faster.

Remove the upper bolt from the alternator using the 15mm spanner and the 17mm socket with ratchet or impact driver.
With the upper bolt removed you can now take off the alternator belt.
With the belt off, lift the alternator back up to the mount. Slide the upper bolt halfway back into the mount to hold the alternator in place. This will make it easier to undo the tension rod and with the belt out of the way you have better access.
Using two 1/2 inch wrenches to remove the nut and bolt from the lower tension rod.
You can now slide the upper bolt out and lift the alternator out of the car.

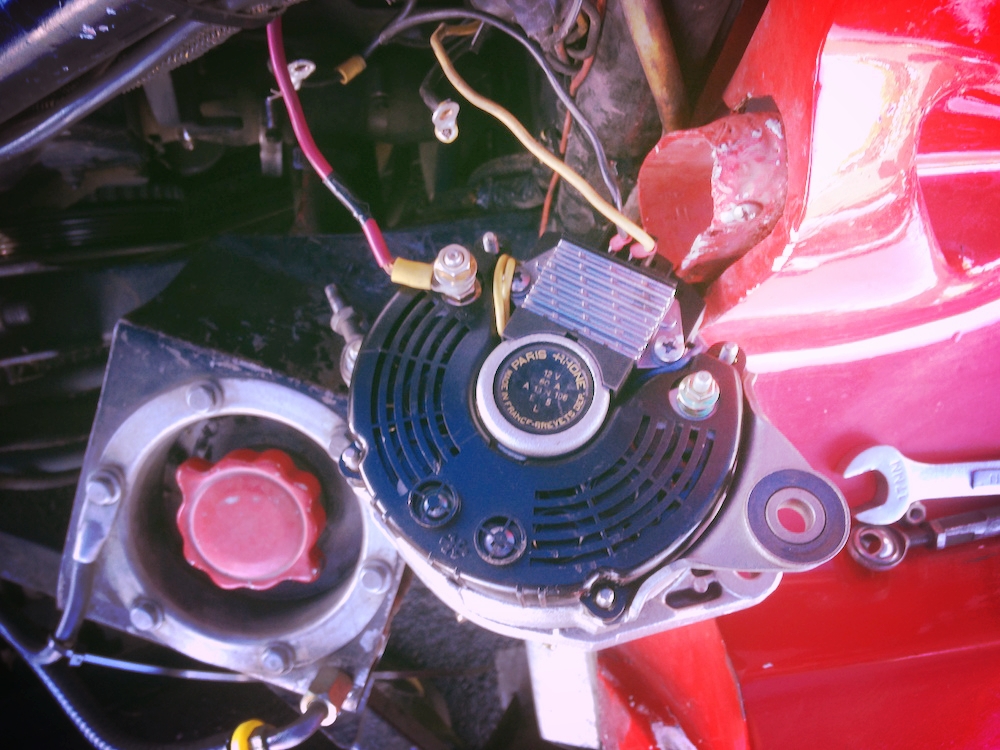
Using the 8mm and 10mm sockets combined with a ratchet remove the electrical wires from the back of the alternator. Also disconnect the lower spade connector wires. Note their location or take a picture so you can put it back together correctly. Don't just go by the wire color, the age of our cars mean that some wires have likely been replaced by previous owners and can potentially be the wrong color.
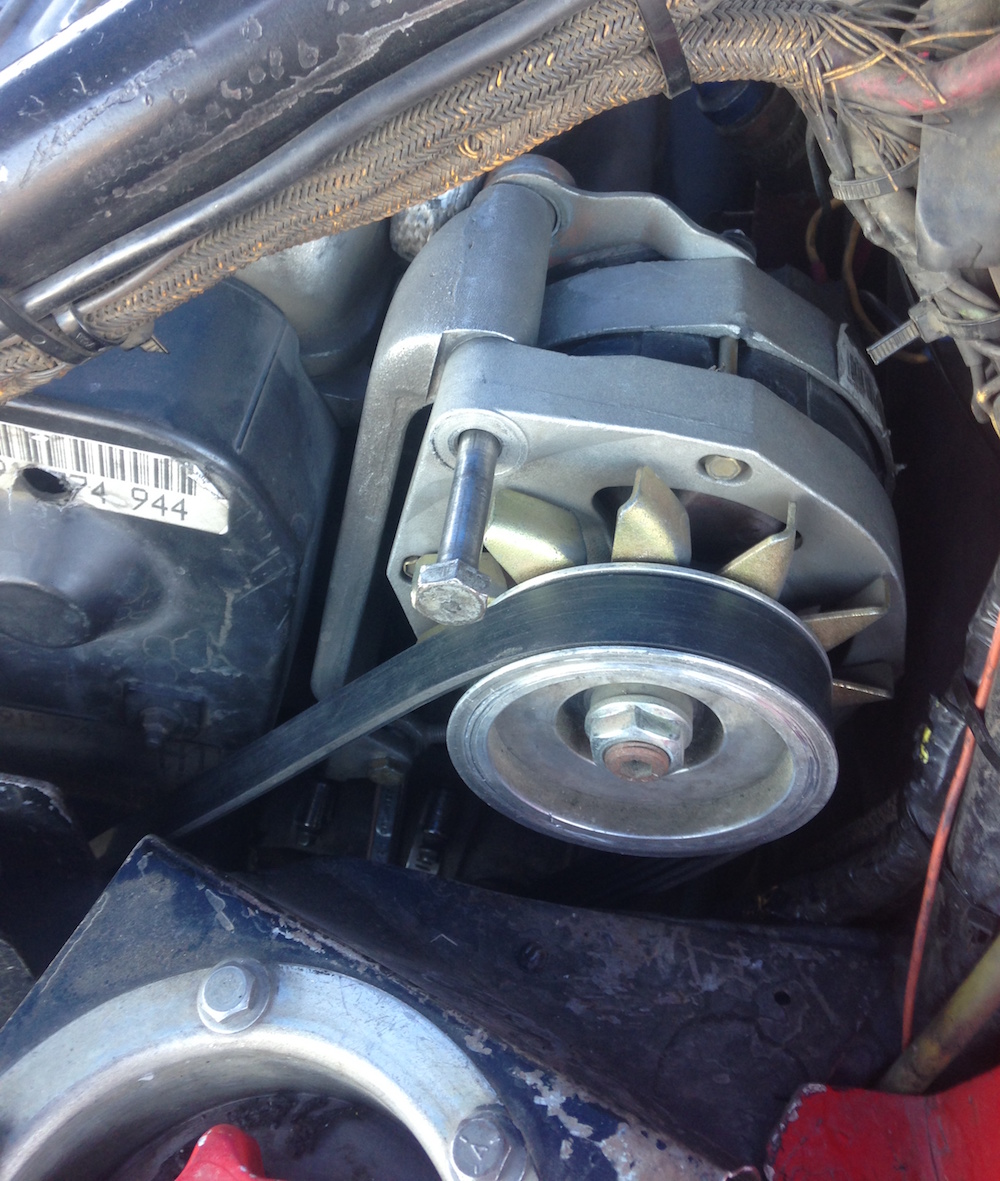
Using the 24mm (15/16 inch) socket and impact remove the alternator pulley from the old alternator.

Place the pulley on the new alternator and tighten the nut with the 24mm (15/16 inch) socket and impact. Make sure it is tight and the alternator spins freely.
Remove the lower tension arm from the old alternator using the 1/2 inch wrench and 1/2 inch socket with impact driver. Now is a good time to inspect the condition of the rod ends.
Replace the lower tension arm on the new alternator using the 1/2 inch wrench and 1/2 inch socket with impact driver.

Reconnect the wires to the back of the alternator using the 8mm and 10mm sockets and ratchet. Don't forget the spade connectors.

Load the alternator back into place. You will need to lower it below the mount to get it in and then rotate it to get into place with the bracket.
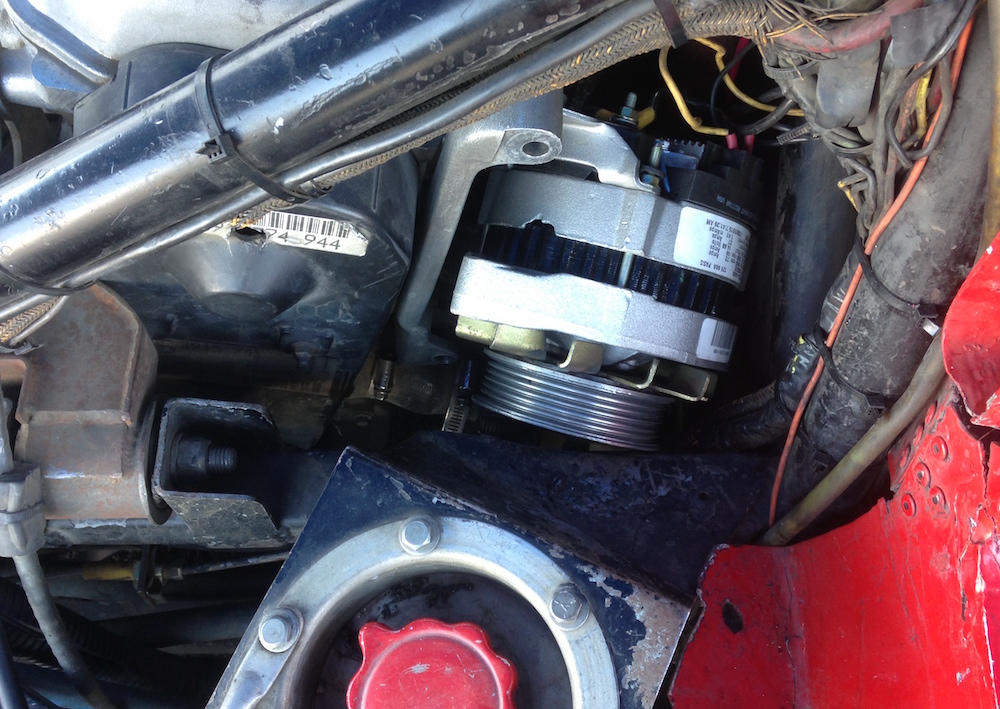
With the alternator aligned with the upper mount slide the bolt halfway into place. This allows the alternator to swing so you can get the belt on.
Load the belt over the crank pulley and then work it into place over the alternator pulley.

With the alternator in place and the belt on you can now reconnect the lower tensioning arm.
Position the rod end in the lower mount and slide the bolt into place. You may have to wiggle the alternator into place or remove the upper bolt.
Nut the lower bolt and use two 1/2 inch wrenches or a wrench combined with a 1/2 inch socket and ratchet to tighten in place.

With the lower tension rod connected, you can now slide the upper bolt fully into place and tighten the bolt using the 15mm wrench and 17mm socket with impact driver.
Reconnect the battery using the two 7/16 inch spanners or you can do this after you have adjusted the belt tension.

Alternator Adjustment
To adjust the belt tension on the alternator you can increase the length of the lower arm.
The lower arm uses two rod ends one with a left hand thread shank and one with a right hand thread shank.
Loosen the jam nuts on the rod ends using a 1/2 inch wrench/spanner with a 7/16 wrench braced on the adjuster bar.

With the jam nuts loose you can now unwind to lengthen the adjusting arm using a 7/16 wrench/spanner.
The belt is tight when you can twist it no more than a quarter turn.

Once the arm is at the correct length use the 7/16 and 1/2 inch wrench/spanner to tighten the jam nuts.
Check the belt is tight again and you are done.

Other Maintenance Articles


When replacing or refilling the Spec Racer Ford coolant system you need to make sure the all the air is bled out of the system before heading out on track.