
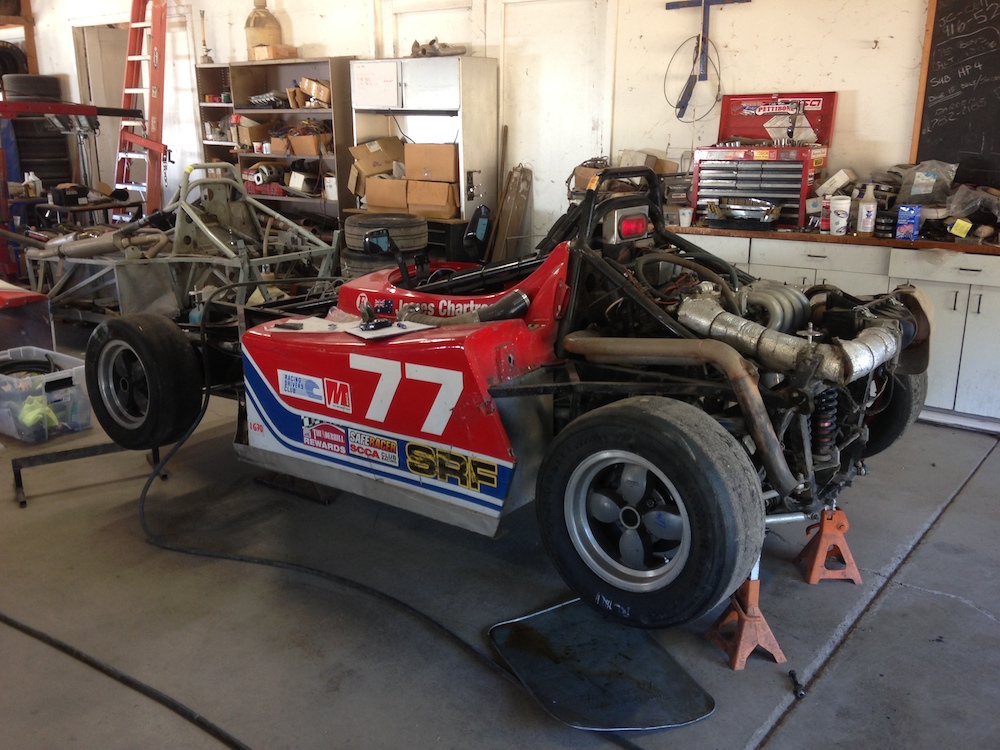
Sloppy shifts? Can't find the right gear? Shifter wiggle? It might be time to replace the shift linkage U-joints and/or rod ends. The hardest part of the job is removing the linkage from the car. Get a friend to help you and it is a lot easier.
Tools and Equipment Needed:
Front U-joint - Enterprise PN: 1180017
Rear U-joint - Enterprise PN: 1180018
Roll Pin 3/16 X 1 inch - Enterprise PN: 1080604
1/2 and 3/4 inch wrench, socket and ratchet
Drift and hammer
Safety wire and pliers
Quick Jack
Jack and jack stand
Penetrating fluid (optional)
U-joint retaining pins (optional)
Safety Goggles
Servicing the Shift Linkage:
You can get the shifter linkage out with the car on the ground but it might be easier on your back if you lift the car up in the air.
Jack the car up and use taller jack stands, make sure the car is stable before working on it.
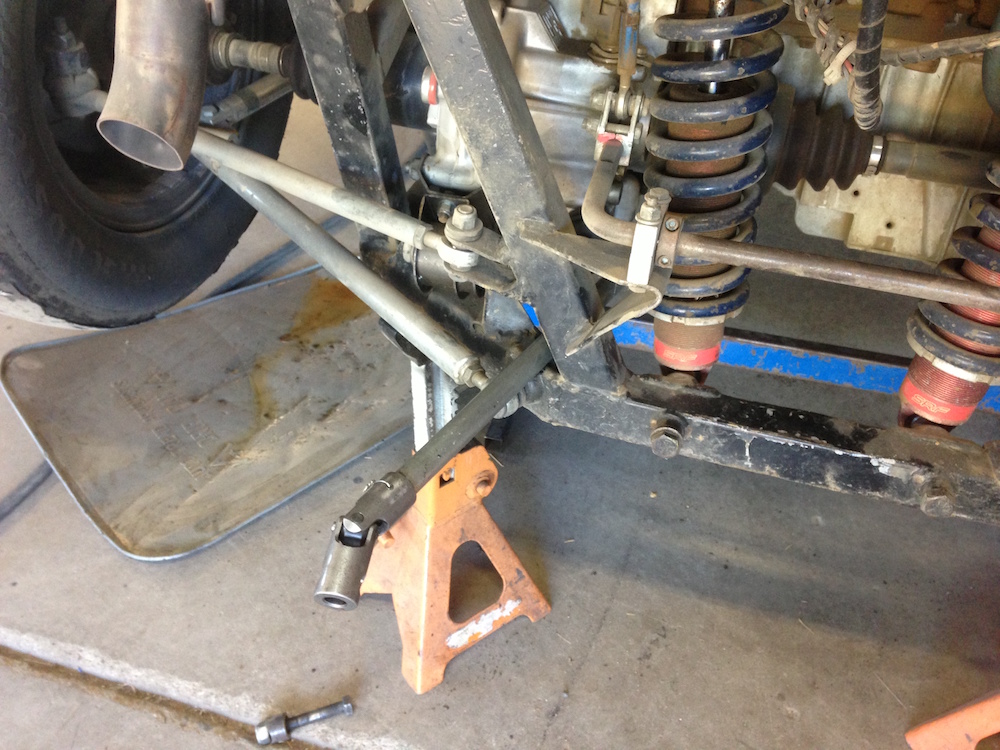
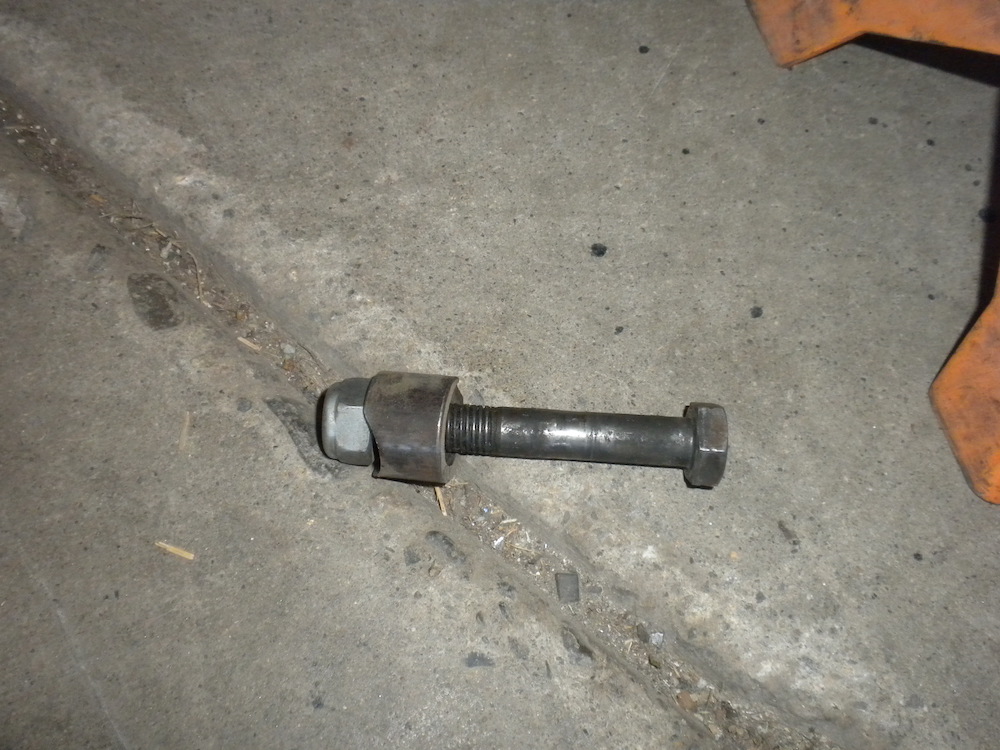
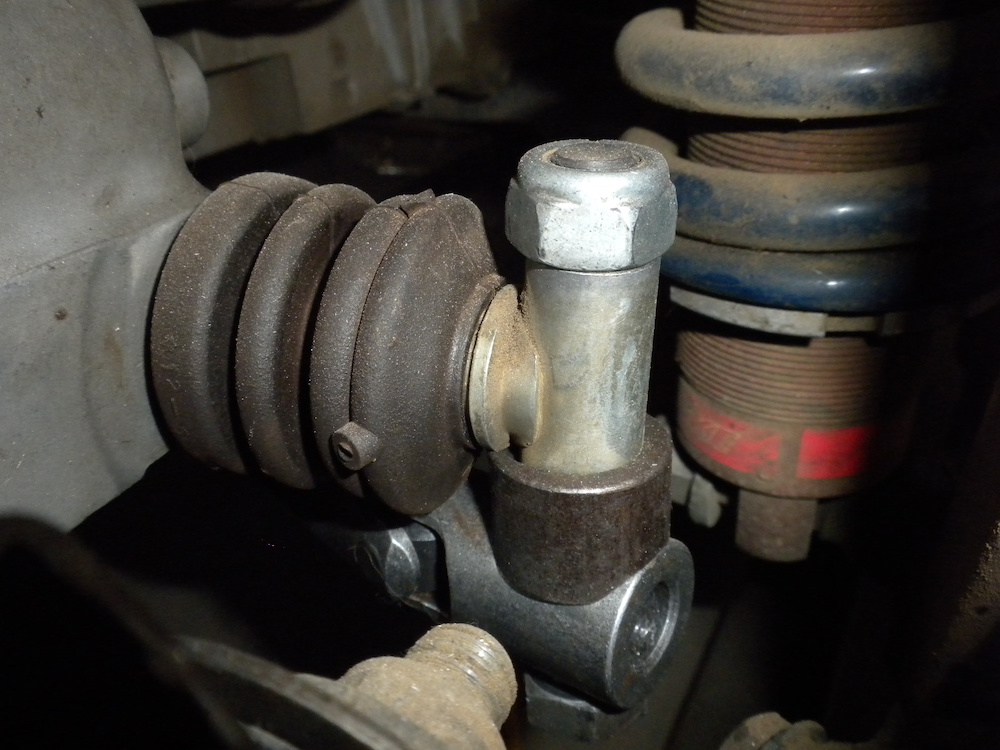
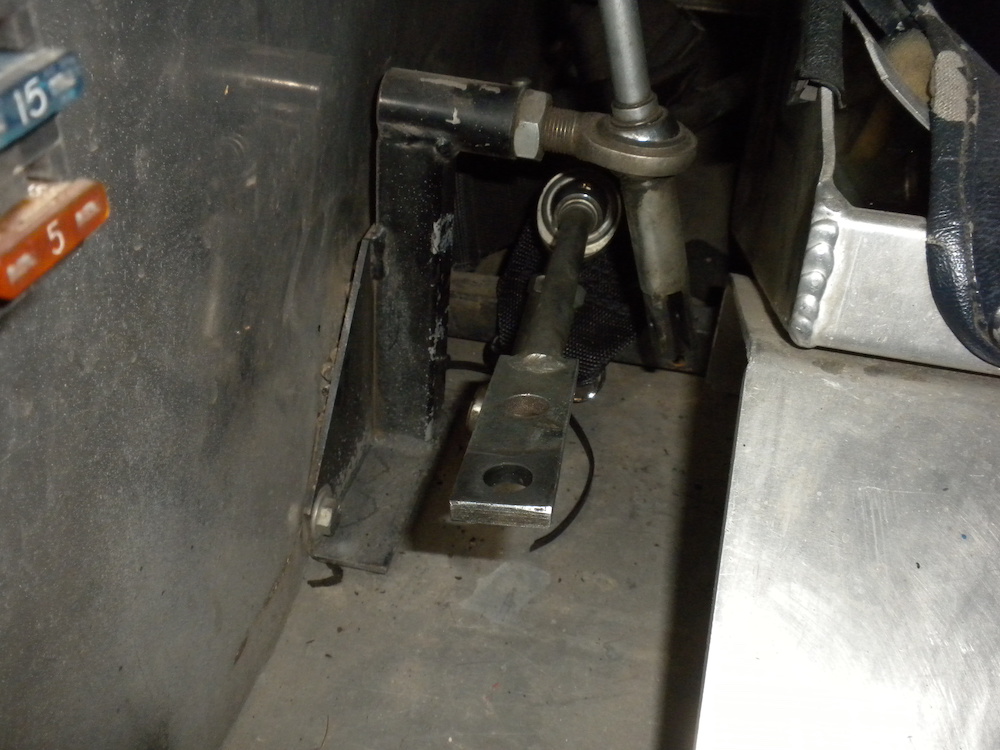
Undo the bolt connecting the shift linkage to the transmission. Note the orientation of the spacer and where the detent is located. I like to put the bolt back together so I don't lose the pieces or their orientation.
Next disconnect the shifter linkage from the shifter using two wrenches. A ratcheting wrench will make it go much faster. There is a small bushing in the shifter be very careful not to lose this as it can drop back behind the seat and be next to impossible to recover.
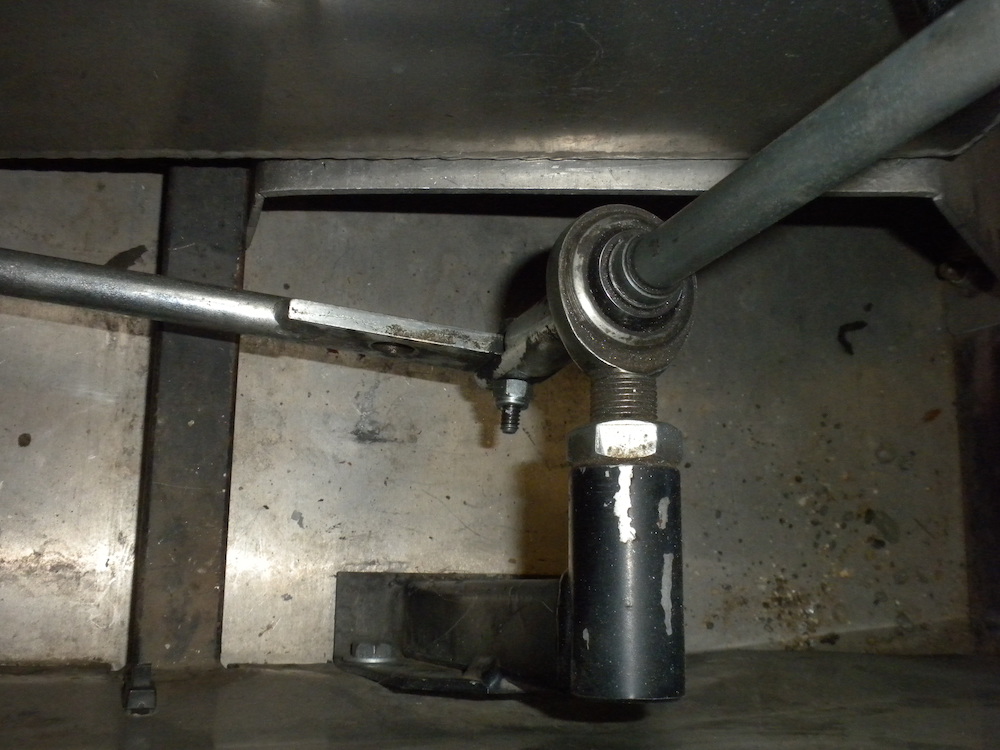
Undo the pivot arm connecting the linkage to the chassis using the 3/4 inch socket and ratchet. Make sure not to loose the plastic bushings, washers and nut.
Now comes the hard part getting the linkage out of the car. If you have a friend around it will make it easier.
Push the linkage around the seat and towards the engine. Then pull from the engine side you will need to guide it between the chassis members and down the side of the seat. You might have to move it forward and backward as necessary to remove it from the frame.
We found that the linkage would hang up or needed a bit more angle due to the shifter being in the way. If you are having trouble you can remove the shifter via the two lower bolts that connect it to the chassis.
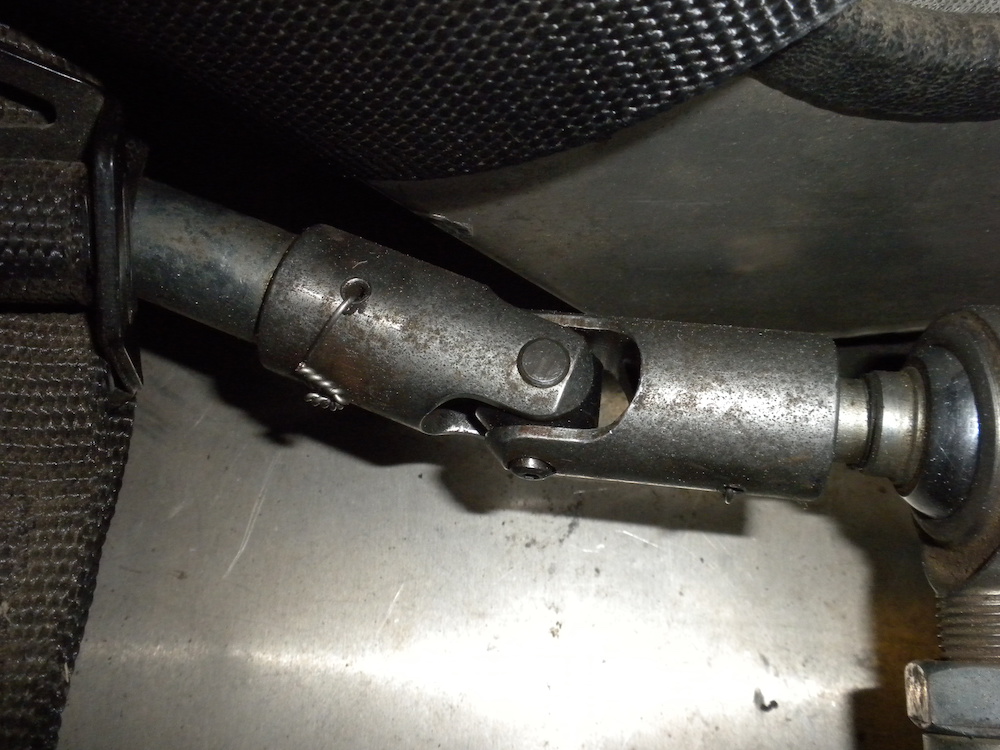
With the linkage removed from the car place the u-joint in a bench vise being careful not to bend or mar the surfaces.
Use the drift and a hammer to lightly tap out the retaining pin. If it is rusted in place use your favorite penetrating fluid to help release it. The pins can pop out and fly across the floor, make sure to collect it from below before it drops.
Rotate the shifter 90 degrees and knock out the other retaining pin.
Remove the old U-joint and replace with a new one. There are large and small holes on the ends so you know their orientation.
If the retaining pins look good you can reuse or just replace with new they are relatively cheap. Tap them into place on both ends of the U-joint.
Move to the next U-joint and repeat the process; tapping out the pins, replacing the U-joint and tapping in new pins.
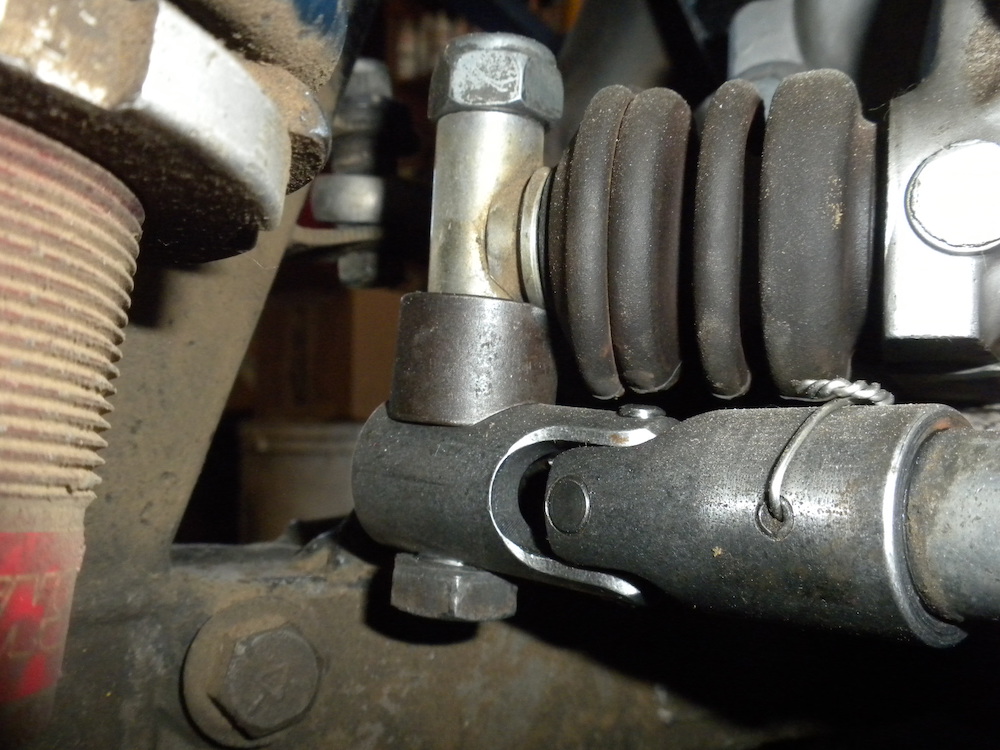
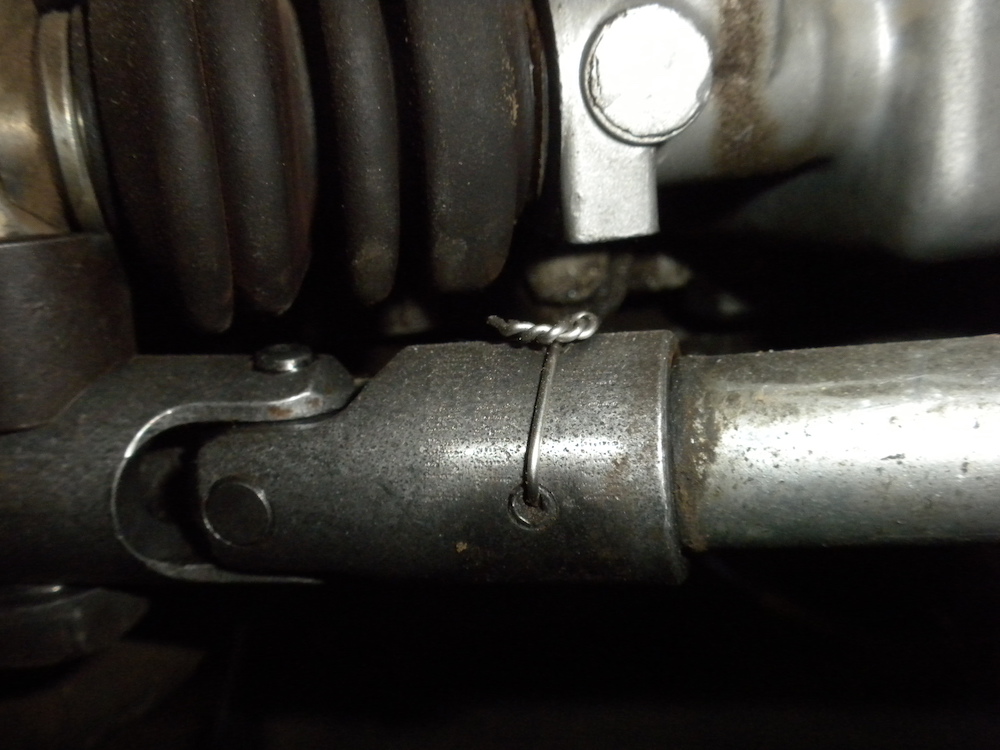
With both U-joints and the four retaining pins now assembled on the linkage you can safety wire the pins in place. Using safety wire pliers you can feed the wire through the center of the pin and out the other side before twisting and securing it in place. Repeat until all four retaining pins are safety wired.
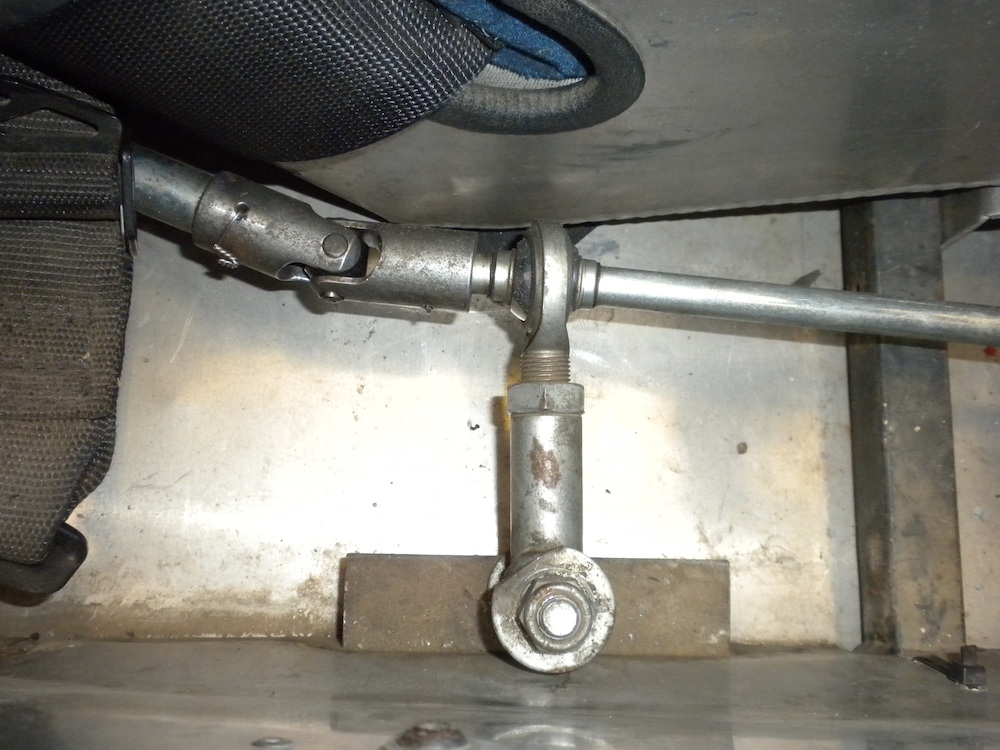
Now is a good time to check the shifter and pivot arm rod ends for play, cracks, or damage and replace if necessary.
Now comes the really hard bit getting the linkage back in the car. If you remember the motions you used to get it out of the car and do that in reverse then it should go back in easily.
If you are rebuilding the car and it has been awhile or you don't remember how you did it, start by feeding the linkage back through the chassis. Next line it up with the opening below the seat and feed it through. We find that trying to keep it close to the side of the cockpit helped. If one person can feed the linkage from the back and another pull through from the front it will make it easier. The hardest part is maneuvering it around the seat you might have to rotate the pivot arm to fit through the opening,
If you removed the shifter before to get the linkage out of the car replace it now and tighten the two bolts in place against the chassis.
Connect the pivot arm to the chassis being careful to put the plastic bushings, washers and nut back in the same order they came out. Don't tighten it down yet.
Then connect the shift linkage to the shifter being careful to put the small bushing back in place. Don't tighten it all the way yet.
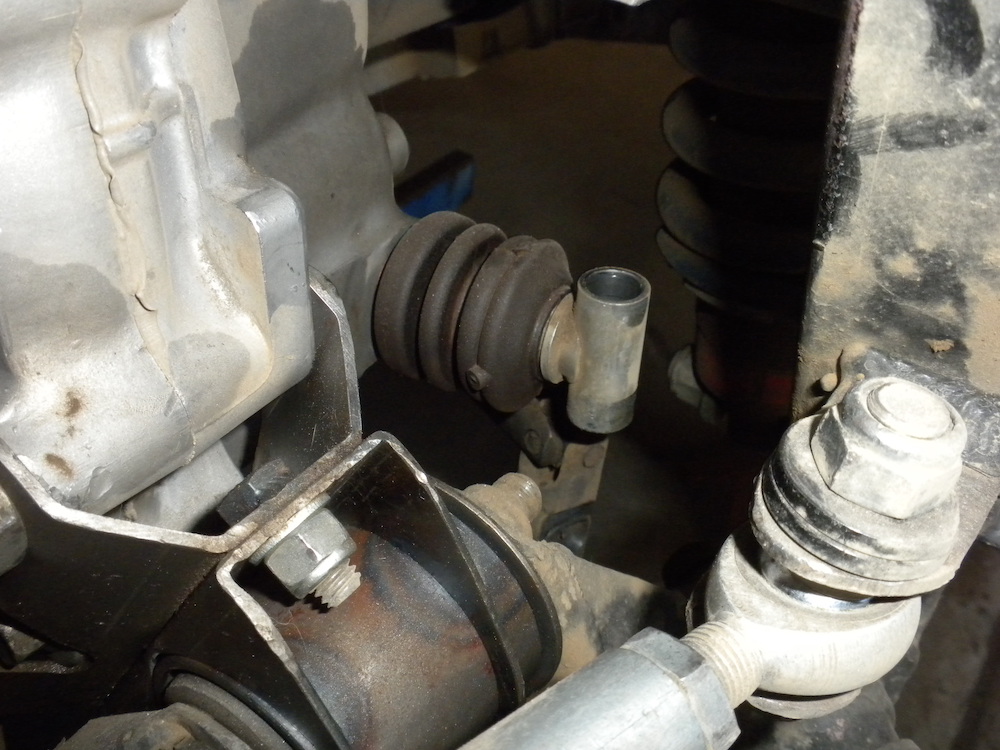
Mate the shift linkage to the transmission ensuring you put the spacer back correctly including the orientation of the detent. The detent is there to clear the cylinder section on the t-bar as it comes out of the transmission. Make sure the nylon nut is still good and tighten in place.
Now go back and tighten all the bolts securely in place.
Check for smooth and precise operation of the shift linkage and that you can get each gear. If you are having issues check for binding, bottoming out on the engine case, missing spacer or incorrect orientation.
With everything tightened in place and the shift linkage working correctly you can now lower the car to the ground and get it ready for your next on track session.
