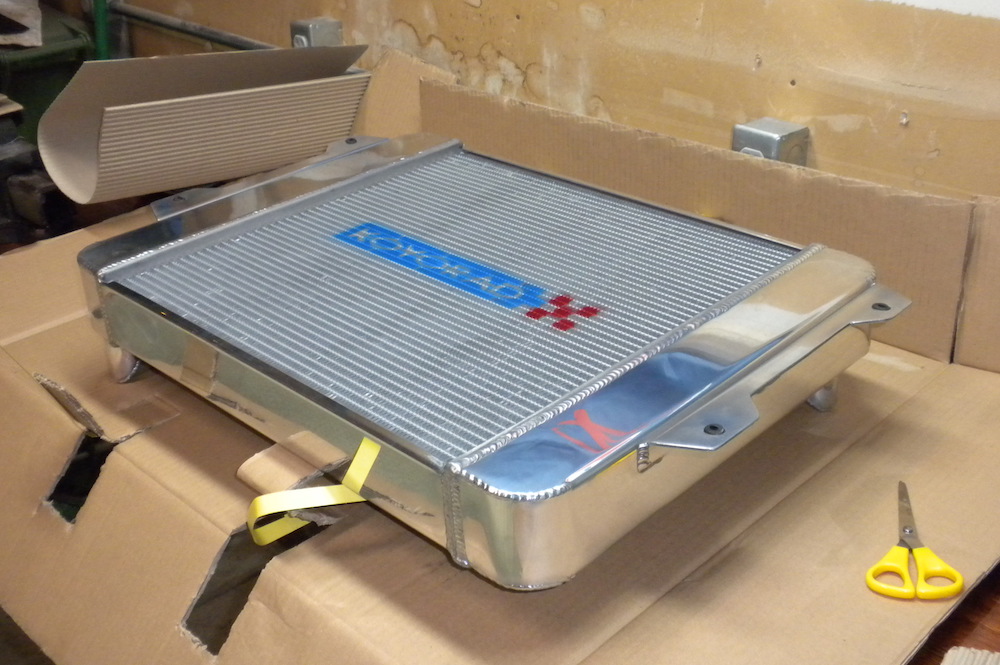
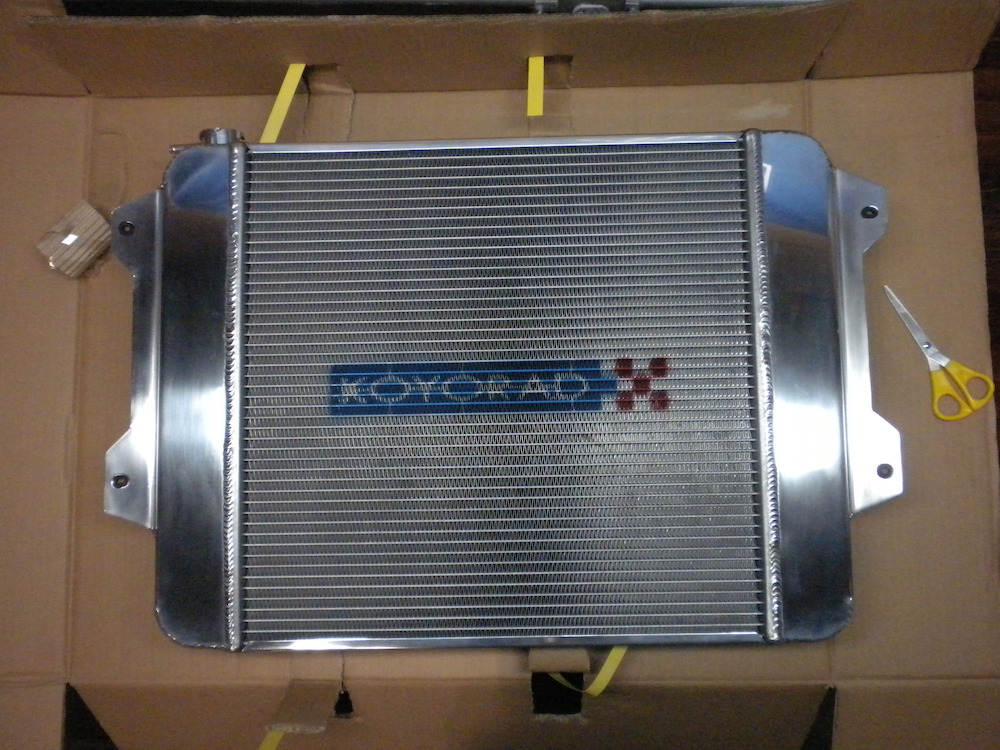
Some older Zeds/Zees have cooling issues in traffic this can be caused by a clogged radiator or cooling system. Installing an aluminum radiator provides an improvement in cooling and enhances the overall look of the engine bay. The Koyorad radiator has increased cooling capacity and is efficiently packaged. I found it to have better fitment, finish and quality than some of the cheap radiators available on eBay.
Tools and Parts Needed:
- Coolant drain pan
- New Coolant
- Distilled water
- R022352 Koyorad Radiator
- SK-C13 Koyorad Radiator Cap
- 2x Lower Radiator Hose - Nissan PN: 21503-N3000 / 21503-N4200 / 21503-N4200
- Rubber isolators
- 4x M8 x 25-30mm bolts
- 4x M8 washer and nuts
- Screwdriver or nut driver
- New hose clamps
- Wrenches / Spanners
- Sockets and ratchet
- Rags
Datsun 240z Koyorad Radiator Install

First thing you will need to do is remove the old radiator. To do this you will need to drain the old coolant. Make sure the car is not hot, be safe out there and don't burn yourself, with a car habit you probably can't afford the skin grafts.
Place a coolant drain pan under the radiator drain peacock. Remove the lower drain peacock and drain all the coolant. Remove the upper radiator cap to speed up the draining process.
At this point you can also do a flush of the radiator and engine if you want to try and remove any corrosion or dirt that might be remaining in the block or cooling system.
Once the cooling system has been drained you can remove the upper and lower hoses. Put the pan under the hoses for any residual coolant that may come out. Use the nut or screw driver to loosen the hose clamps and then twist the hose off. If the hose is old you might need to cut it off slicing carefully with a razor blade. Careful not to cut yourself and get blood all over your nice engine bay. Inspect the hose clamps and see they are quality items that can be reused, i.e. not distorted or corroded. Replace the clamps if necessary.

Depending on what previous owners have done you might need different size spanners and sockets. Remove the four bolts, two on each side holding the radiator in place. I certainly hope there are still four bolts but I have seen many different things over the years. I use a screwdriver in one of the bolt holes on one side while I undo the bolts on the other side. The screwdriver helps hold the radiator in place until you have both sides clear and can lift the radiator out. Be careful not to nick the fins on the fan.

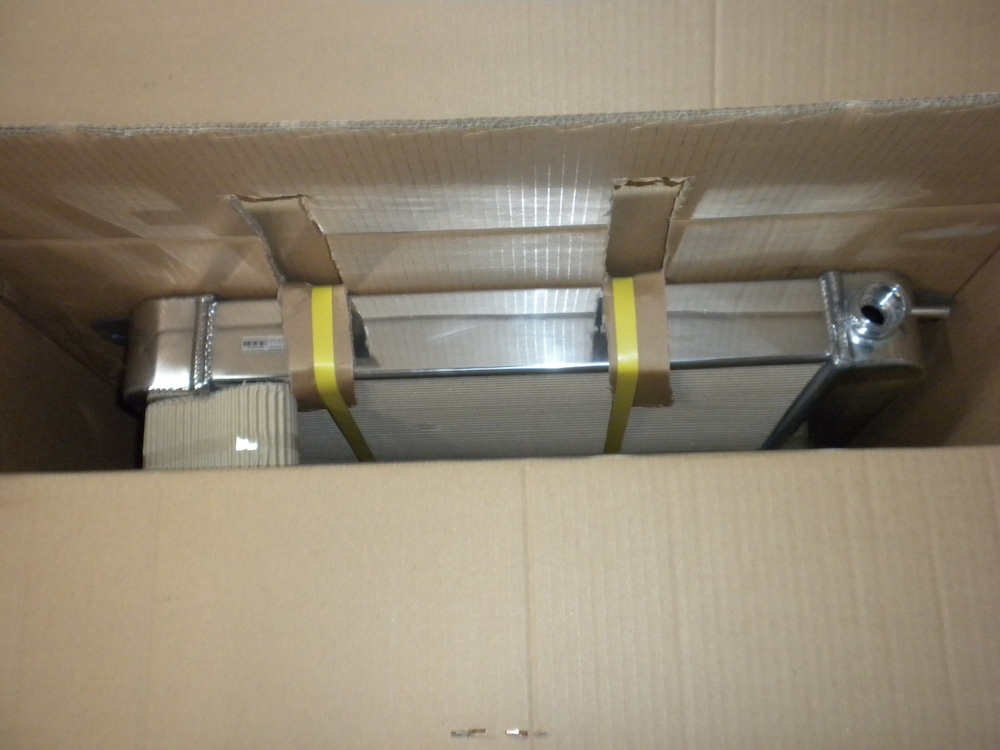
Wipe up whatever coolant you might have spilt with the old rags. Dispose of the coolant appropriately. One of the greatest moments in any car build is unboxing shiny new car parts. Check out the quality on the Koyorad radiator.
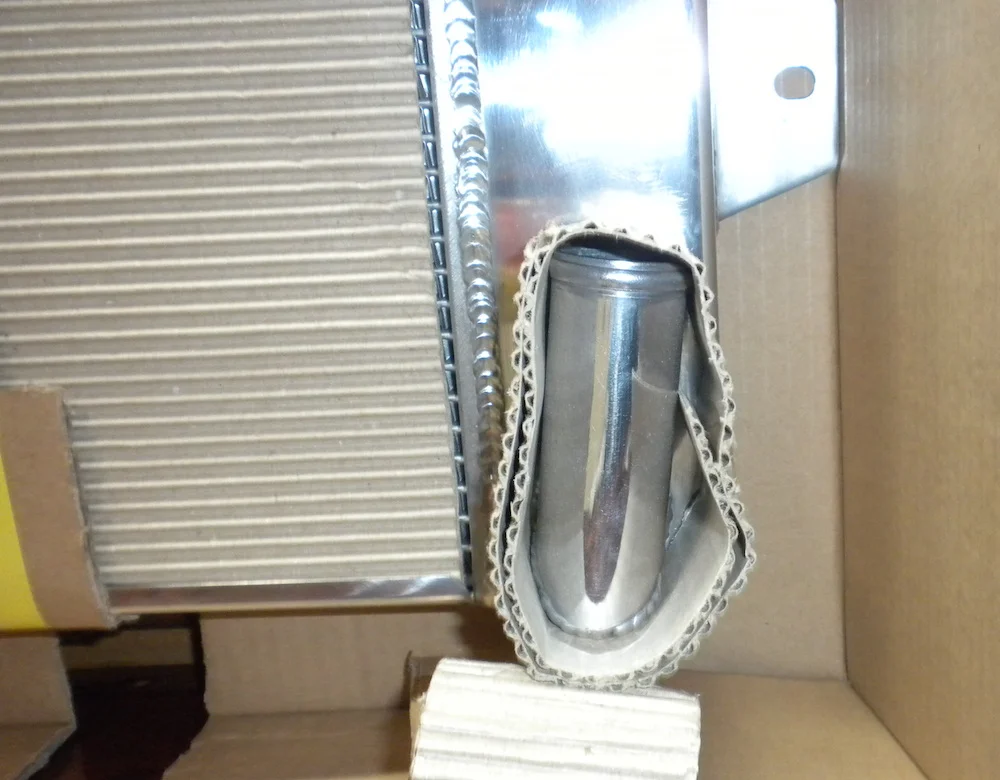
With the old radiator out of the way it is time to test fit the new radiator. I tape some of the shipping cardboard in place with painters tape to protect the radiator fins.
Place some rags on the frame rails and you can rest the radiator in place then lift it up and slide one bolt in on each side. Check the fitment and ensure proper fan clearance.

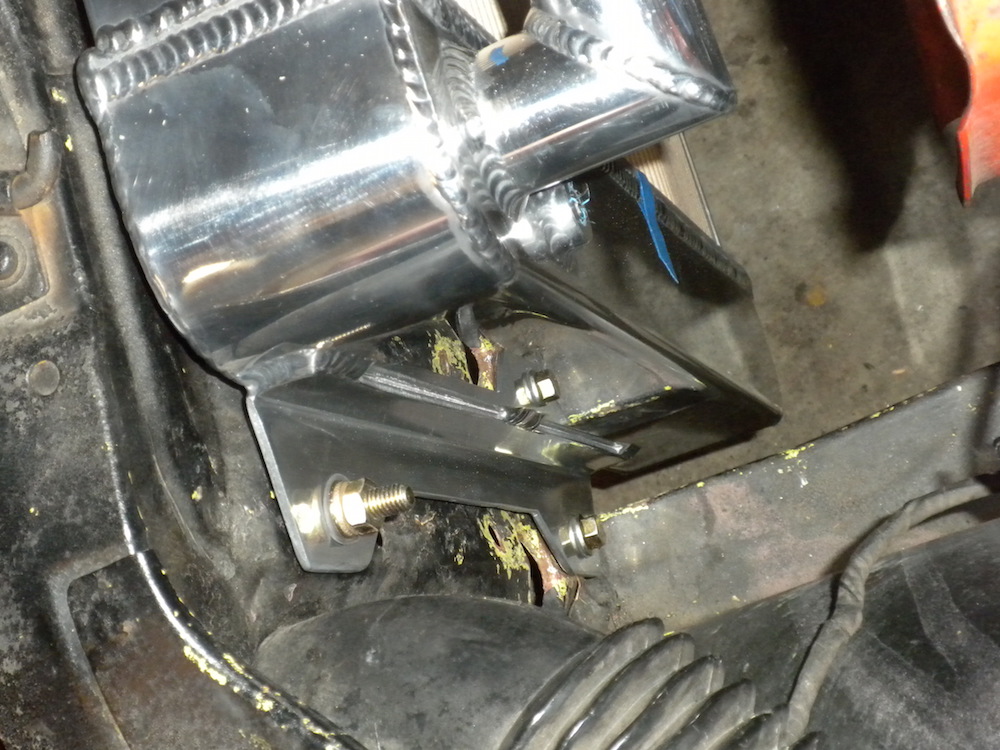
Once you are happy with the radiator fitment place the rubber grommets into the mounting holes. The rubber grommets can be found at your local hardware store. The grommets help to isolate the radiator from vibrations. Now with the grommets and radiator in place you can bolt it down with the four bolts.

Use new bolts to match that shiny new aluminum radiator. Tighten the radiator into place use the spanner, socket and ratchet. Below you can see the rubber grommets. Make sure the grommets are not too large that they move the radiator into the path of engine fan.
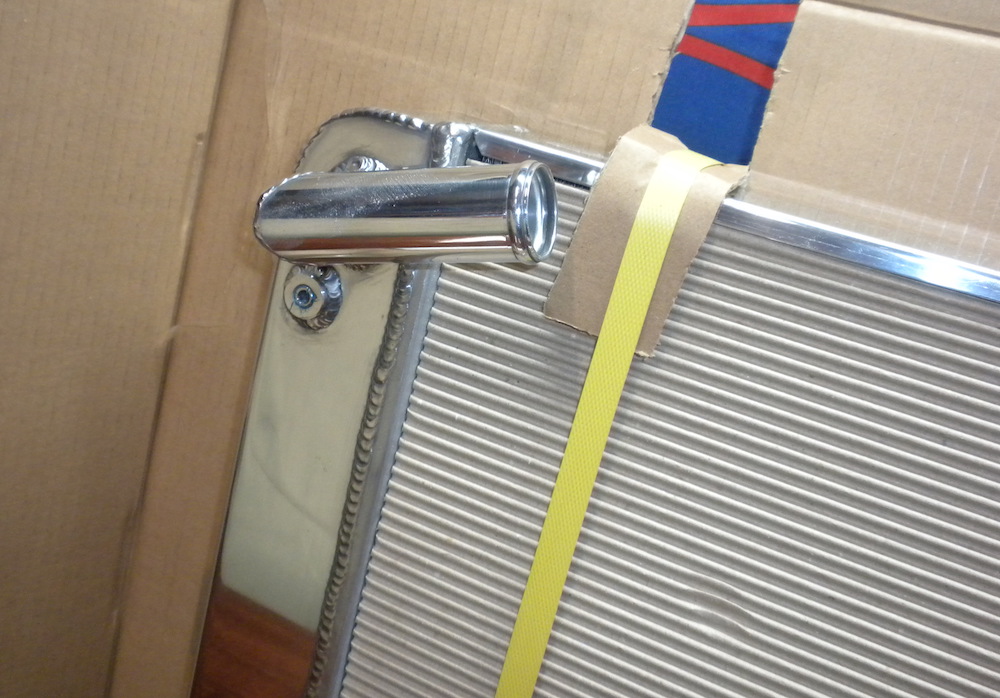
With the radiator installed you can remove the cardboard and connect the radiator hoses. The lower OEM radiator hose will connect up perfectly.

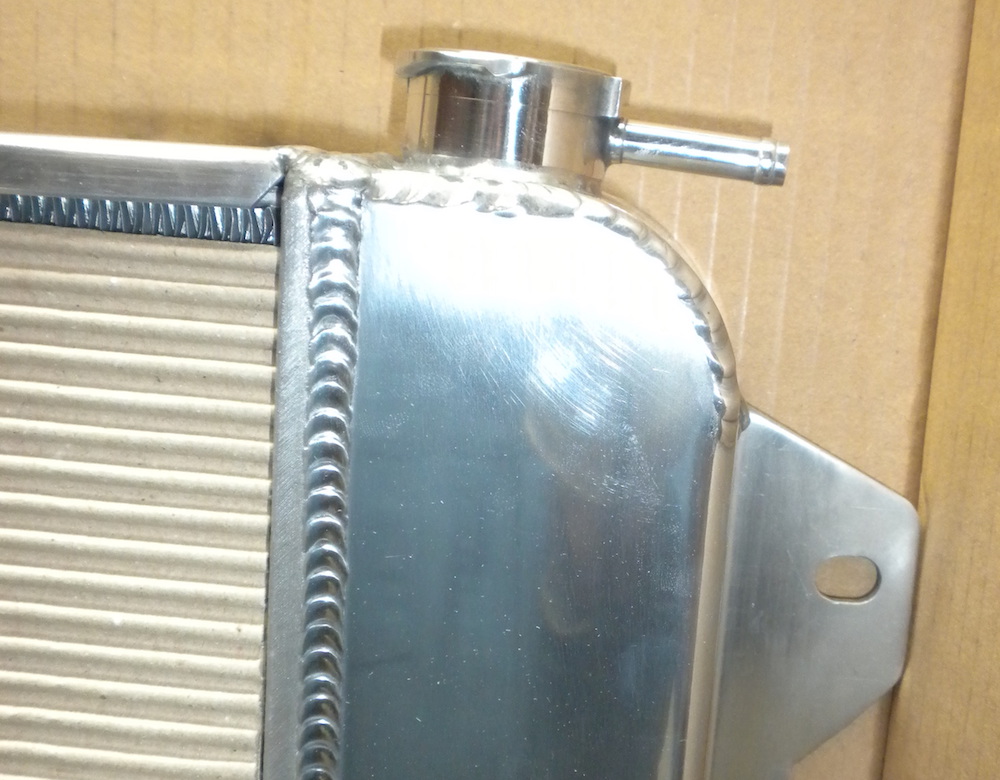
The Koyorad Radiator uses a different upper radiator hose inlet. You need to buy a second lower radiator hoses and then cut it to fit the upper thermostat outlet and radiator inlet.

With the hoses connected and the radiator in place you can now fill the system. Fill with your favorite coolant and distilled water. With the system full leave the radiator cap off and run the motor to burp out any air trapped in the system. You will need to get the motor hot in order to have the thermostat open to fully burp the system. You can then squeeze the upper radiator hose to help work out any residual air in the system. Turn of the car and let it cool down. Top up the cooling system and install the radiator cap.
The Koyorad radiator cap is a little more expensive than you generic parts store radiator cap but it also holds a higher pressure which increases the boiling point, a good thing if you are hitting the track in summer.

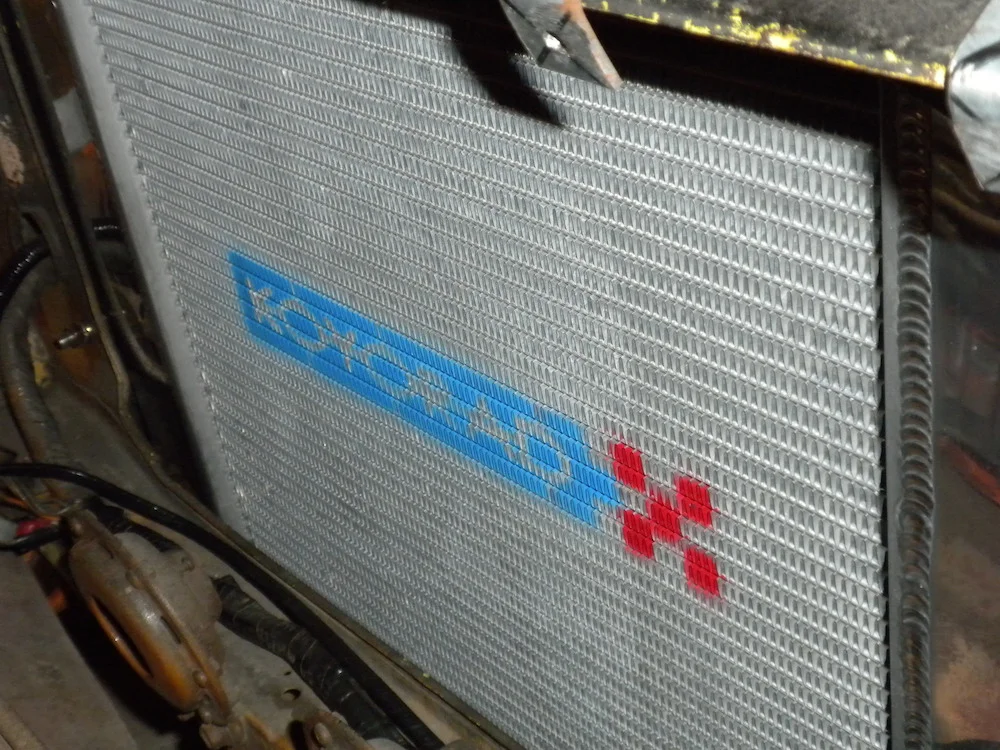
The radiator looks gorgeous in the engine bay. Unfortunately it now highlights some of the poor paint. Fantastic motivation for cleaning up the rest of the engine bay.