
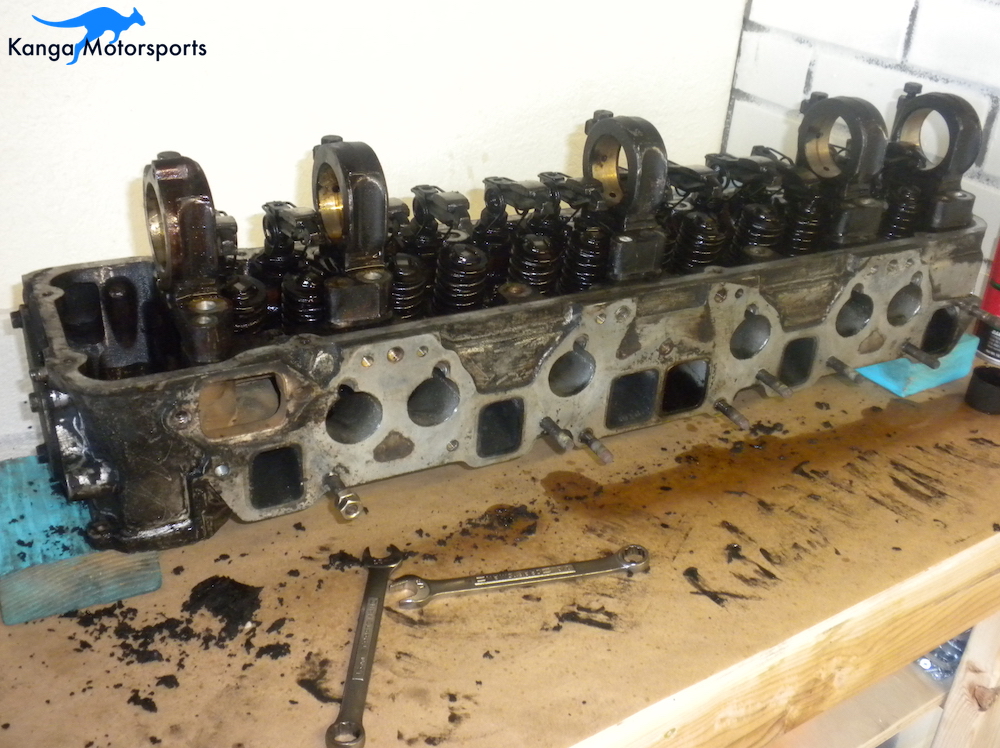
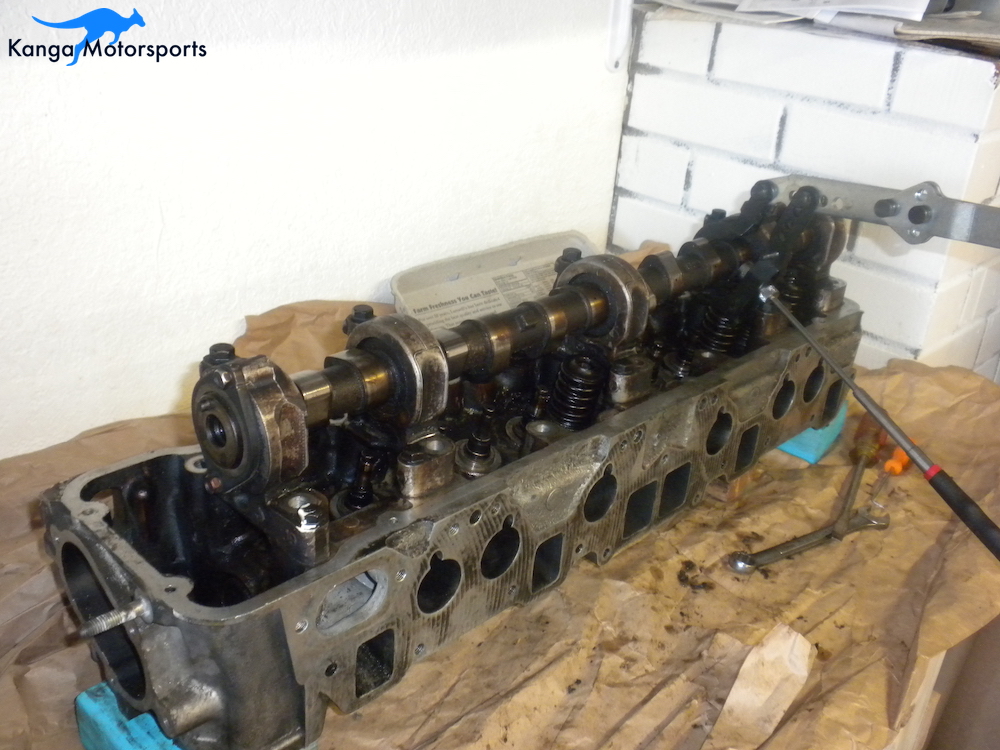
After I found out my old Datsun engine was a little tired, it was time to look into build a new motor. Building a new motor also provides an opportunity for more power. Cylinder head modifications are key to a performance L-Series motor. Components to modify include the valve train, intake and exhaust ports and also the cylinder chambers themselves. First thing to do is disassemble the cylinder head.
Tools and Equipment Needed:
- Valve Spring Compressor (KD Tools 3087)
- Valve Stem Seal Pliers (CTA Tools 2205)
- Magnetic Pick Up Tool
- Two M8 Nuts
- 10mm, 12mm and 24mm Sockets and Ratchet
- Two 14mm and a 17mm Wrenches/Spanners
- Large Adjustable/Crescent Wrench
- Dull Flat Blade Screwdriver
- 10mm Allan Head Driver
- Impact Socket Adapters (Titan Tools 12082)
- Impact Driver (DEWALT DCF887D2)
- Safety Goggles
- Gloves
- Stiff Bristle Plastic Brushes (Harbor Freight PN: 93610)
- HD Pro Simple Green
- Carb and Choke Cleaner
- Lightweight Oil
- Paper Towels
- Gasket Scrapper (TEKTON 5876)
- Razor Blades
- Set of Picks
- Spring Loaded Center Punch
- Storage Containers (Harbor Freight PN: 94458)
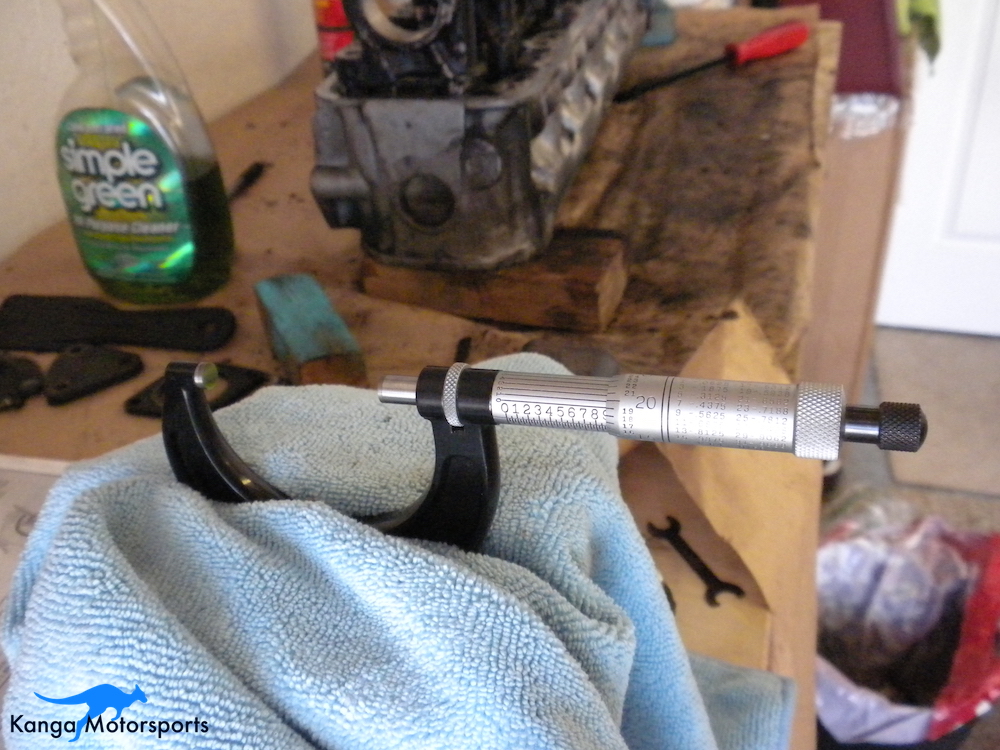
- 2 inch Micrometer (Accurate to 0.0001 inch)
- 2 inch Bore Gauge (Accurate to 0.0001 inch)
Disassembling the Cylinder Head:
Start by removing the intake and exhaust studs, this will allow you to put the head on it's side if you need to and prevent snags with tools or yourself.
Using two M8 nuts thread them onto a stud, then using two 14mm spanners jam the first nut into the second nut. So that they bind together. You should then be able to unscrew the stud from head. If the stud is stuck you can rap it lightly with a rubber mallet to release the threads.
Continue down the head removing all intake and exhaust studs. Put them in a ziplock bag and label it with a sharpie.
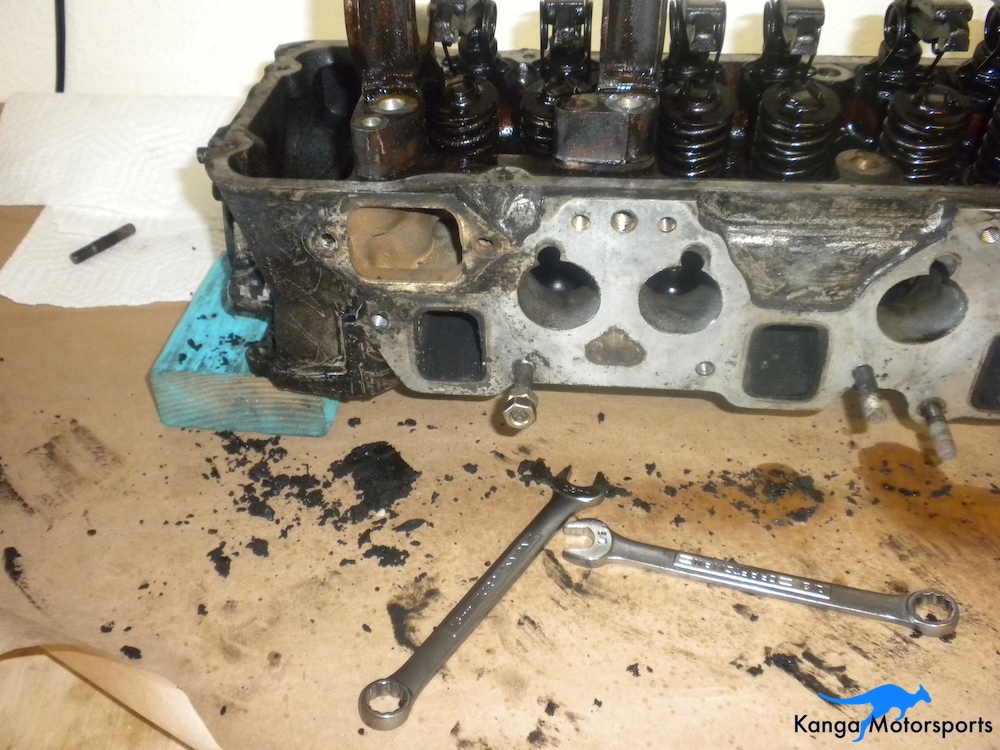
Remove the front inspection cover via the three bolts using a 10mm socket and ratchet.
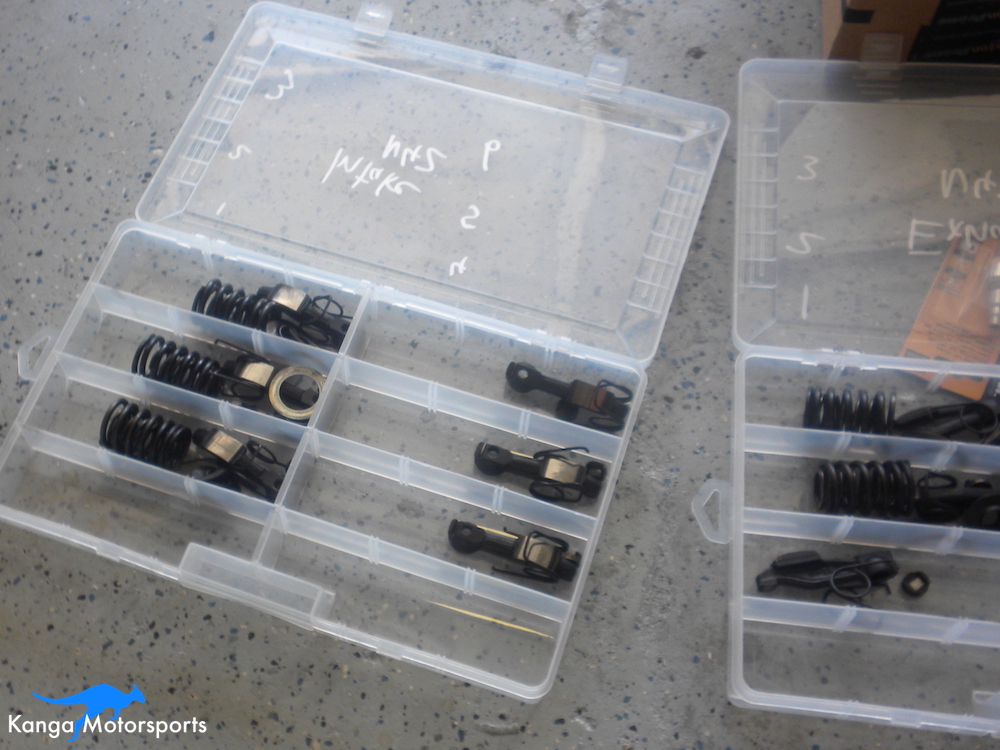
Until I know what I am going to do with the head, I like to keep all the components together marked in their location for which intake and exhaust position it came from. The easiest way I have found to keep the parts together is by using tackle box like containers and then subdividing them into at least 6 separate compartment with one box for intake and one for exhaust. This way you can keep the rockers, pivots, inner and outer springs, lash pads and retainers together.
To remove the rocker arms you will need to undo the 14mm jam nuts by using a 17mm spanner on the pivot and a 14mm spanner on the jam nut. Break all the jam nuts free and you can loosen up the lash on all the rocker arms.
With the rocker preload loose you should be able to prop off the rocker retaining springs using a dull screw driver. Be careful not to scratch or gouge the head, rocker or camshaft.
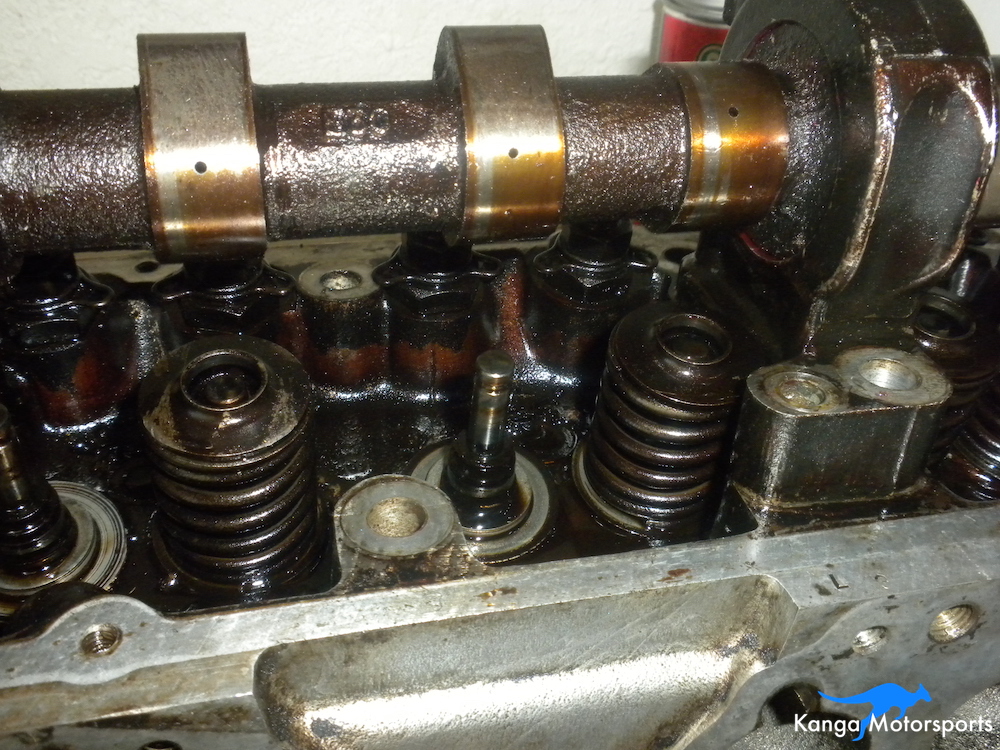
Remove the rockers from the head. If you need to rotate the camshaft use the adjustable wrench on the camshaft boss, avoid the lobes. Do not dry rotate the camshaft make sure there is some lightweight oil on the lobes and rocker pads.
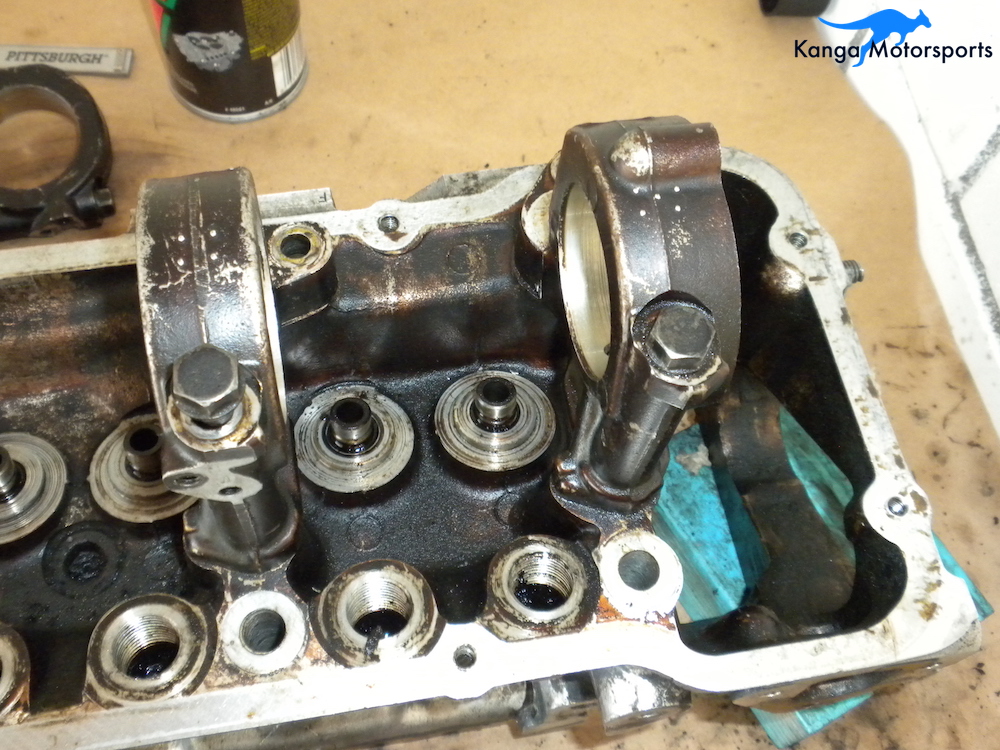
With the rockers removed you can take off the pivots, jam nuts and spring retainers. If the spring retainers are hard to remove you can wait till later and remove them with the pivot bushings.

To remove the valves, springs and retainers you will need to use a valve spring compressor. You can set the head down on a flat surface and use the KD Tools 3087 against the cam to depress the inner and outer valve springs. There are also other valve spring compressor that hold the valve and depress the springs, either will work.
With the retainers exposed use a magnetic pick up tool to grab and remove the retainers. You can then gently release the springs and lift the spring seat, hat, inner and outer springs.
Once all the spring sets are removed you can tilt the head over on it's side and remove all the valves.
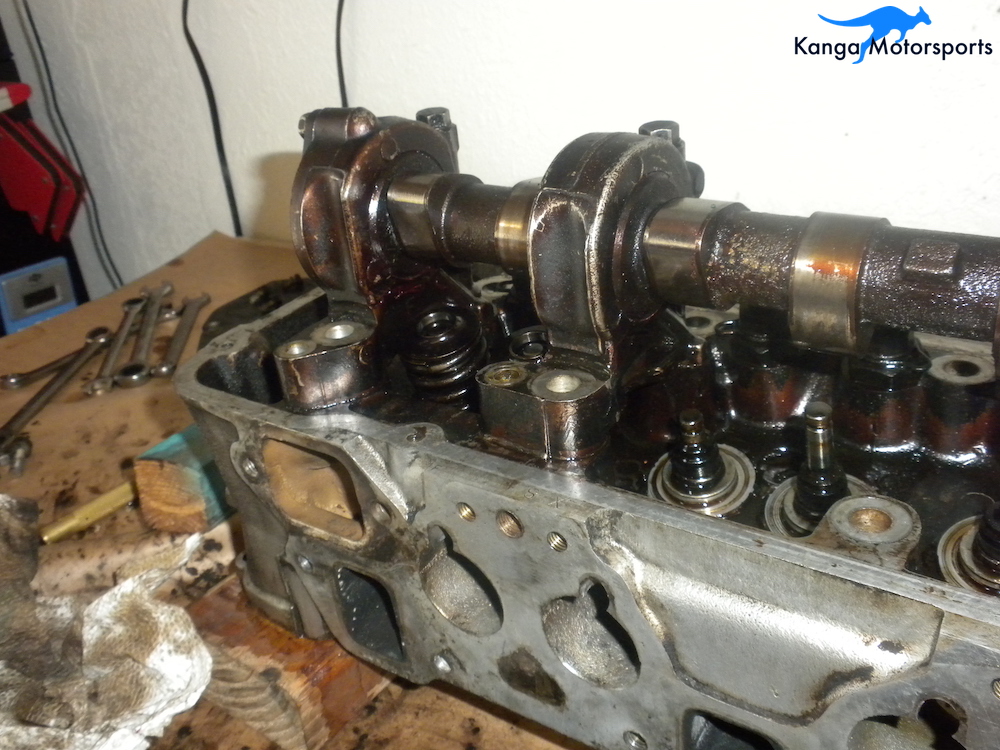
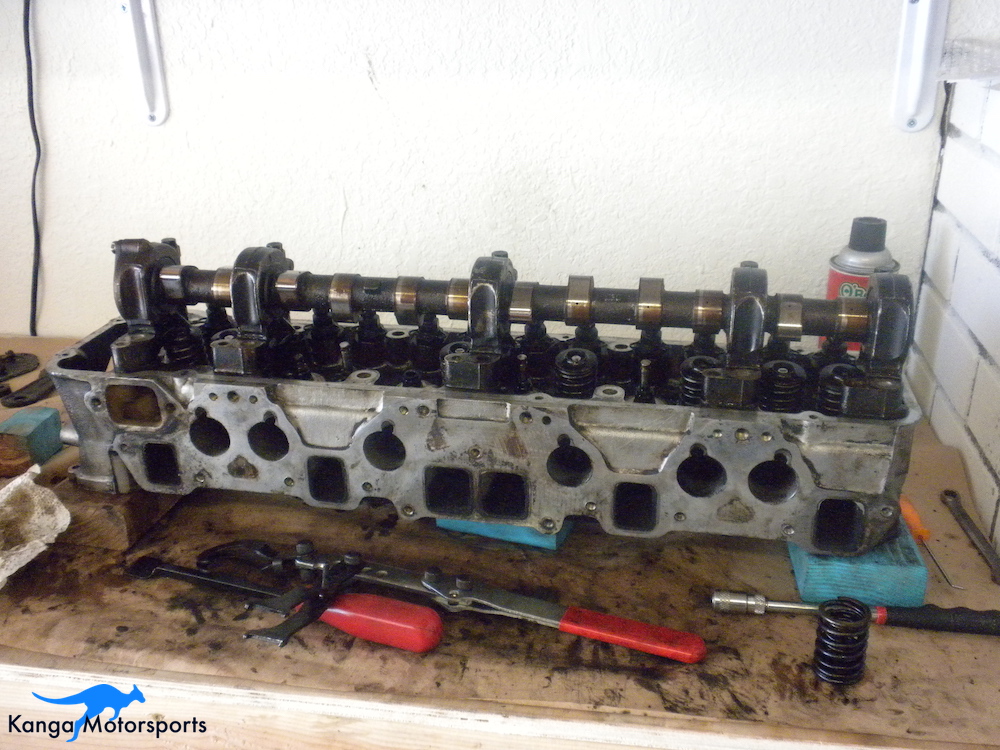
You can now remove the camshaft by undoing the two cover plate bolts using a 10mm socket and ratchet. Slowly pull the camshaft out the front of the head be careful not scratch any of the bearing surfaces.
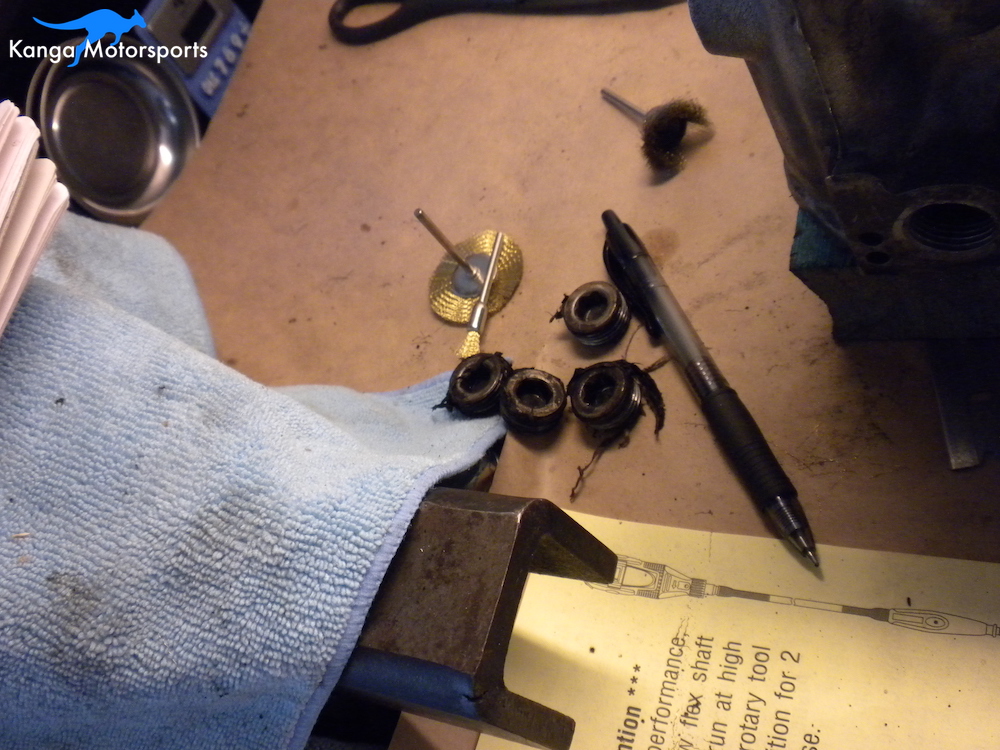
Use the pliers to remove all the valve stem seals. Be sure you removed all of the seal, parts can get left behind. Use the pick set to remove any left over pieces of the seals and any spring seats which were hard to remove previously.

Now you can measure the camshaft bearings to ensure they are within specifications. You will need to use a bore gauge and 2inch micrometer accurate 0.0001 inch. Measure at 4 points, 2 diameters approximately 90 degrees from each other at both the front and back of the bearing surface. Write the values in your note book.
To remove the pivot bushings use a 24mm socket and impact driver to break them loose. Don't go crazy and damage any of the surfaces. If you use the right impact you should be able to break them loose relatively easy without drama. Place them in the containers with the other valve train components.
Before removing the camshaft towers mark them from 1 to 5 using the spring loaded center punch. I use a pattern like the face of a dice. Savvy readers will note I accidentally numbered them backwards, 1 should be at the front near the chain, not 5 like you see here.
Remove the camshaft towers by undoing the two bolts using a 12mm socket and ratchet. The towers are also dowelled in place so be careful when removing they may be stuck. Use some carb cleaner to loosen them if needed.

Before you remove the head plugs you might need to clean the areas around them using carb cleaner. Once you can get the 10mm allan head bit into the plug use the impact driver to break them loose and remove from the head. You might need to use the pick set to remove any debris left over in the threads from the plugs.
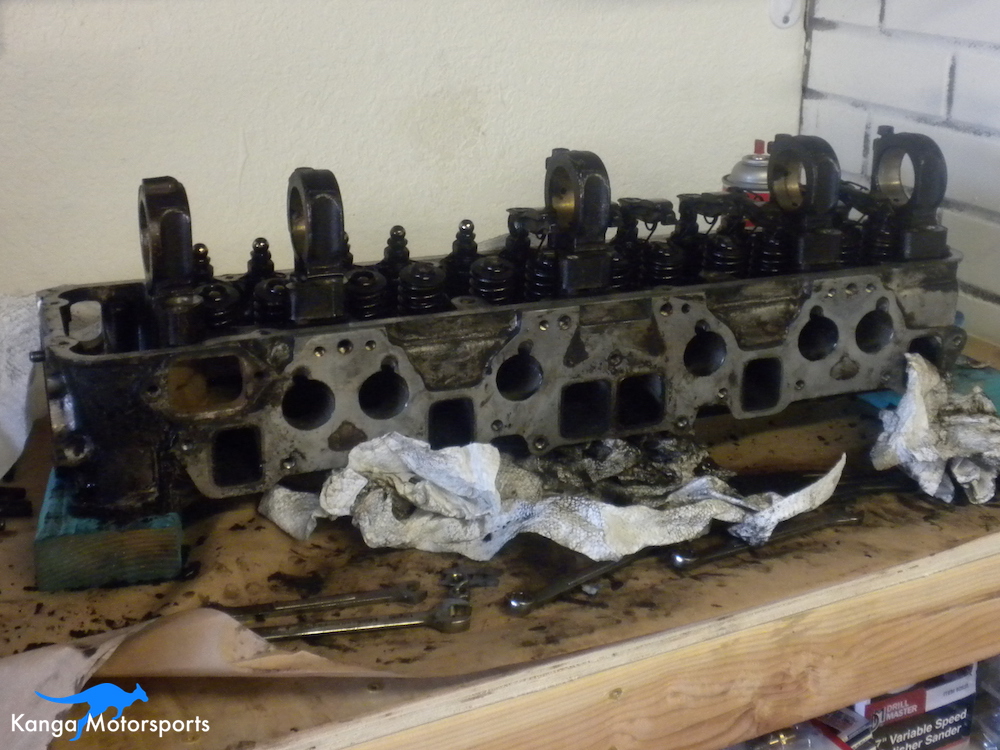
The cylinder head is now disassembled and ready for cleaning. In the next Datsun Engine Build article we clean the cylinder head before beginning the performance modifications.

Other Datsun Engine Build Articles


